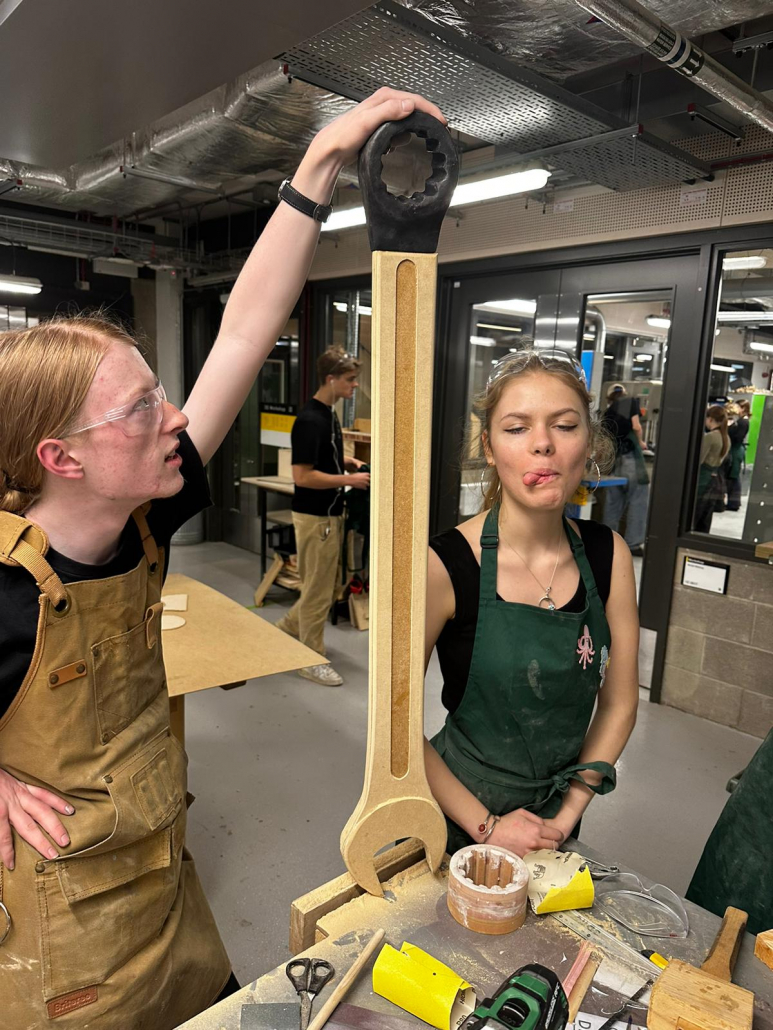
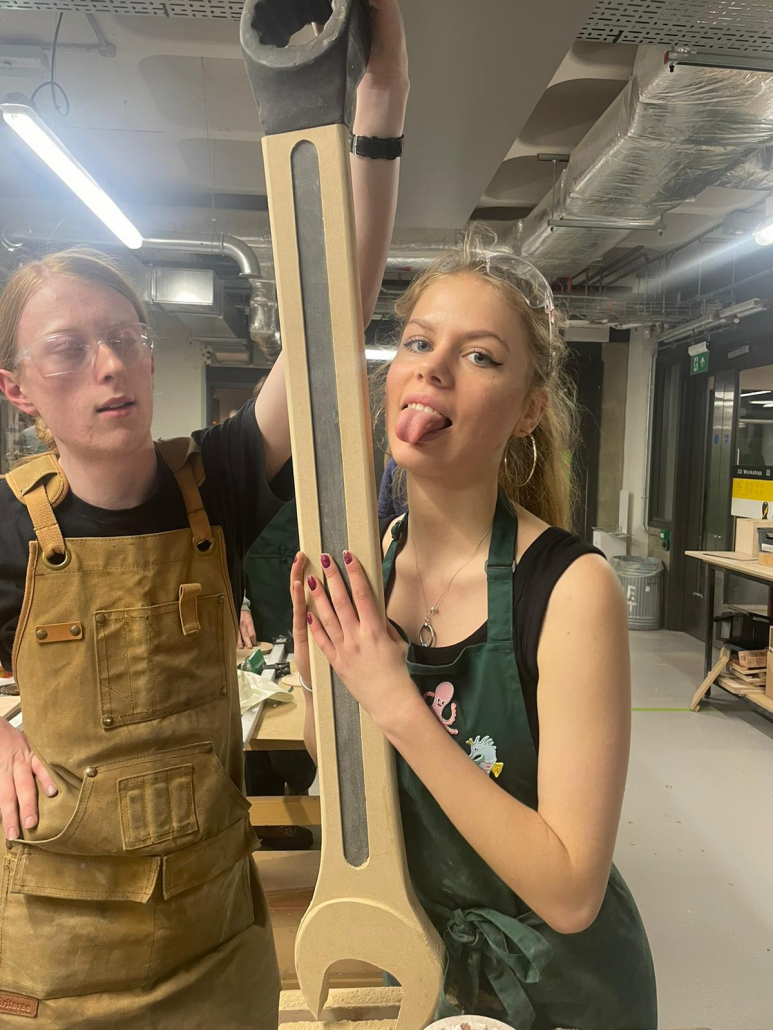
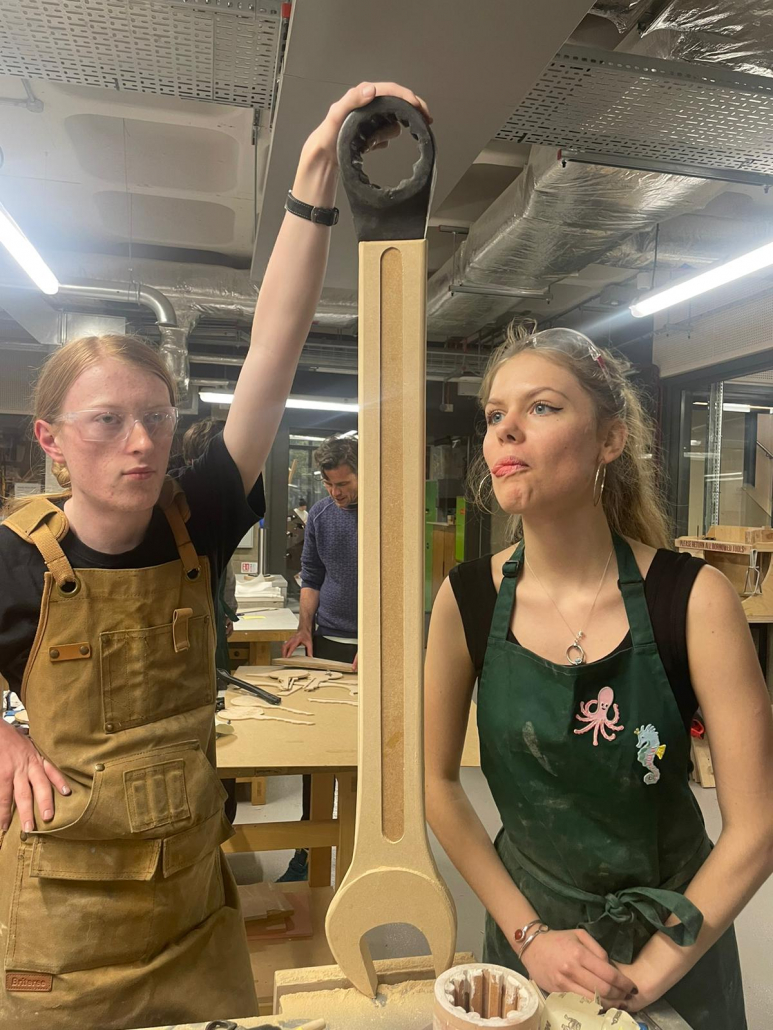
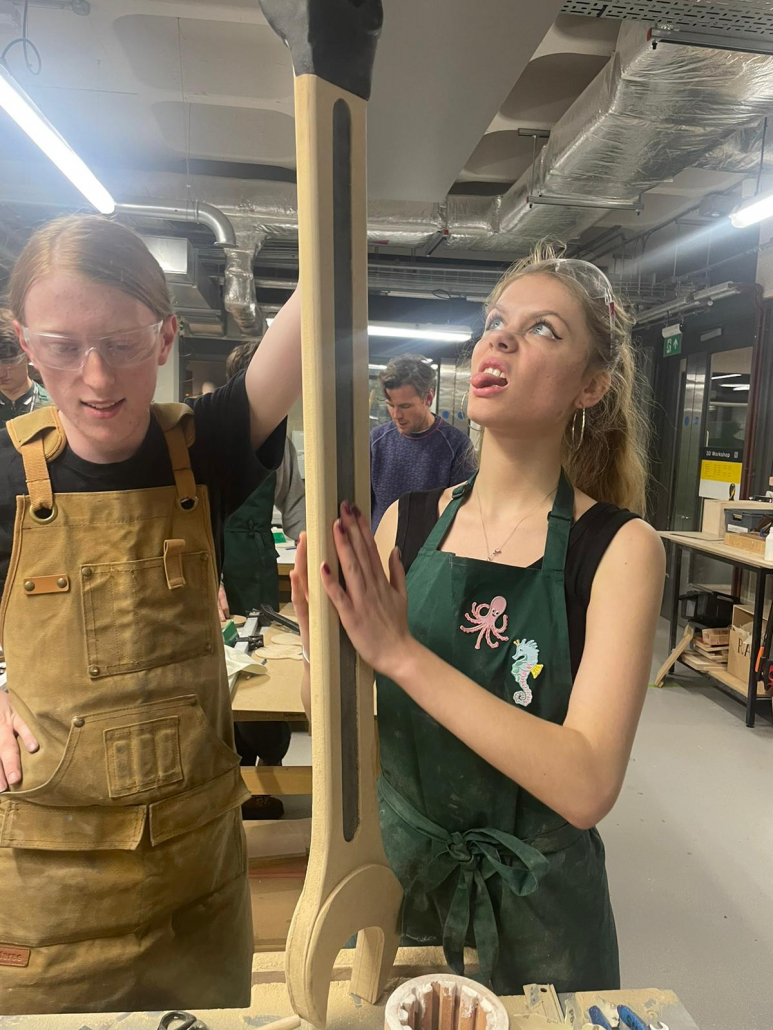
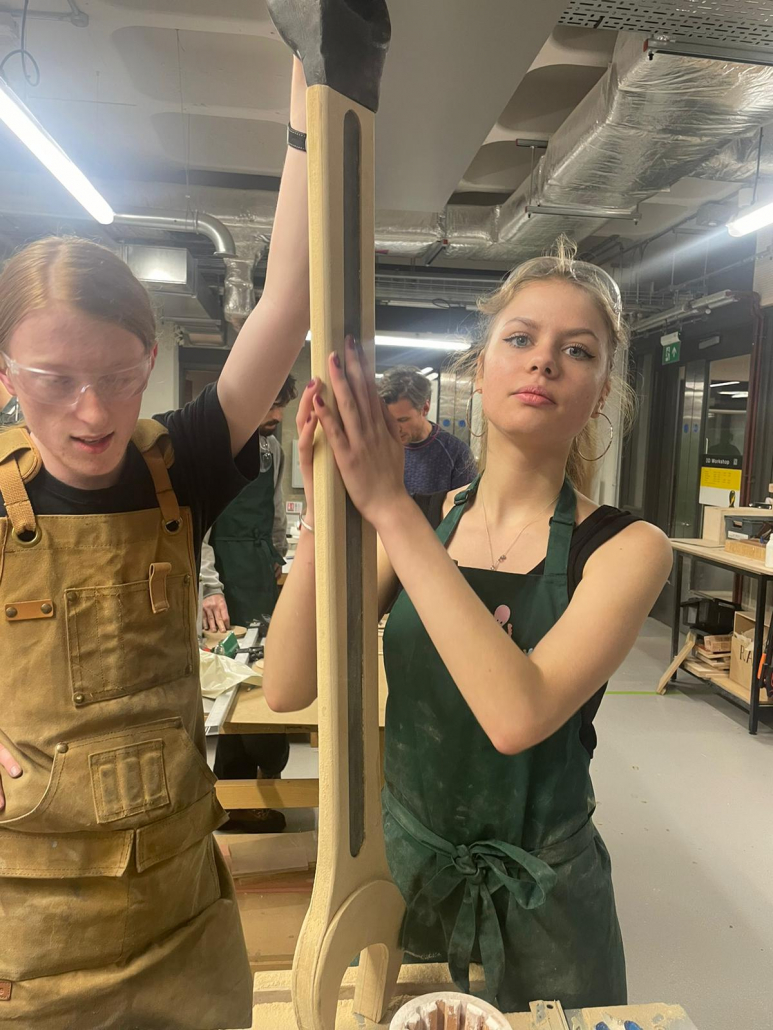
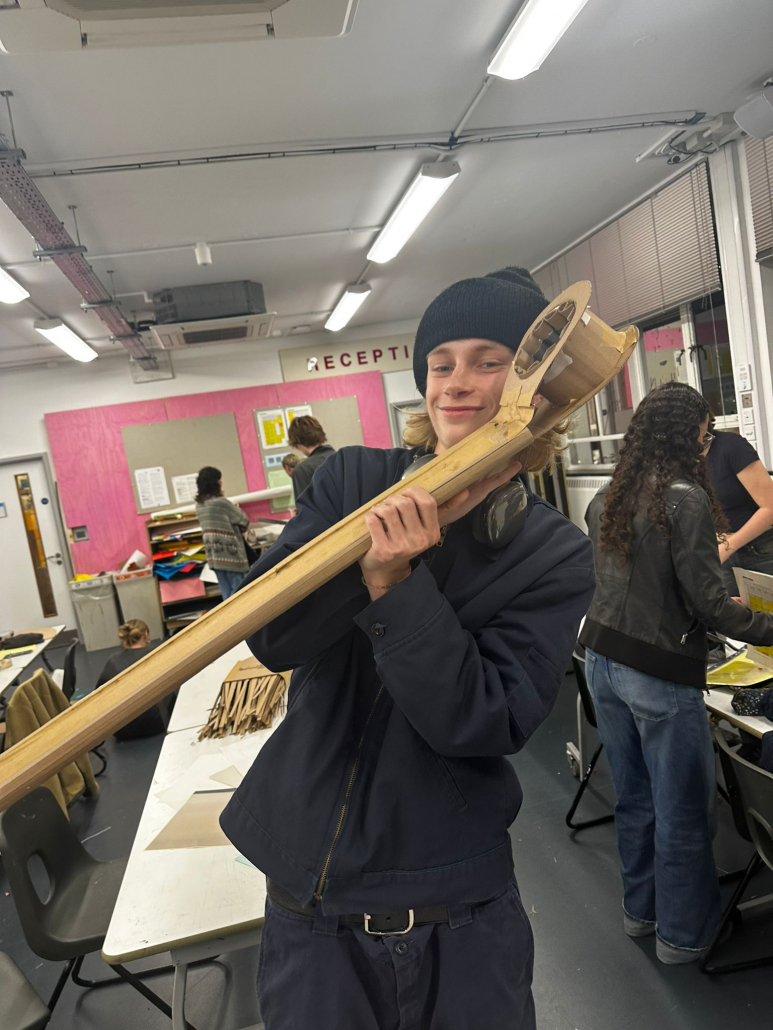
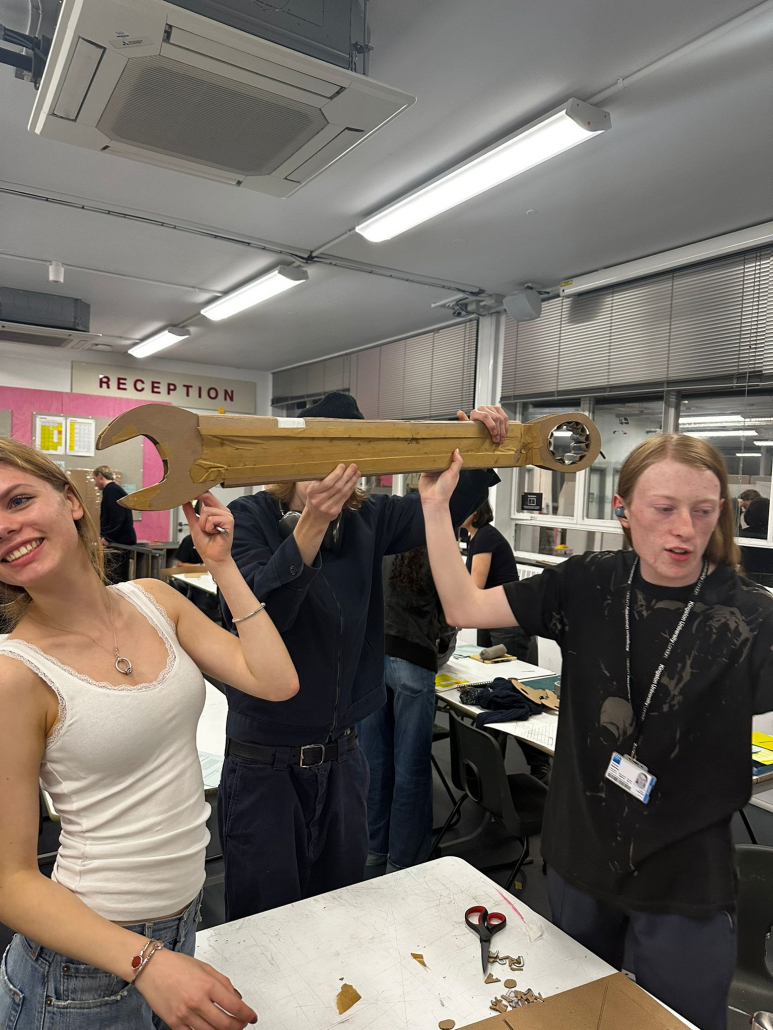
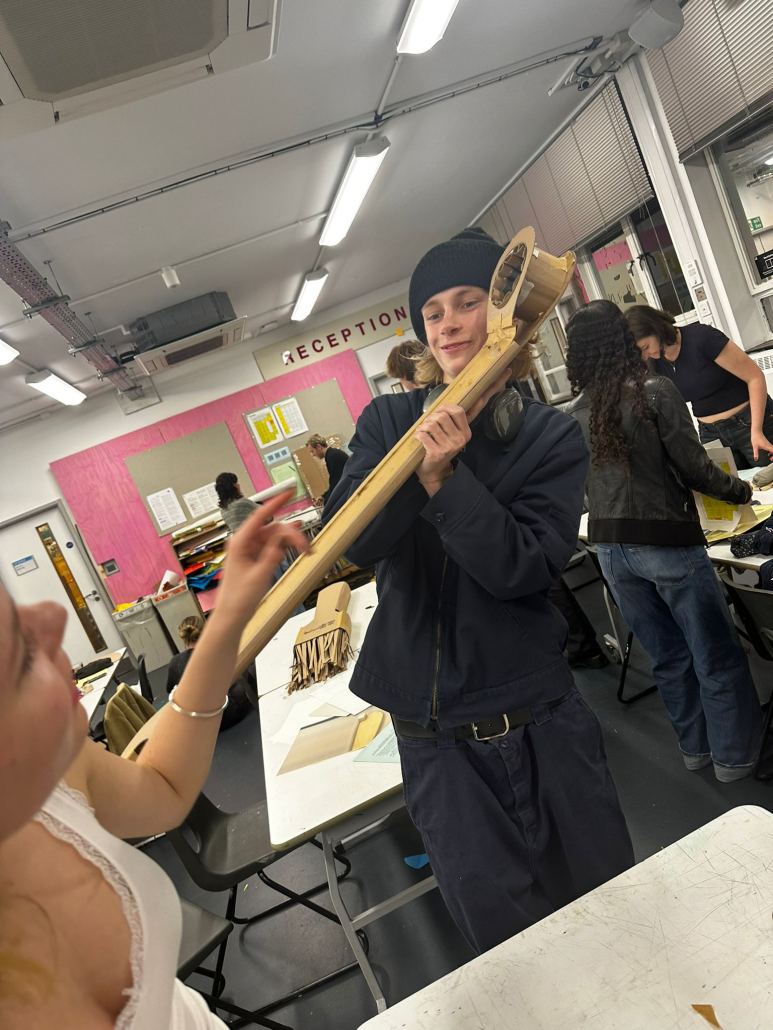
3D Spanner 8:1
3D Spanner 8:1


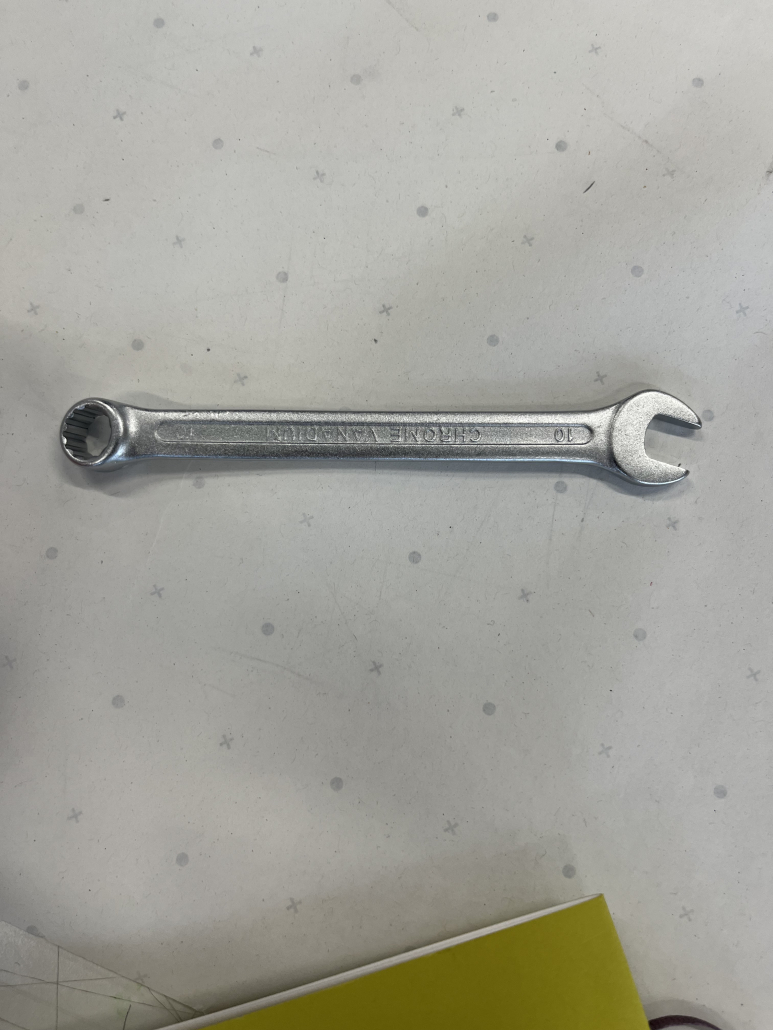
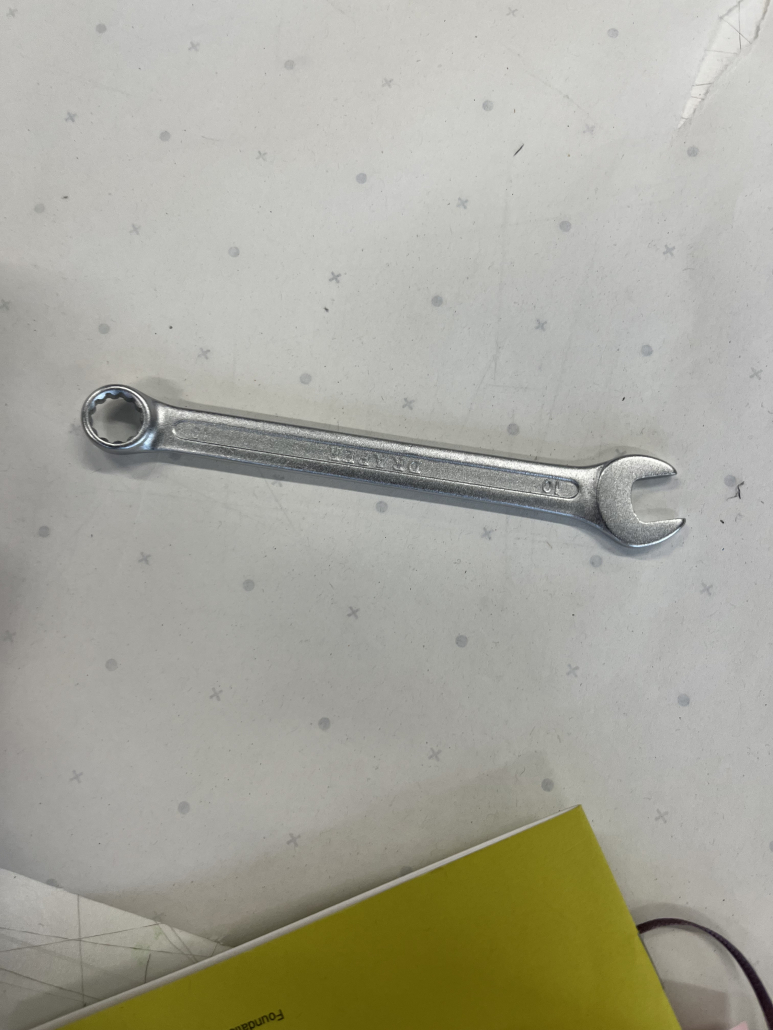


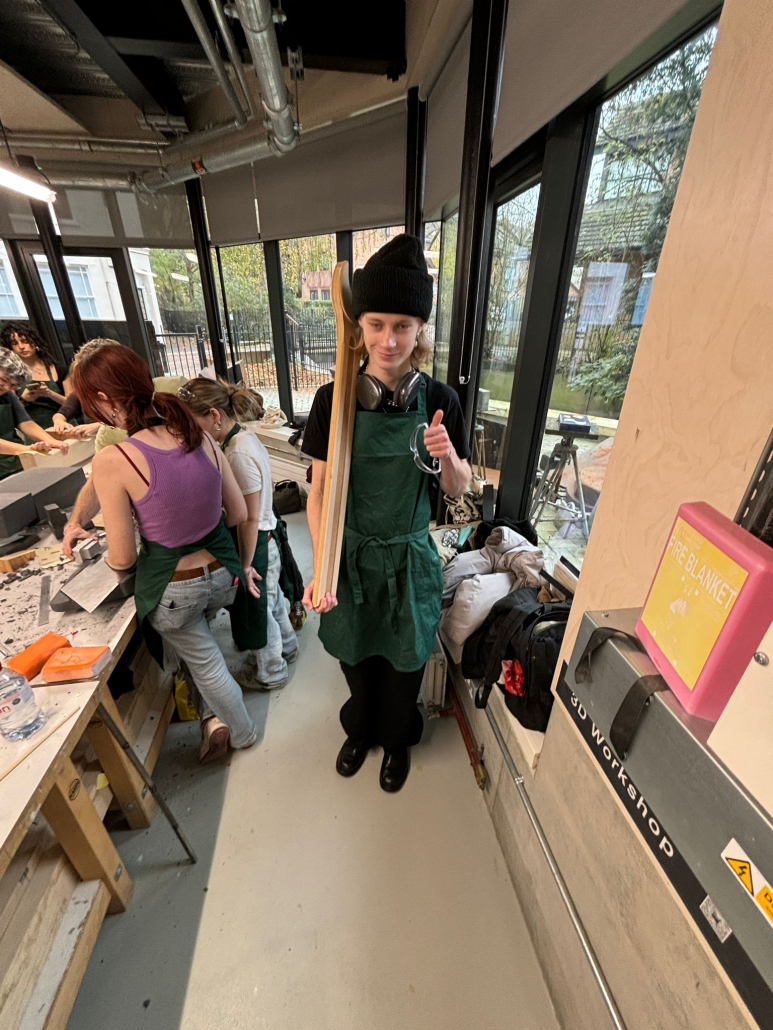


Step 1: Gather Materials
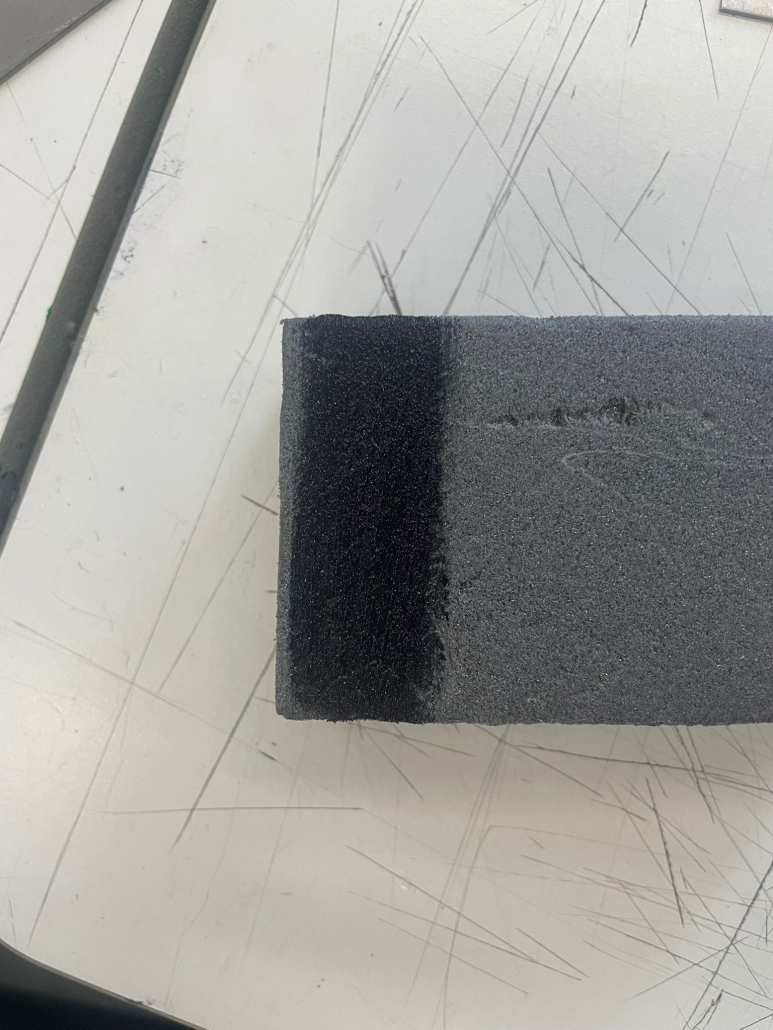
Choosing materials was a pivotal step. After careful consideration, we chose a combination of wood and foam, which is ideal for creating a lightweight, manageable model. Foam and wood would be easier to shape for a display piece, while metal would be more suitable for a spanner that needs to withstand frequent handling. Deciding with the final purpose in mind helped ensure that the finished piece would be both practical and visually appealing.
I also factored in the tools and safety precautions needed for each material type, planning to maintain accuracy in the build and personal safety.
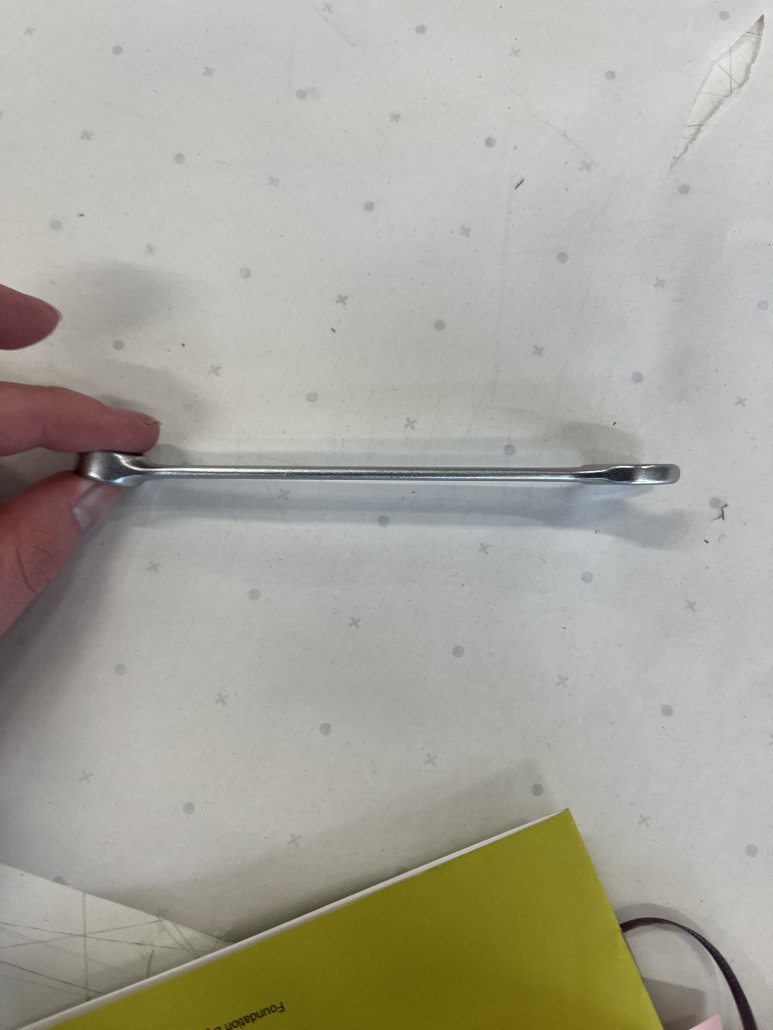
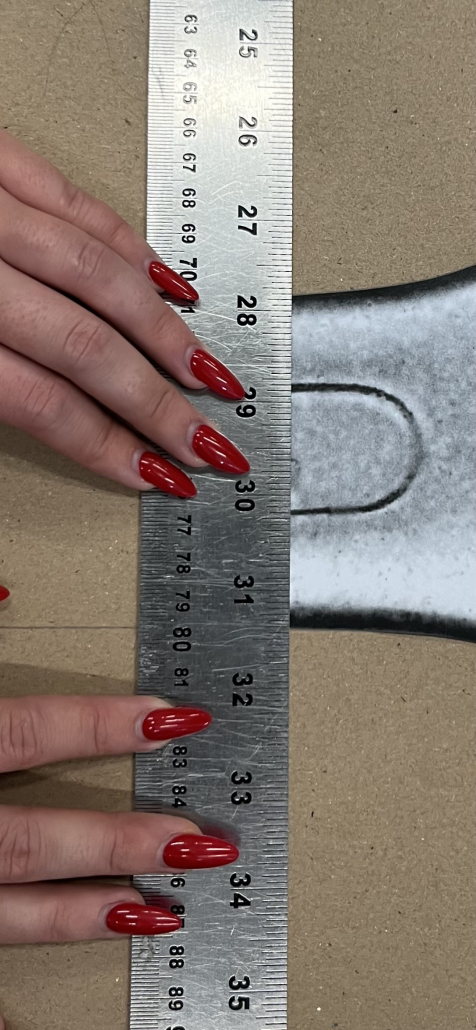
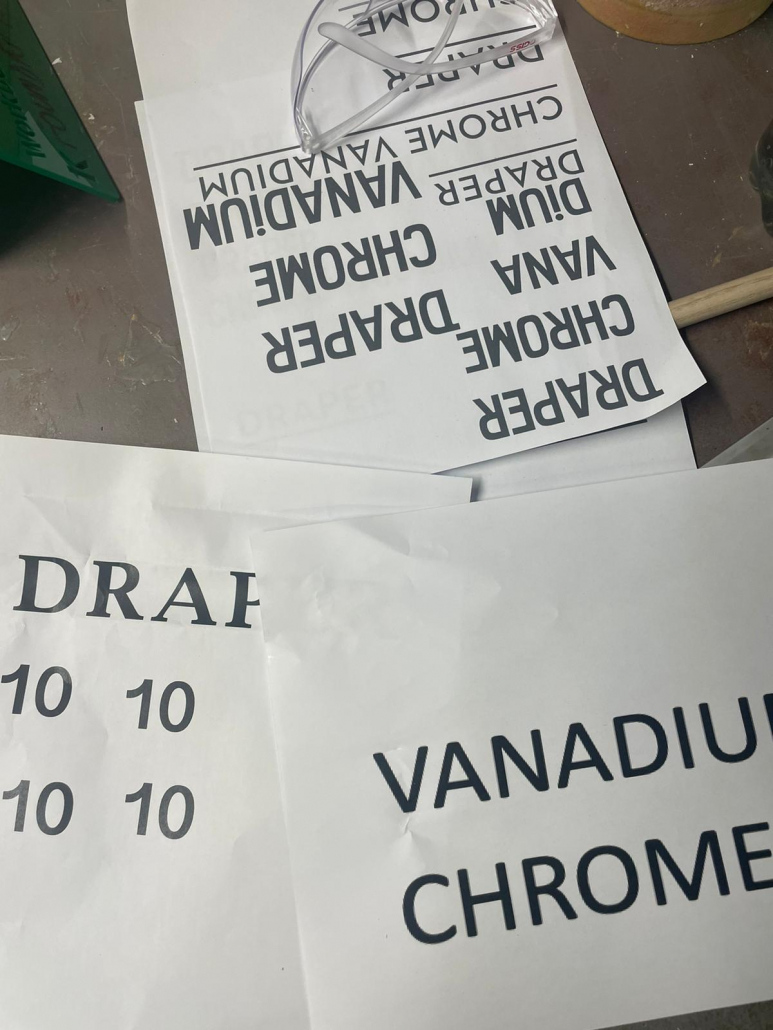
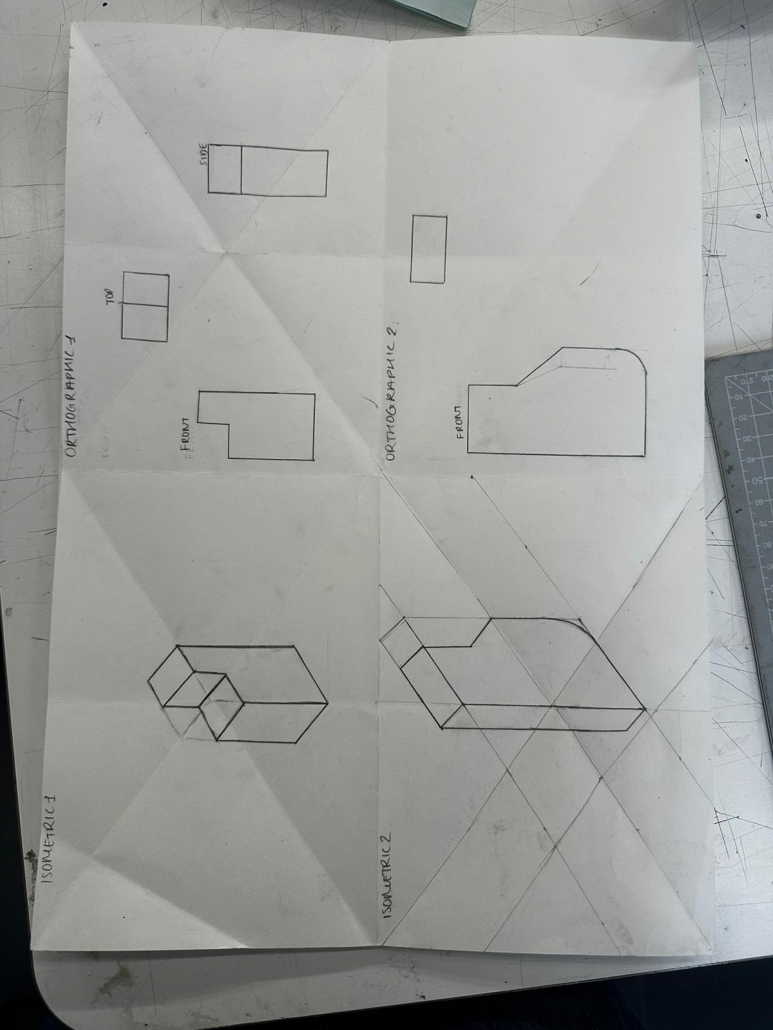
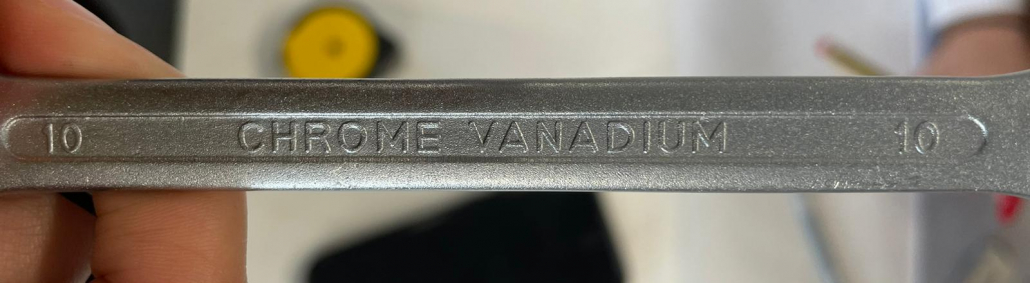
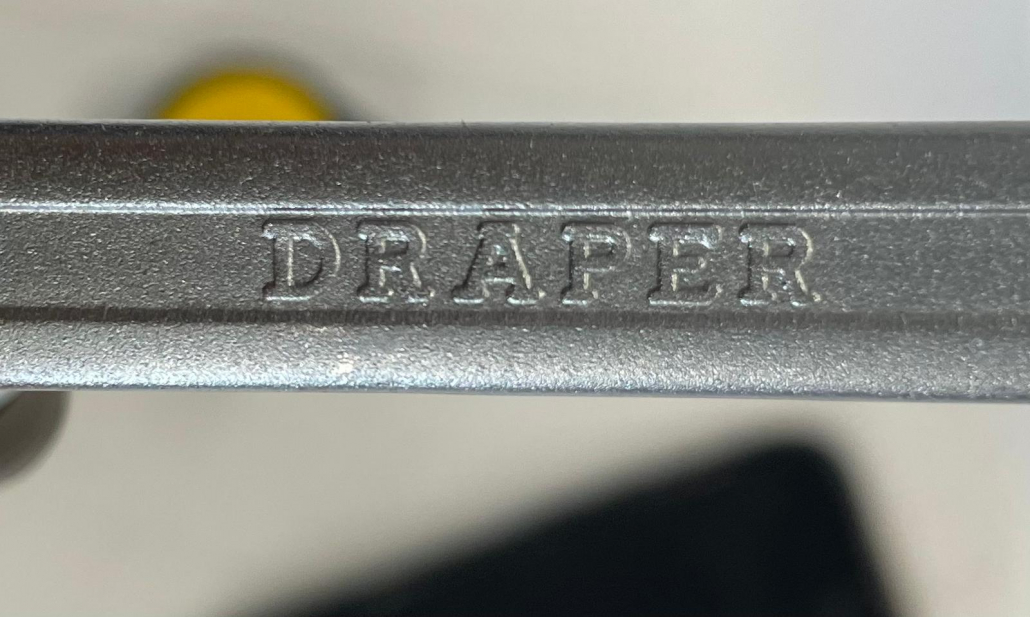
Step 2: Measure and Scale
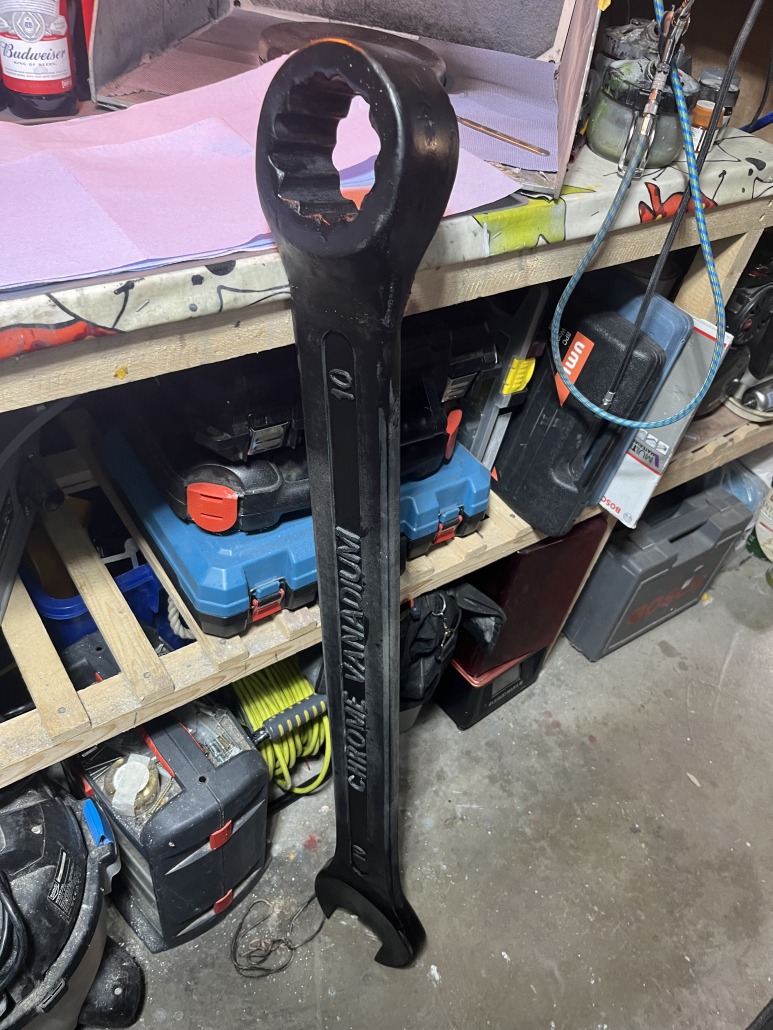
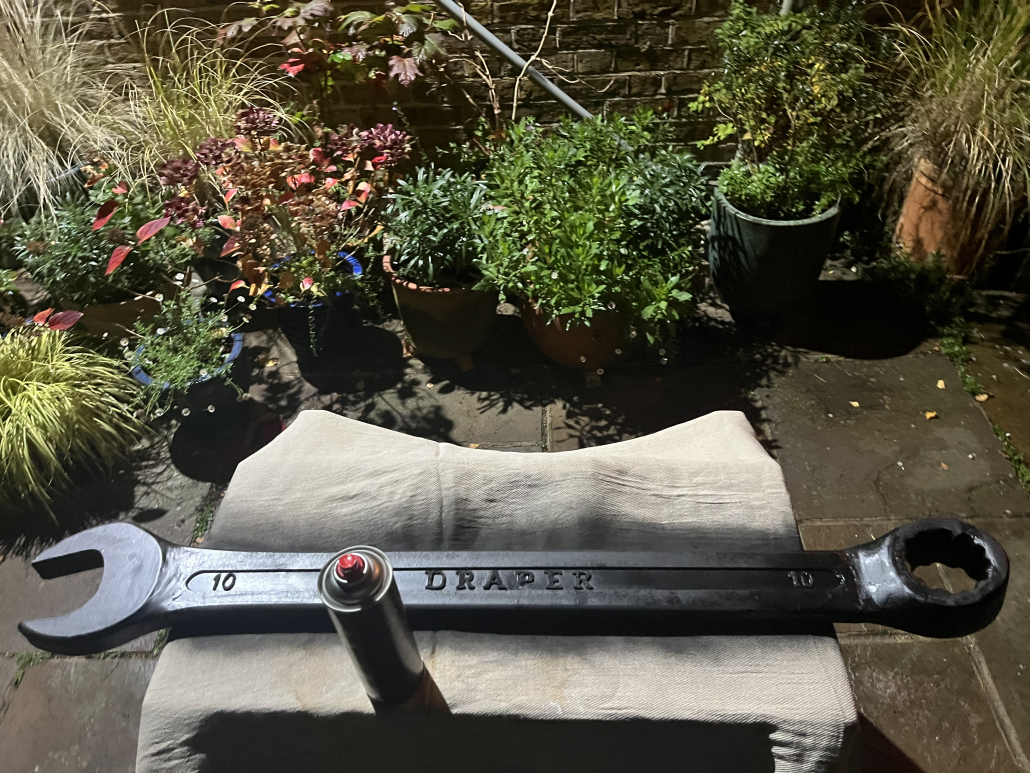
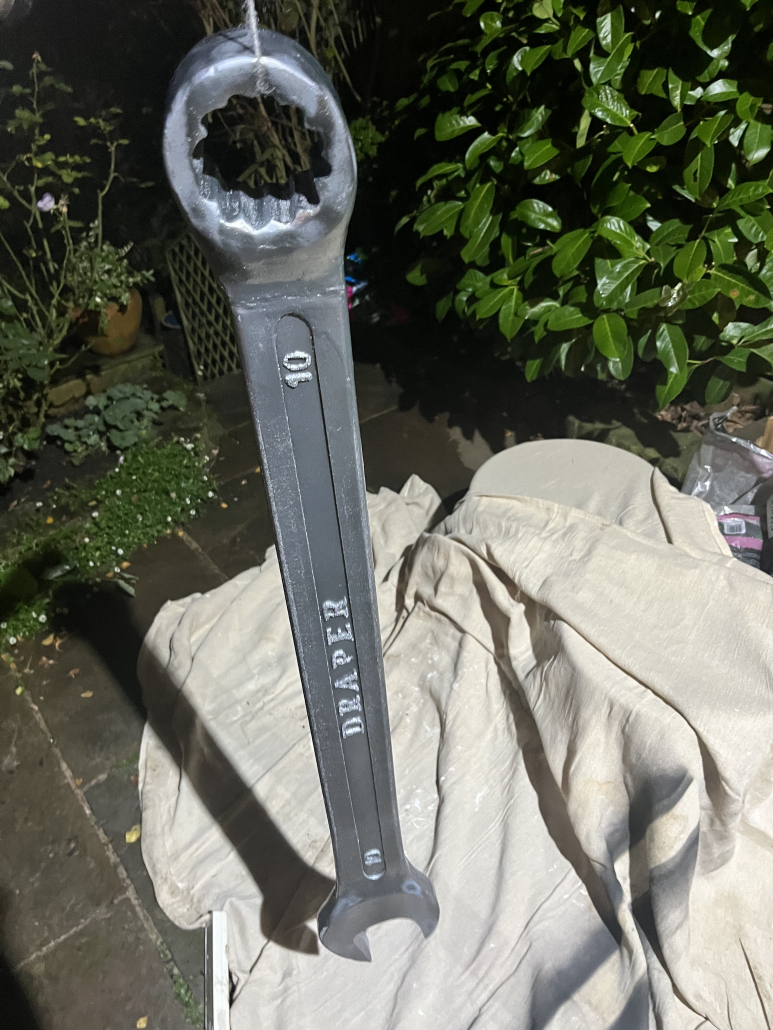
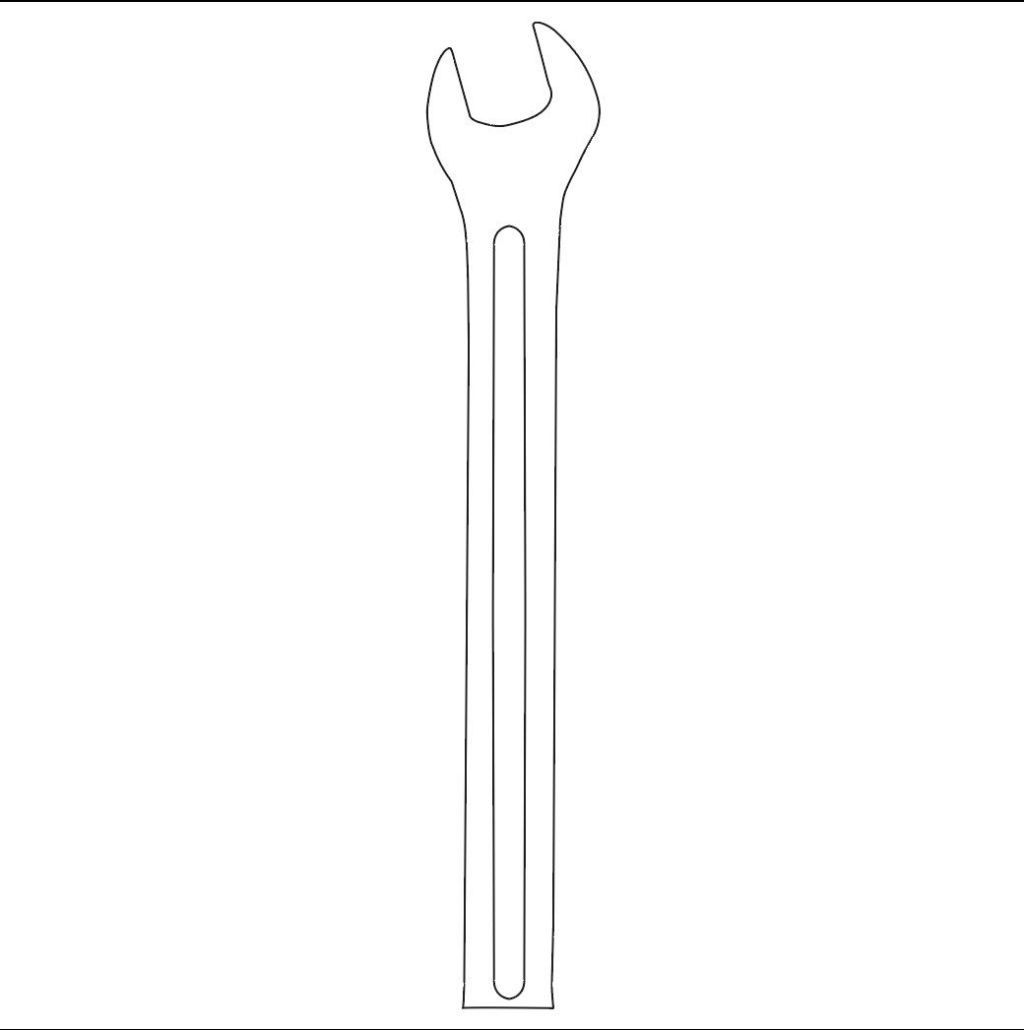
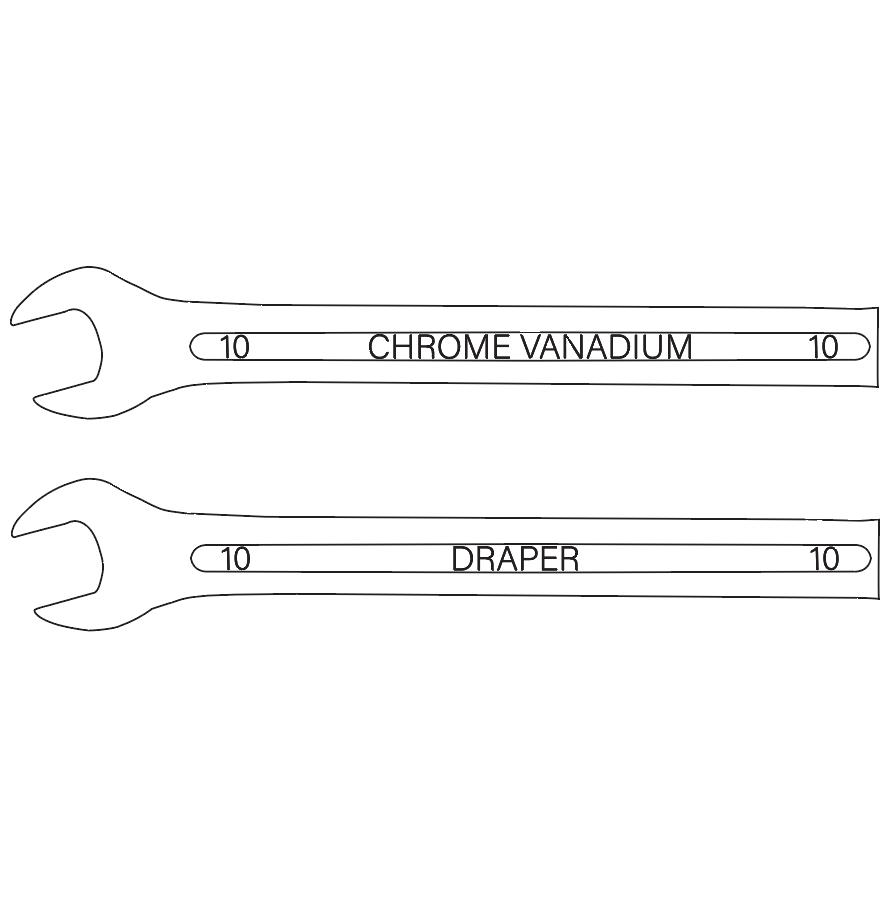
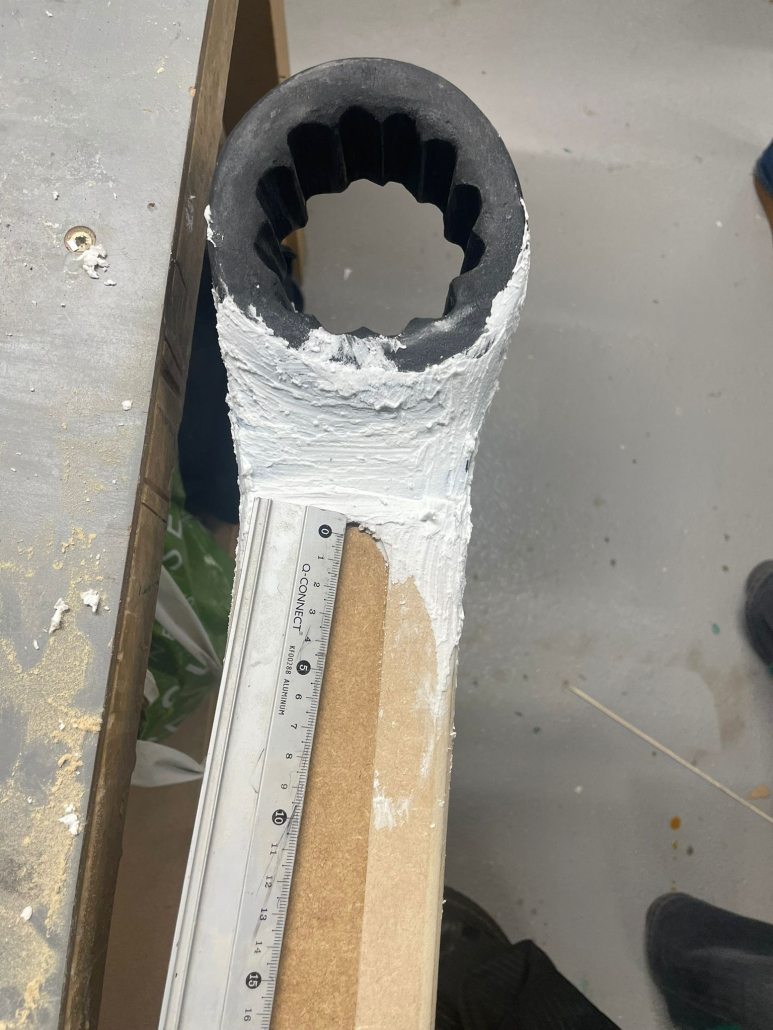
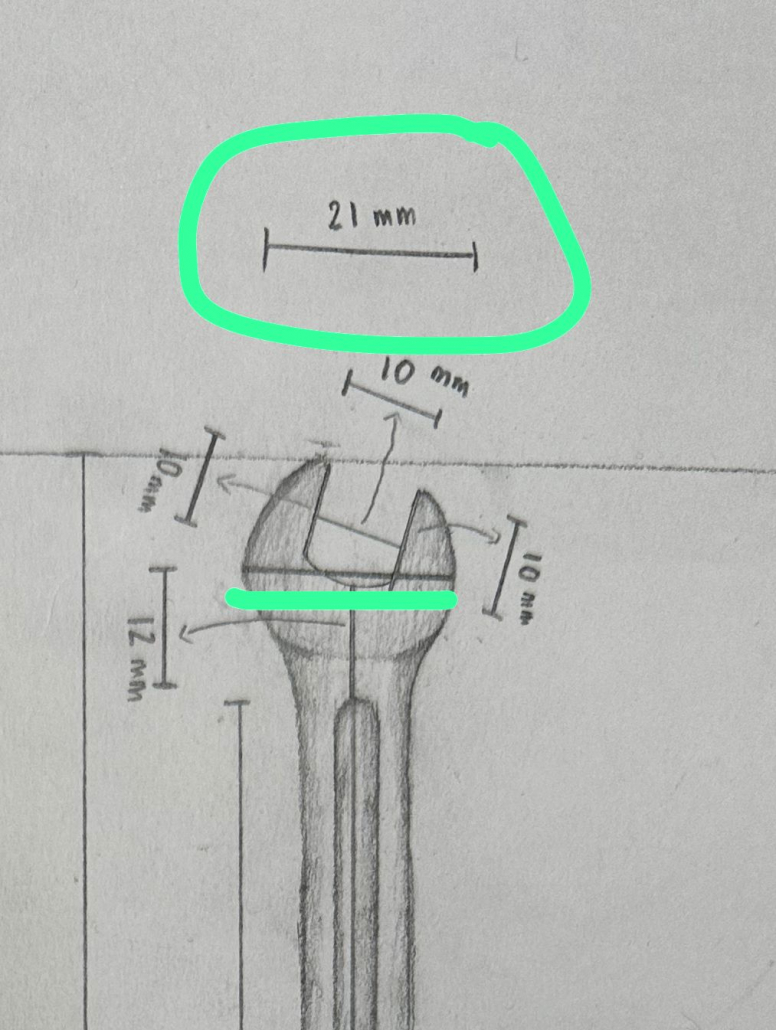
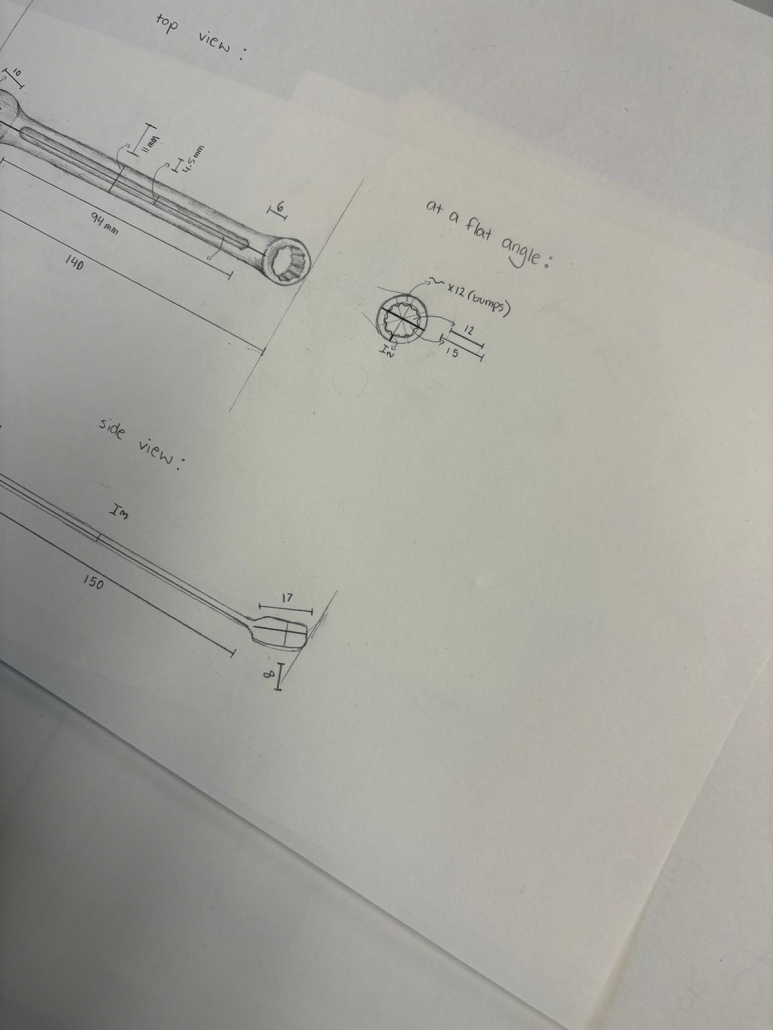
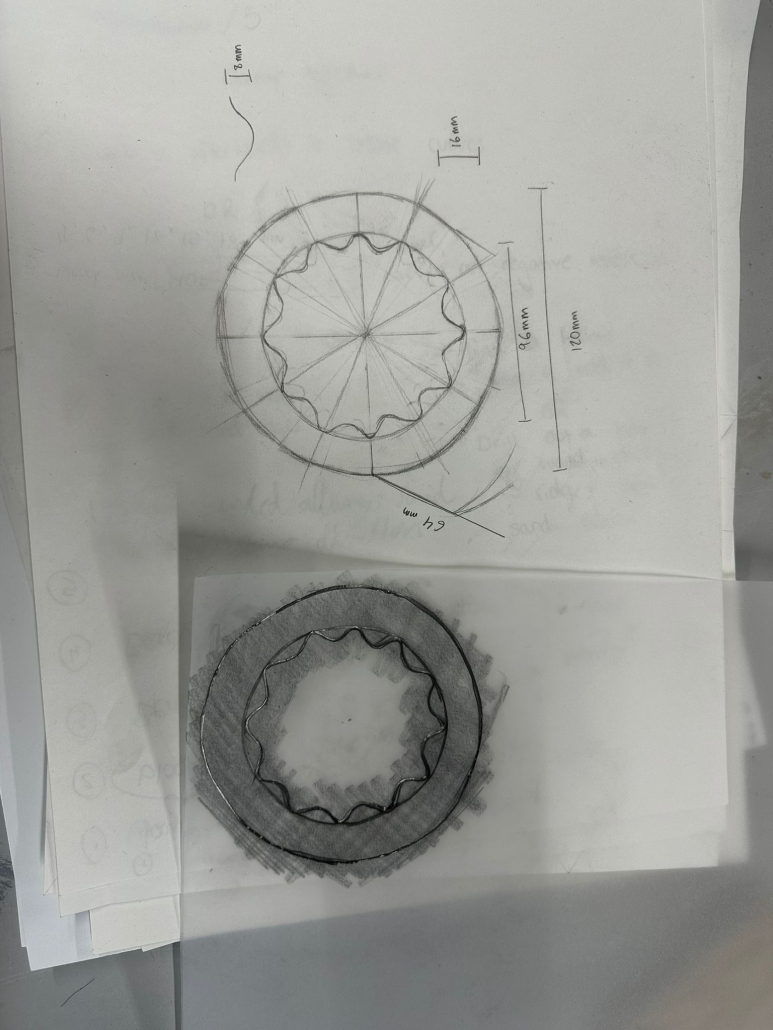
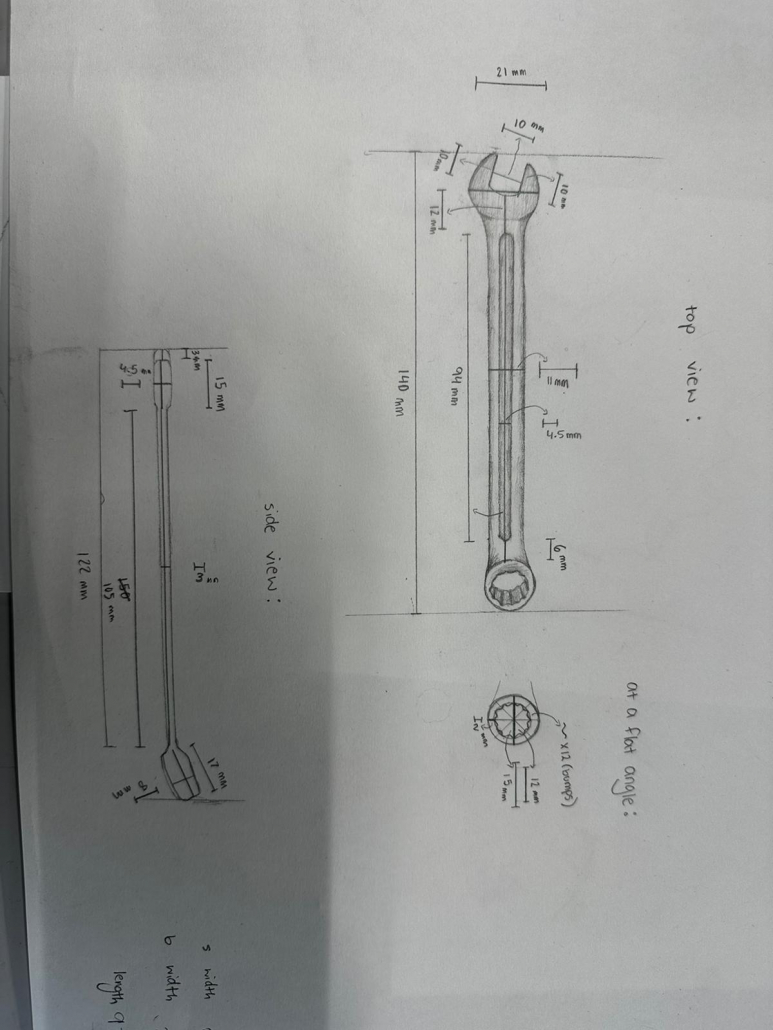
Accurate measurements were essential, so we carefully measured the original spanner’s length, width, and thickness. Visualizing each dimension scaled up by a factor of 8 helped me grasp the spanner’s new proportions. I paid special attention to the finer details—the curves, angles, and hole placements—considering how each would need to scale up precisely to capture the original design faithfully.
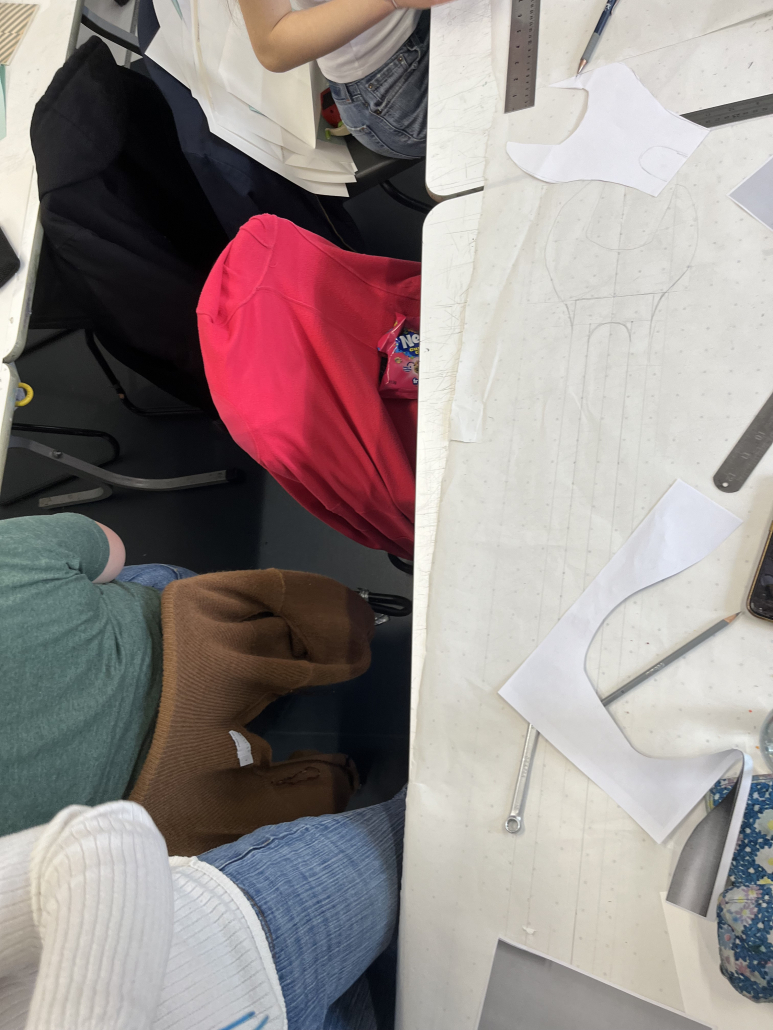
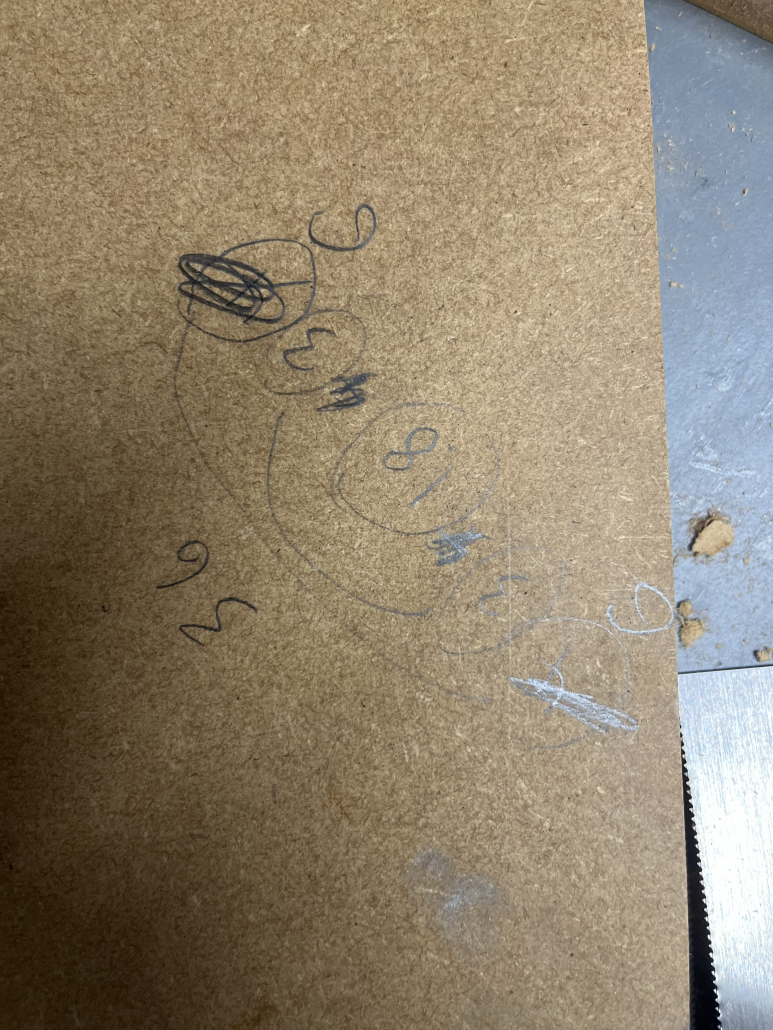
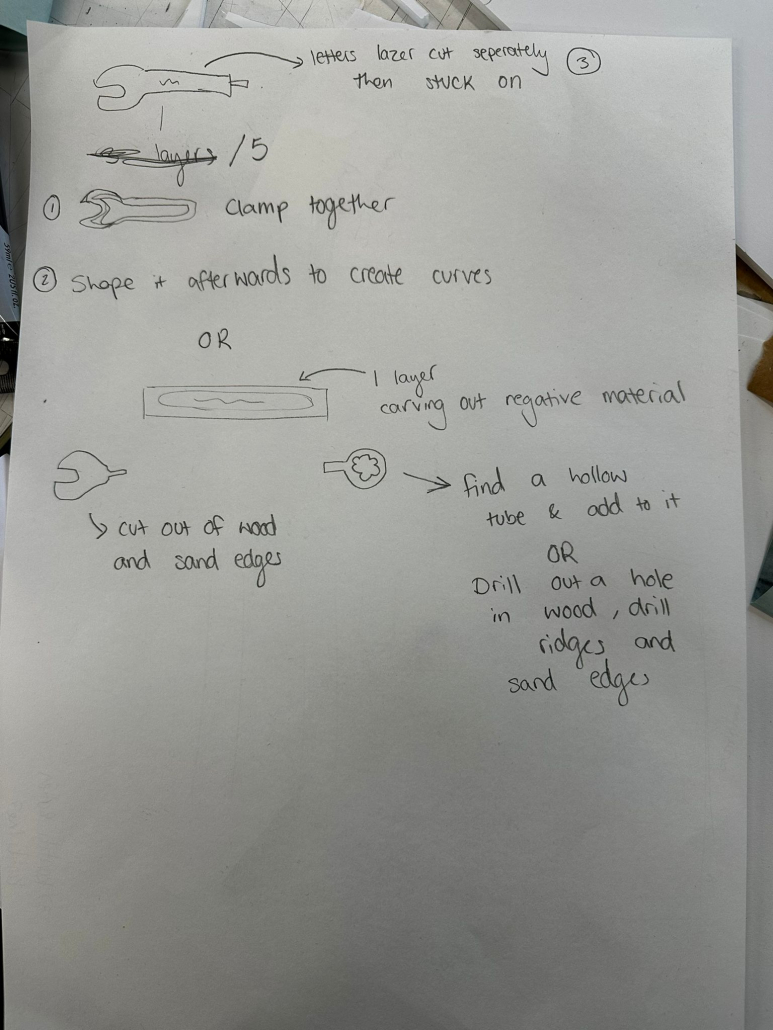
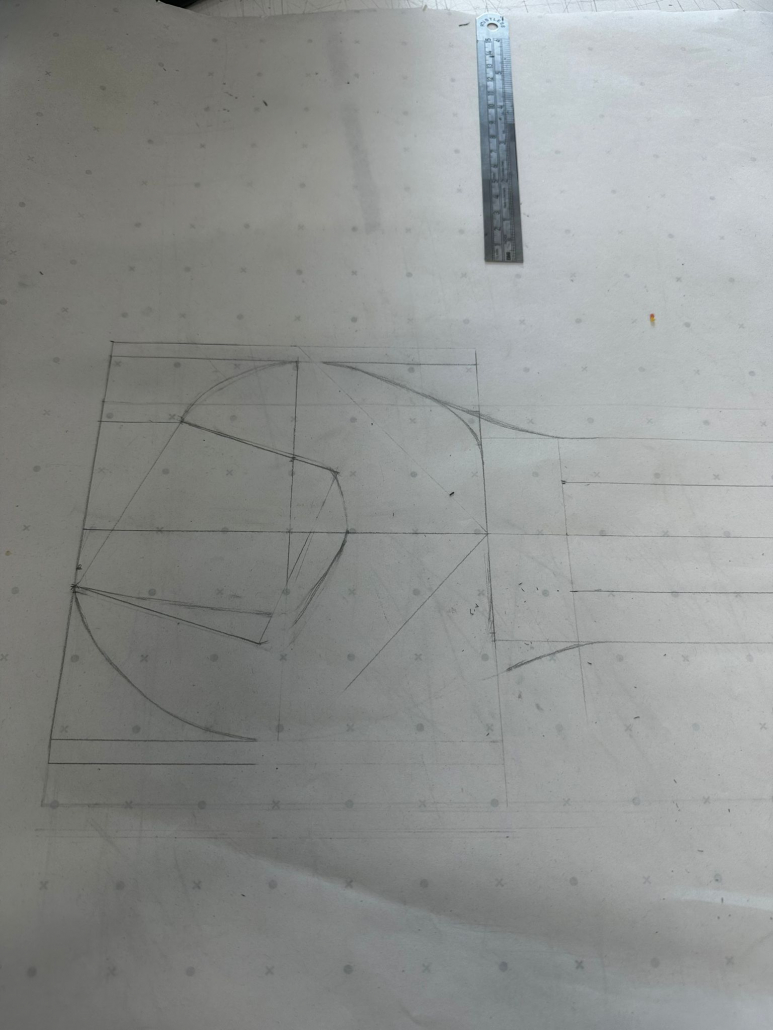
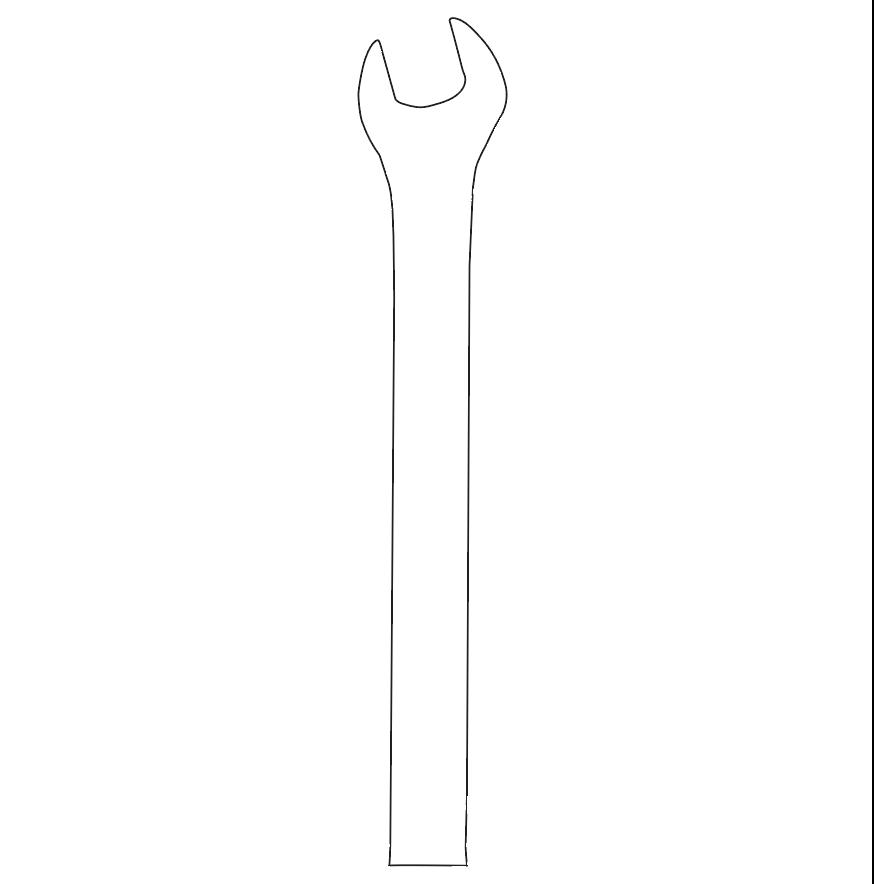
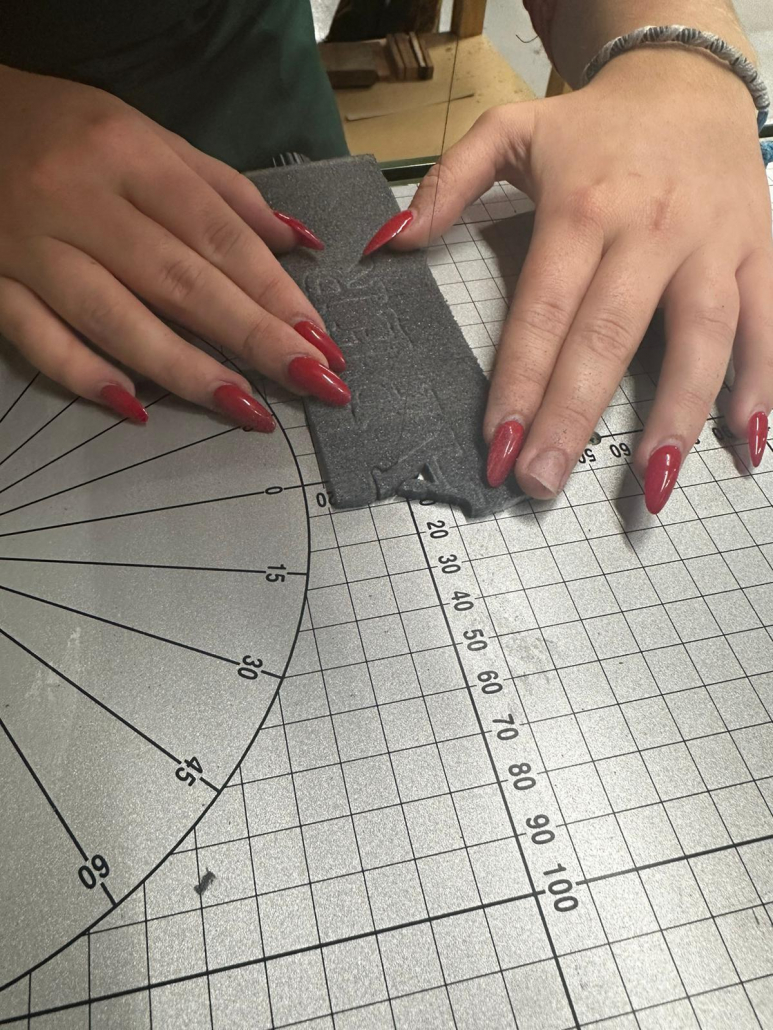
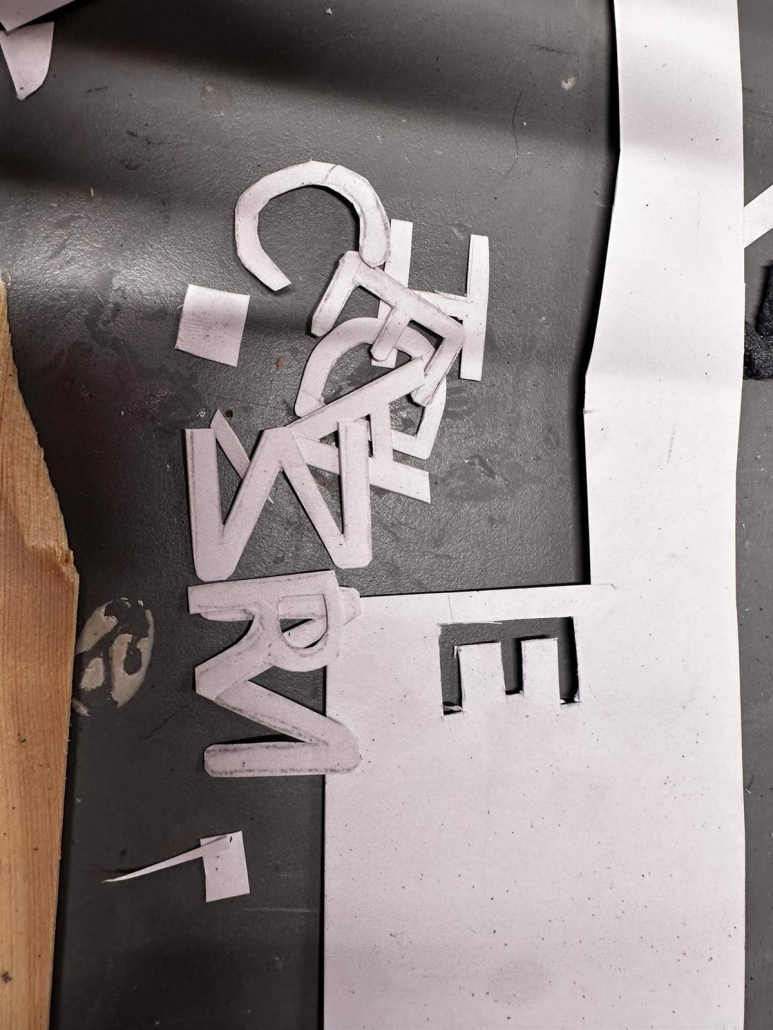
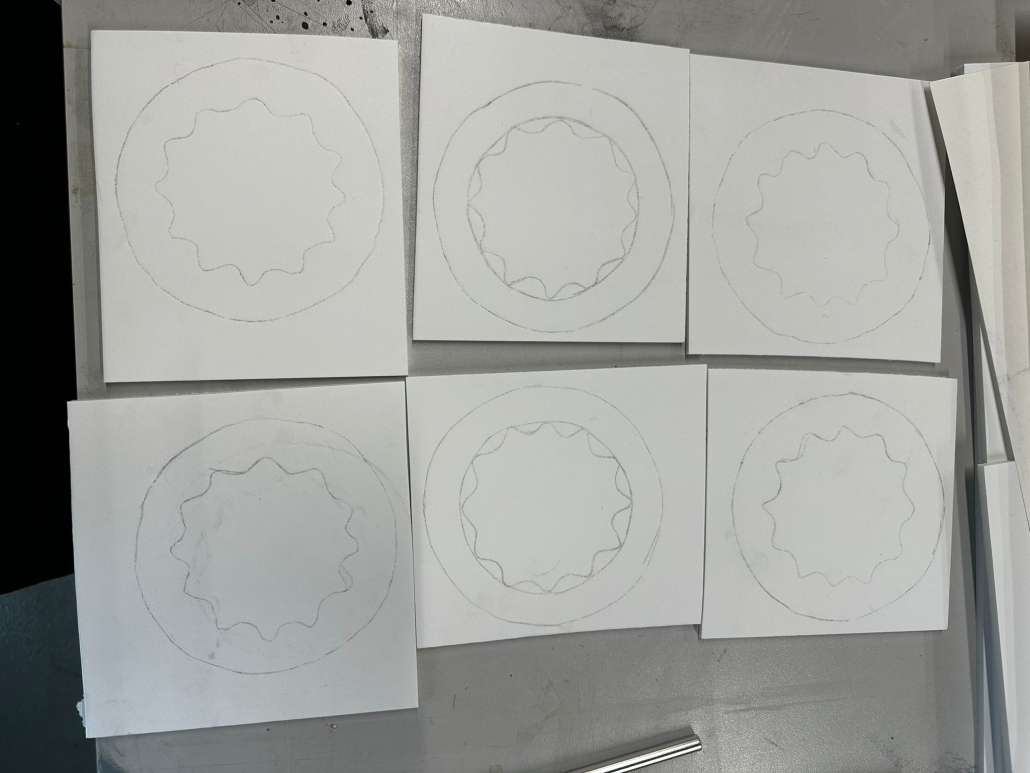
Step 3: Plan and Sketch
Material selection was key here. Foam and wood were straightforward for shaping and painting, but metal would lend an authentic look if durability were a priority. As we sketched the enlarged spanner, I envisioned it in its full size, focusing on how each detail would translate to a larger scale. This sketch would become my blueprint, guiding every step that followed.
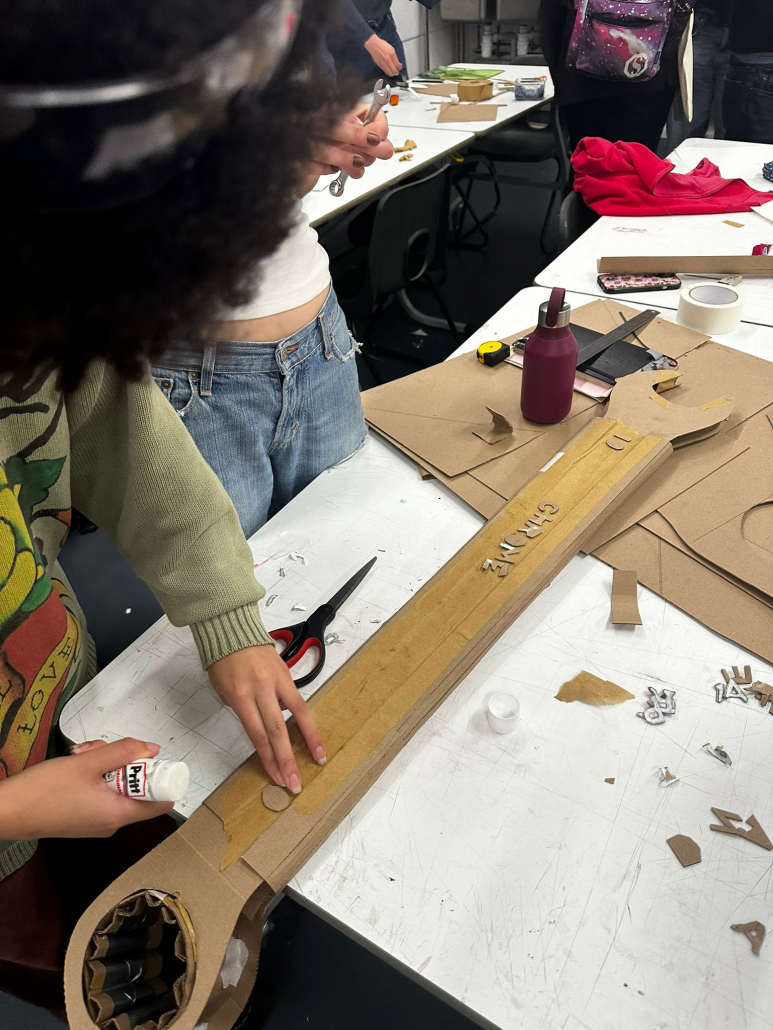
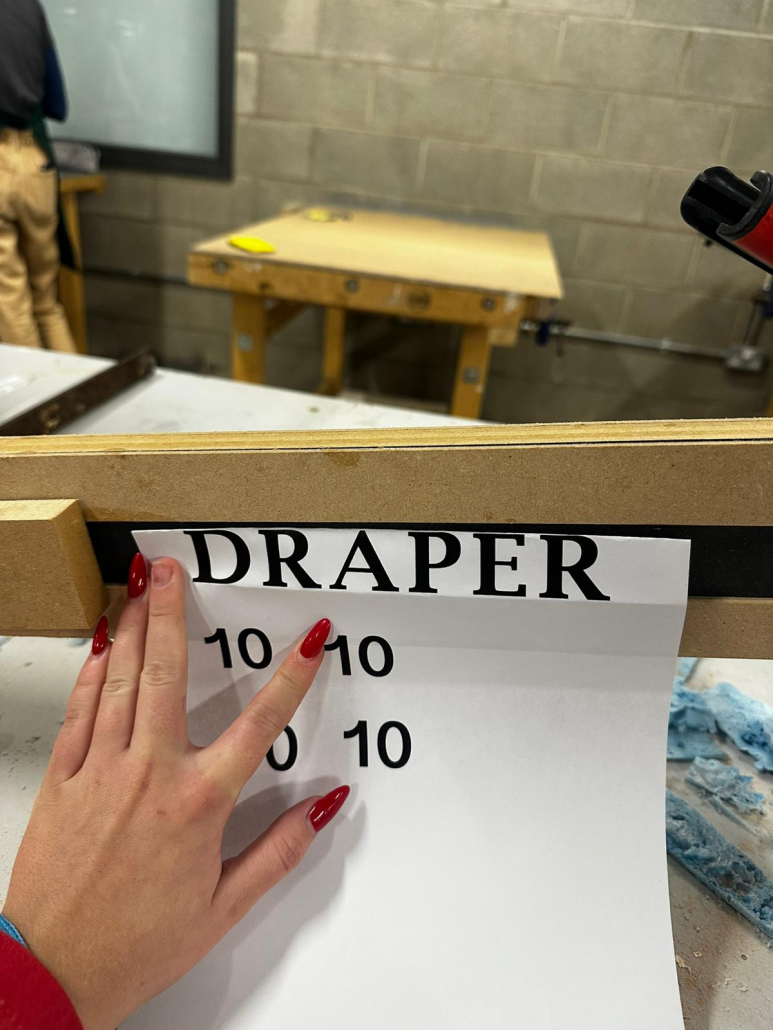
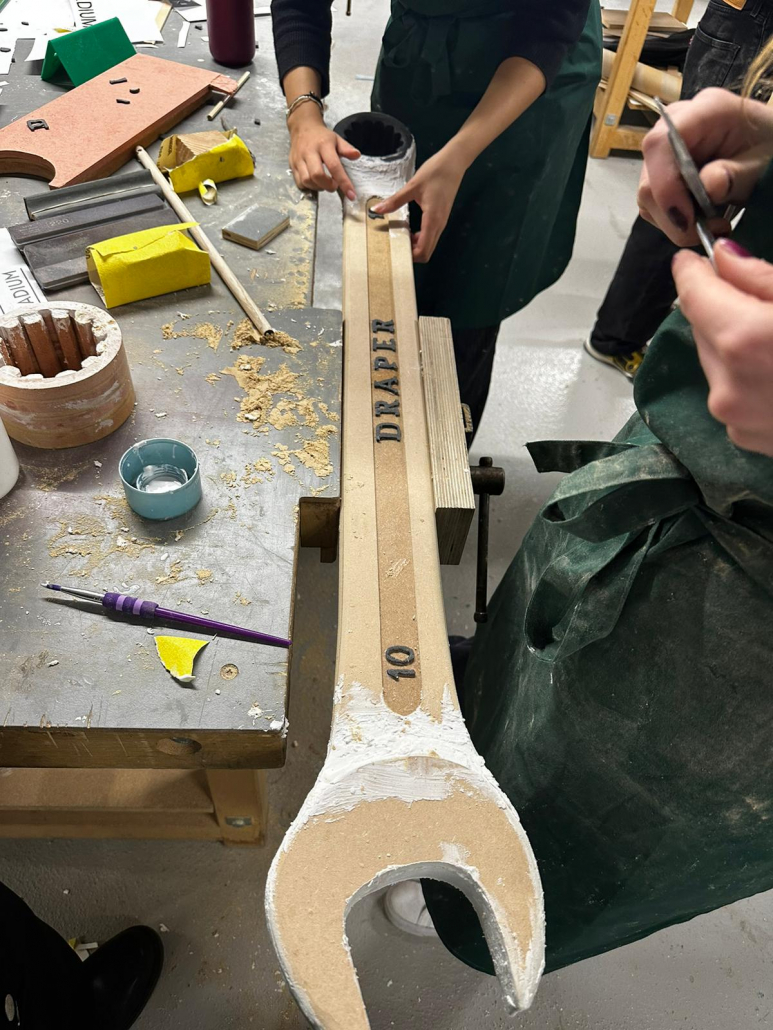
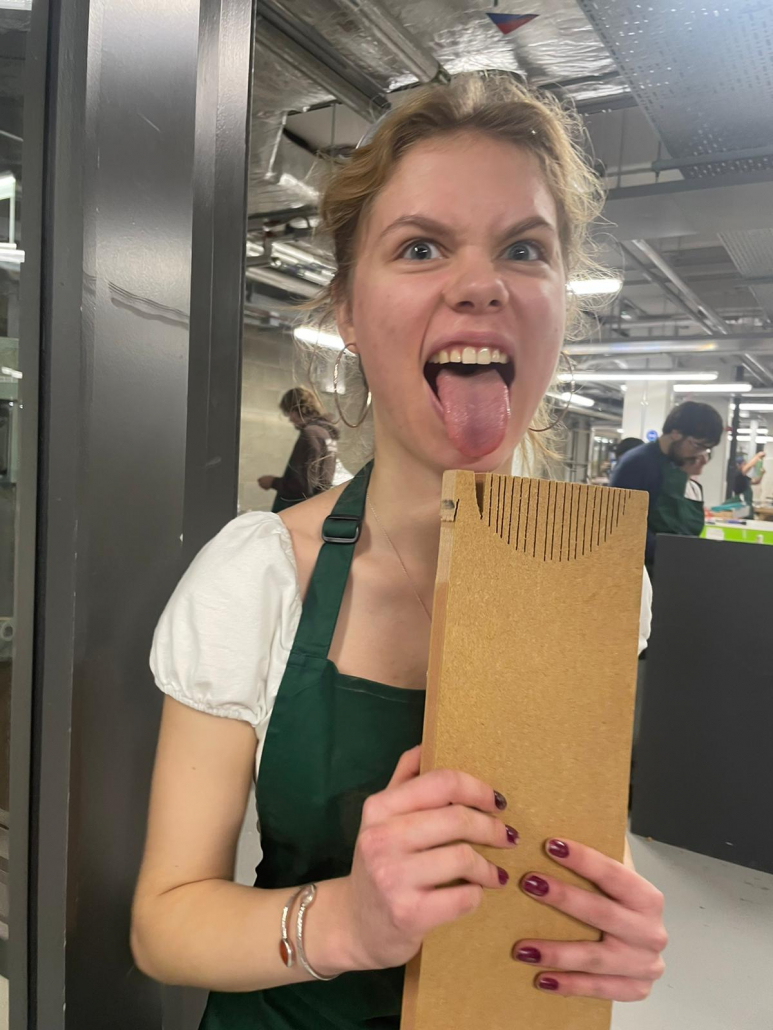
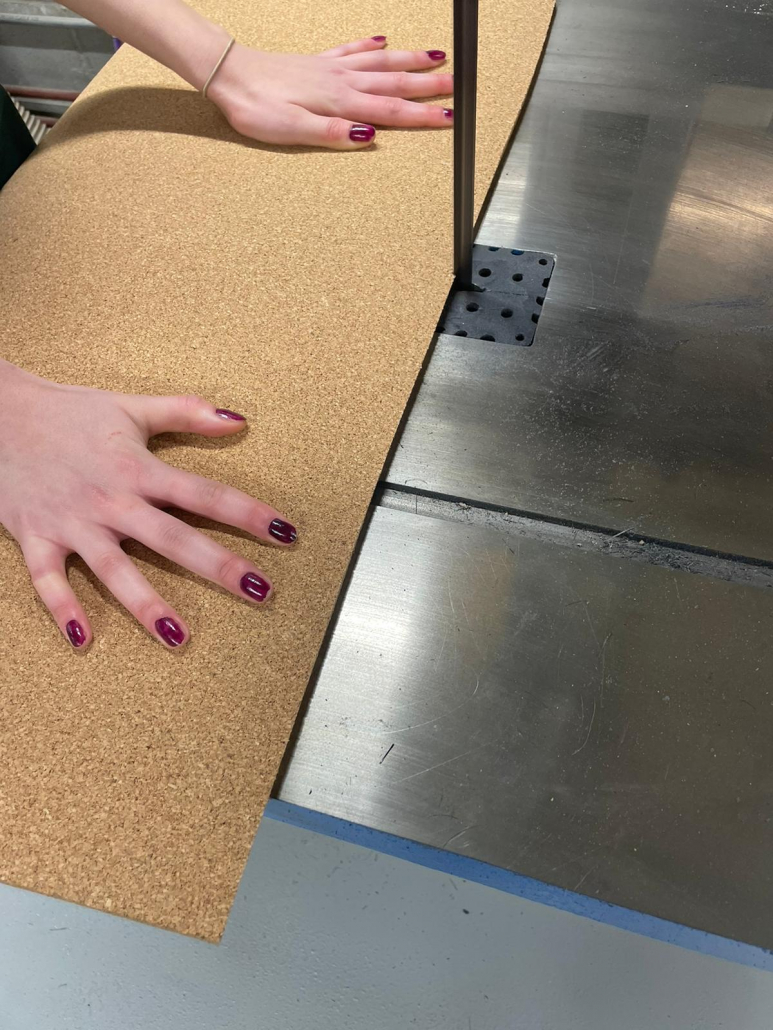
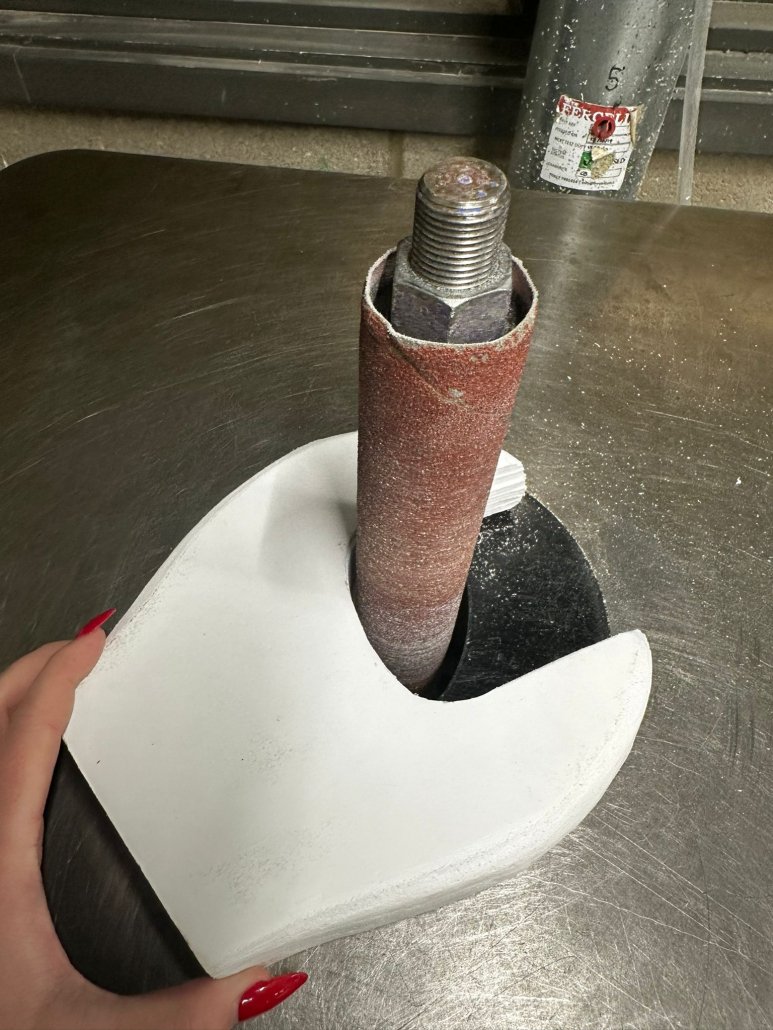
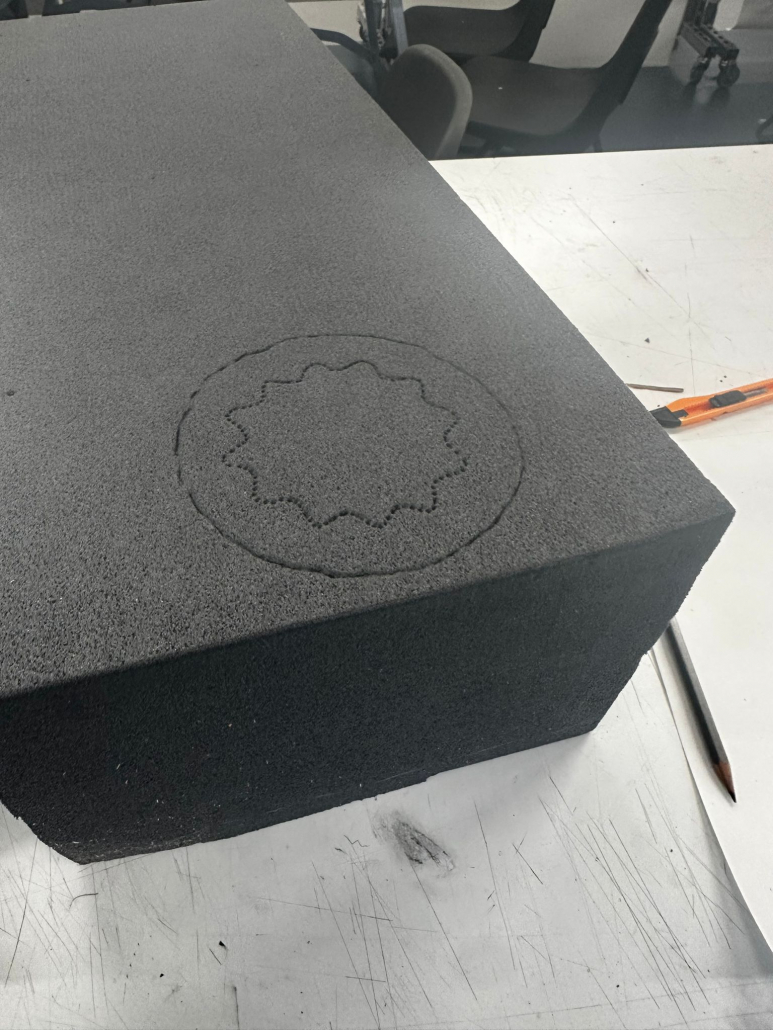
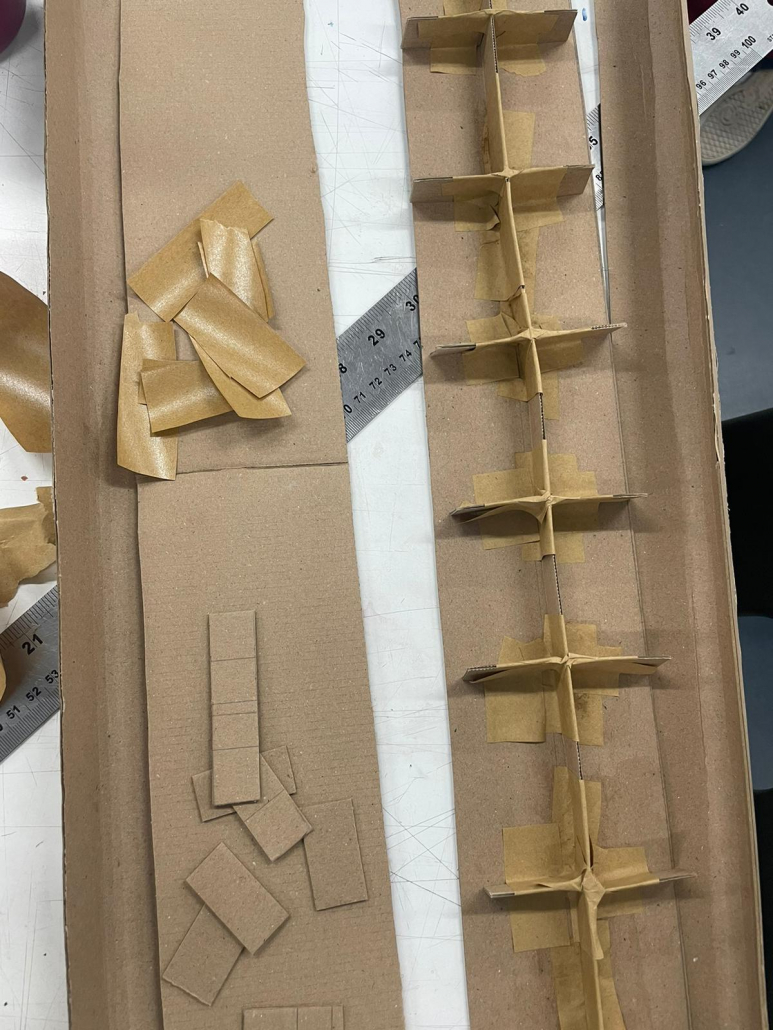
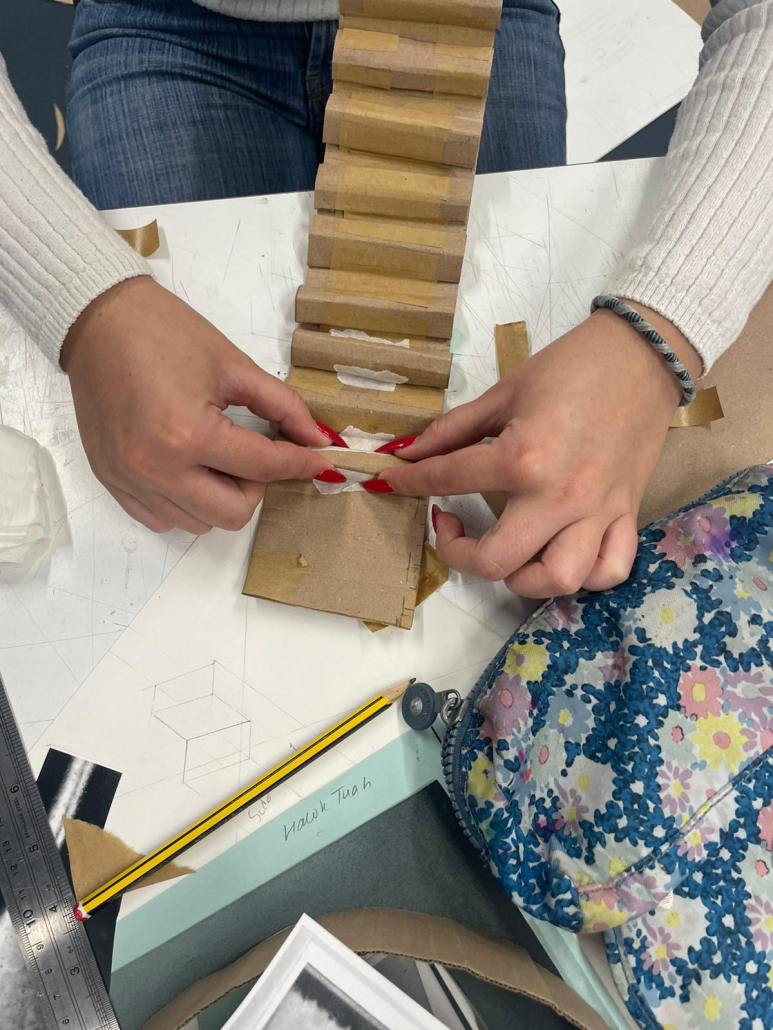
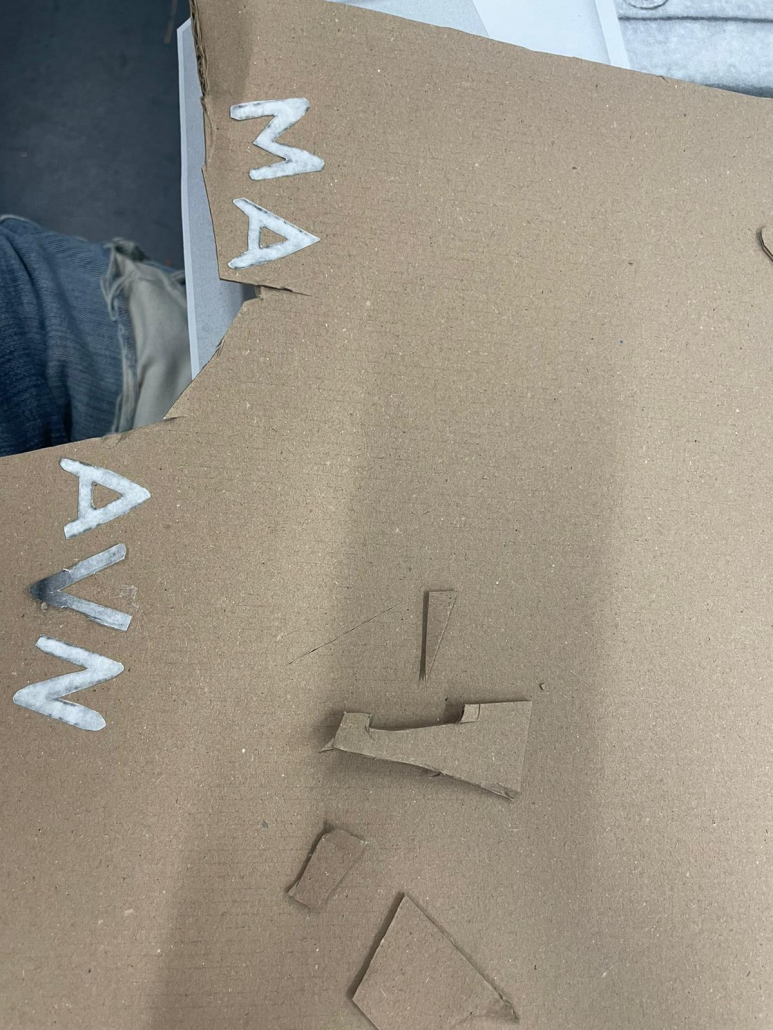
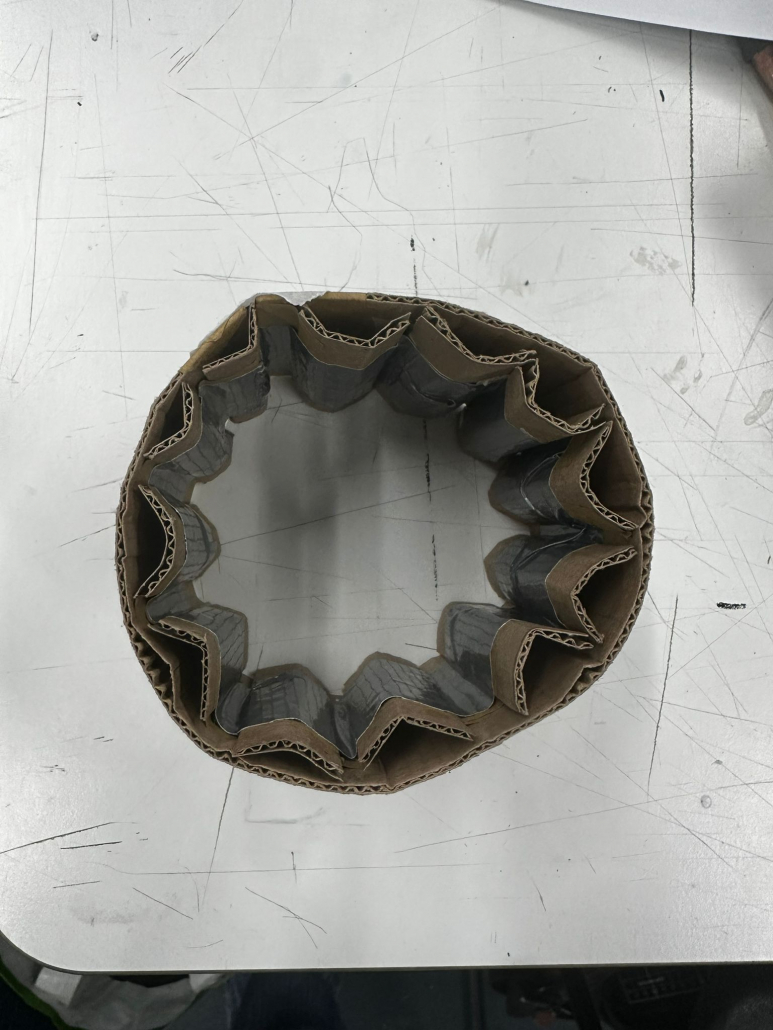
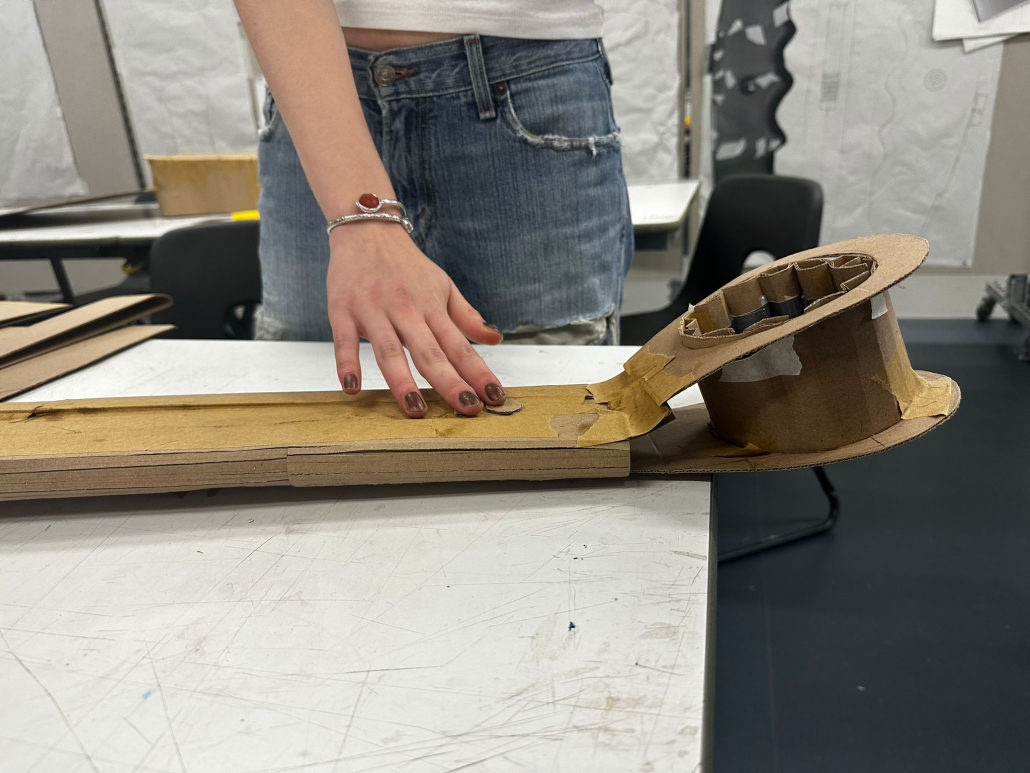
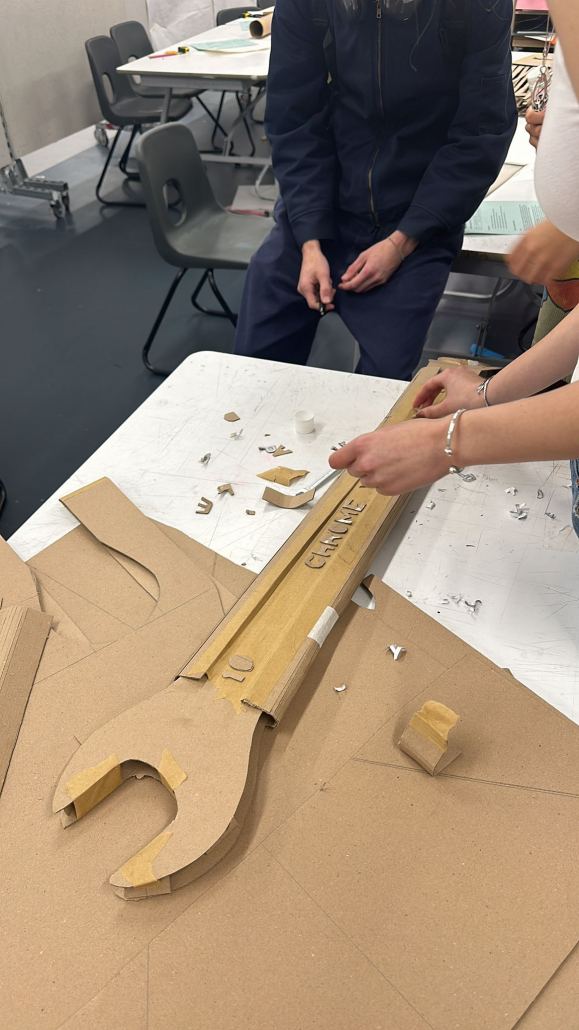
We created a cardboard copy that would act as a base for the look of the spanner.
a
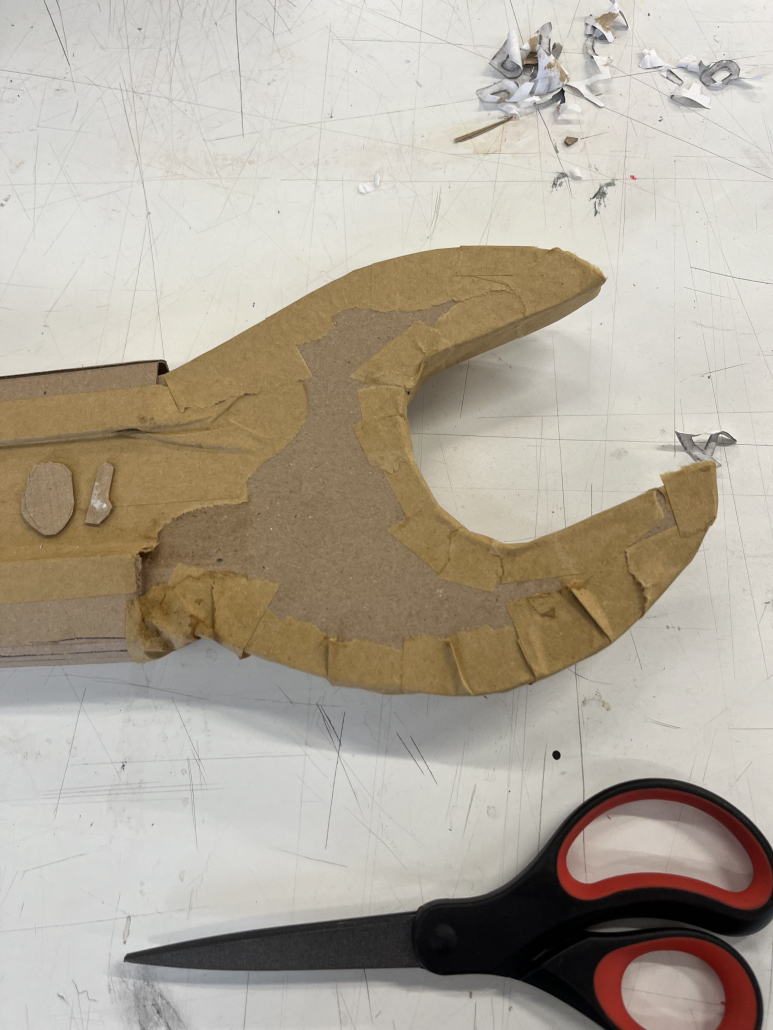
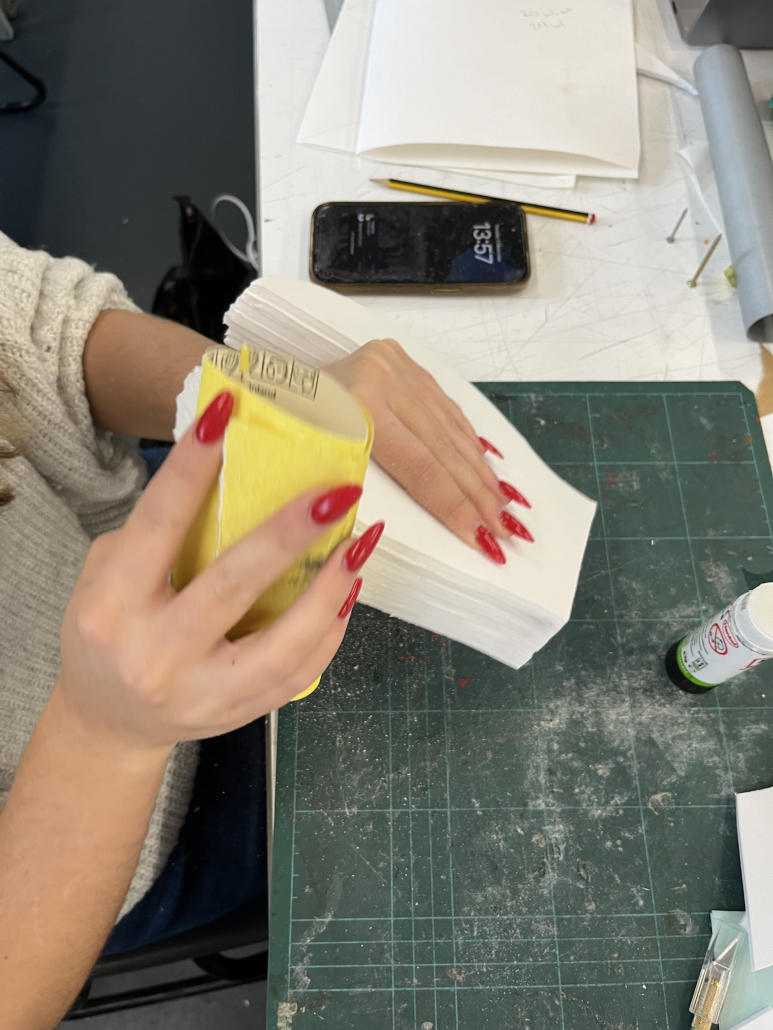
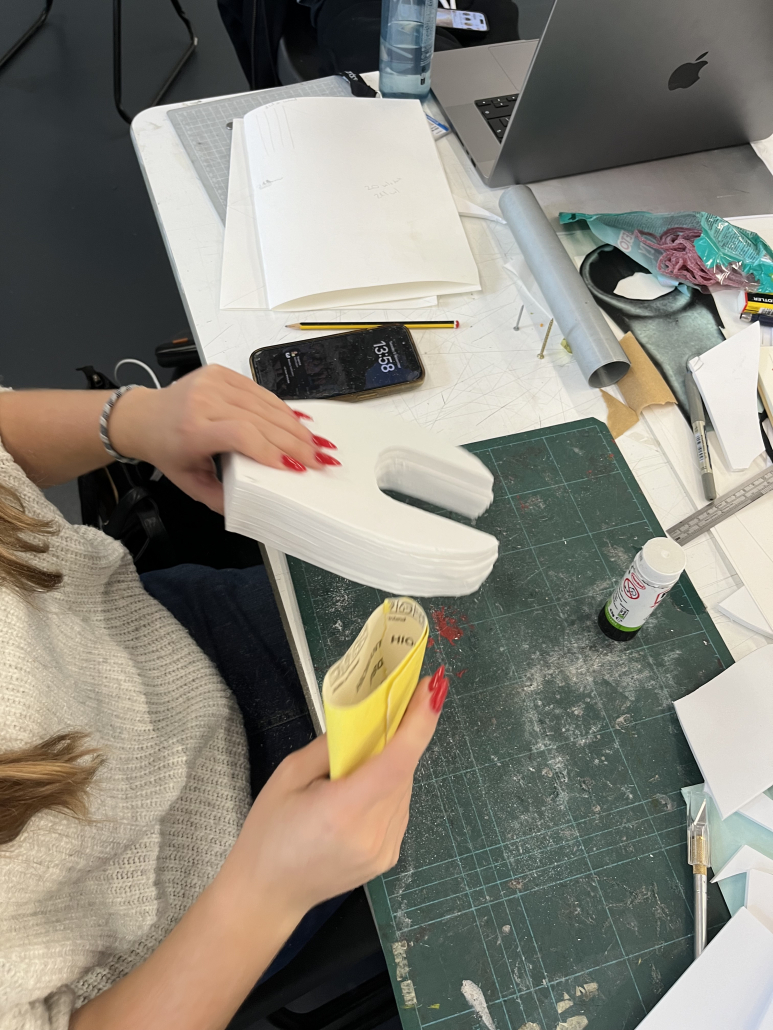
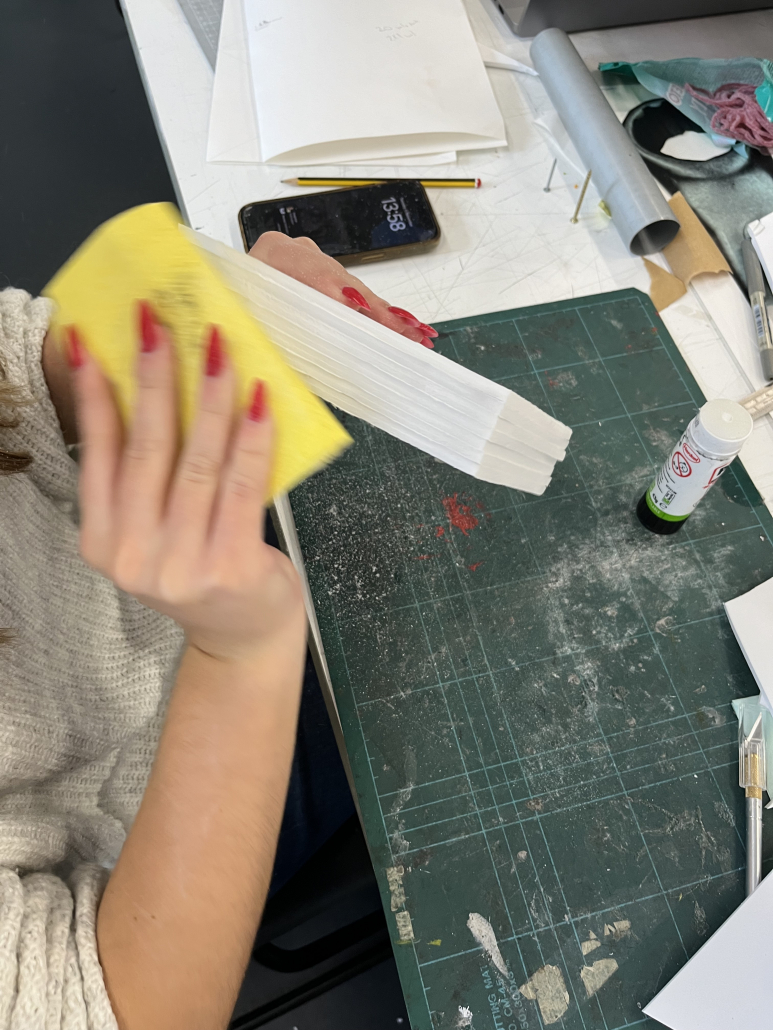
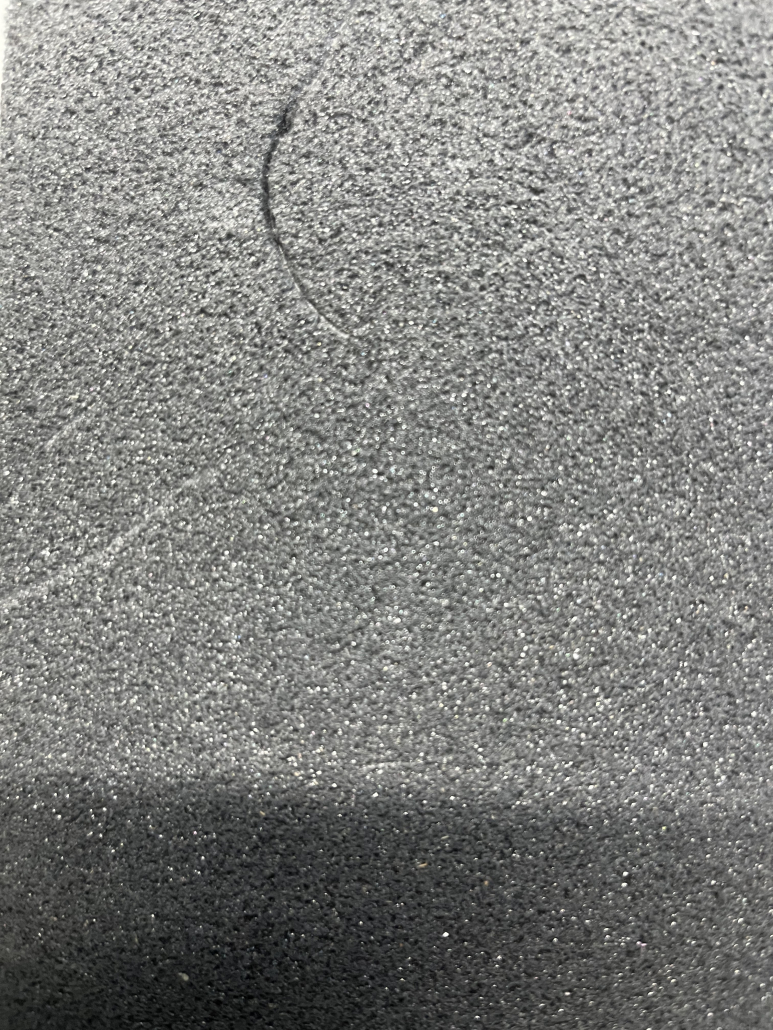
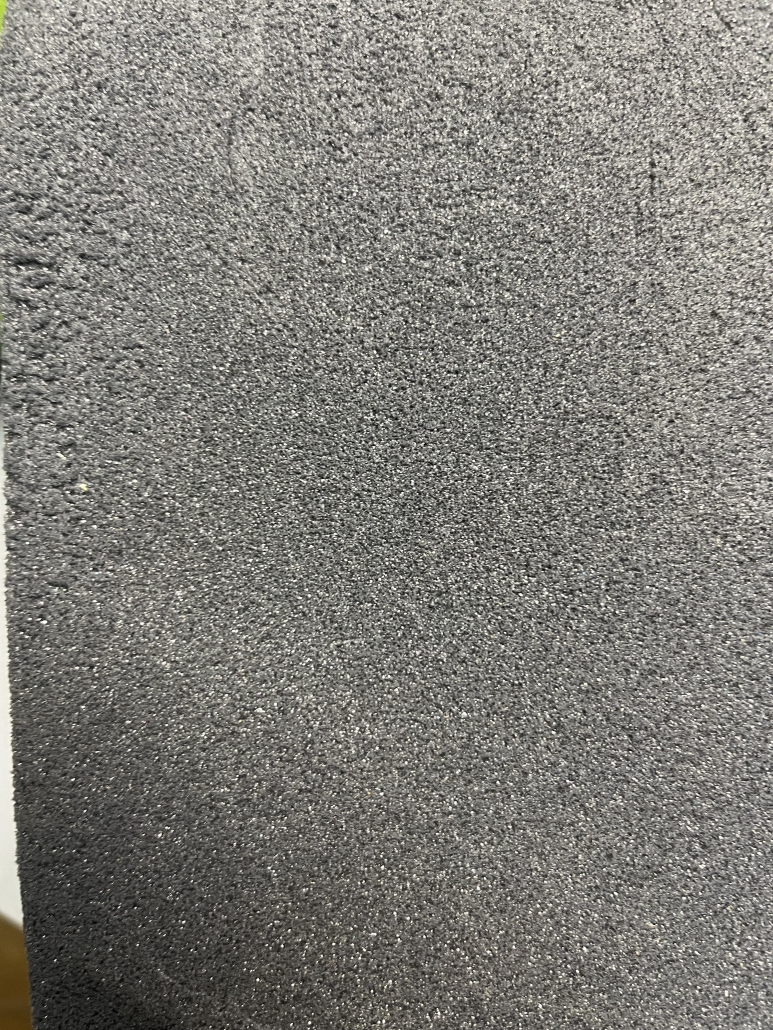
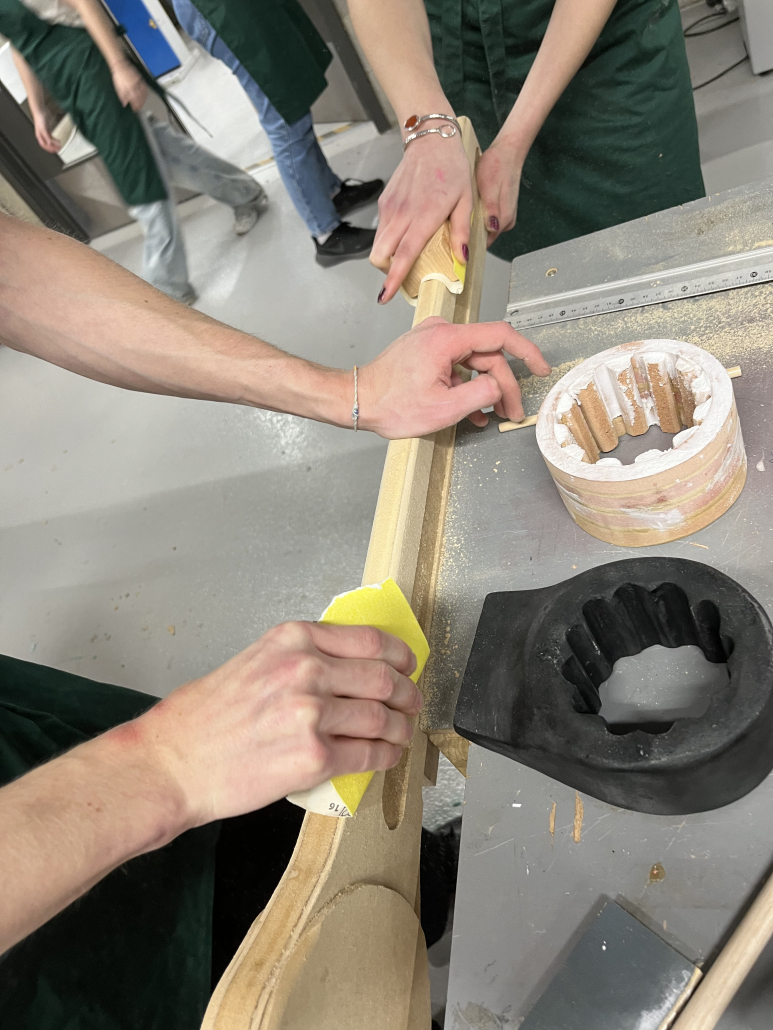
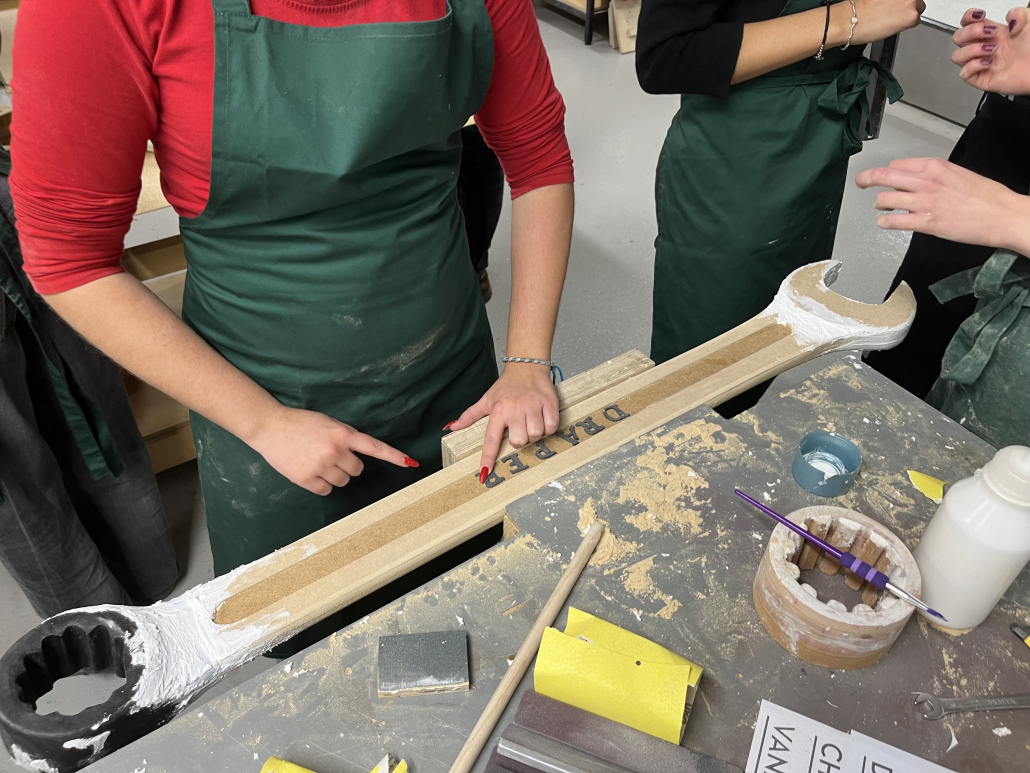
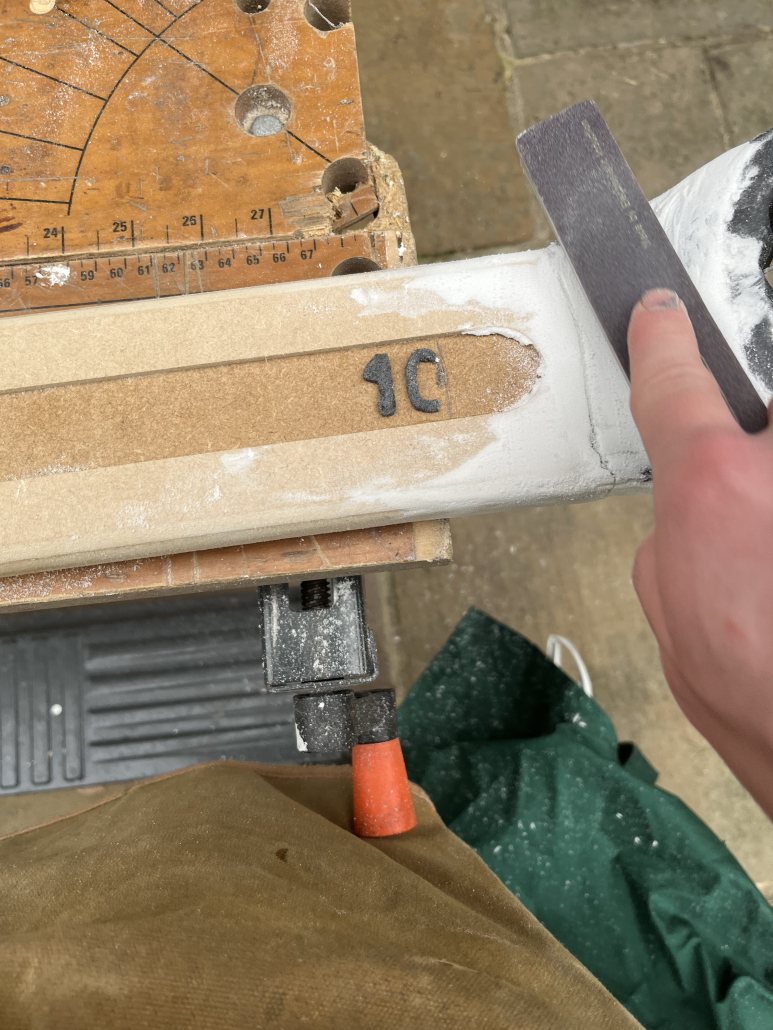
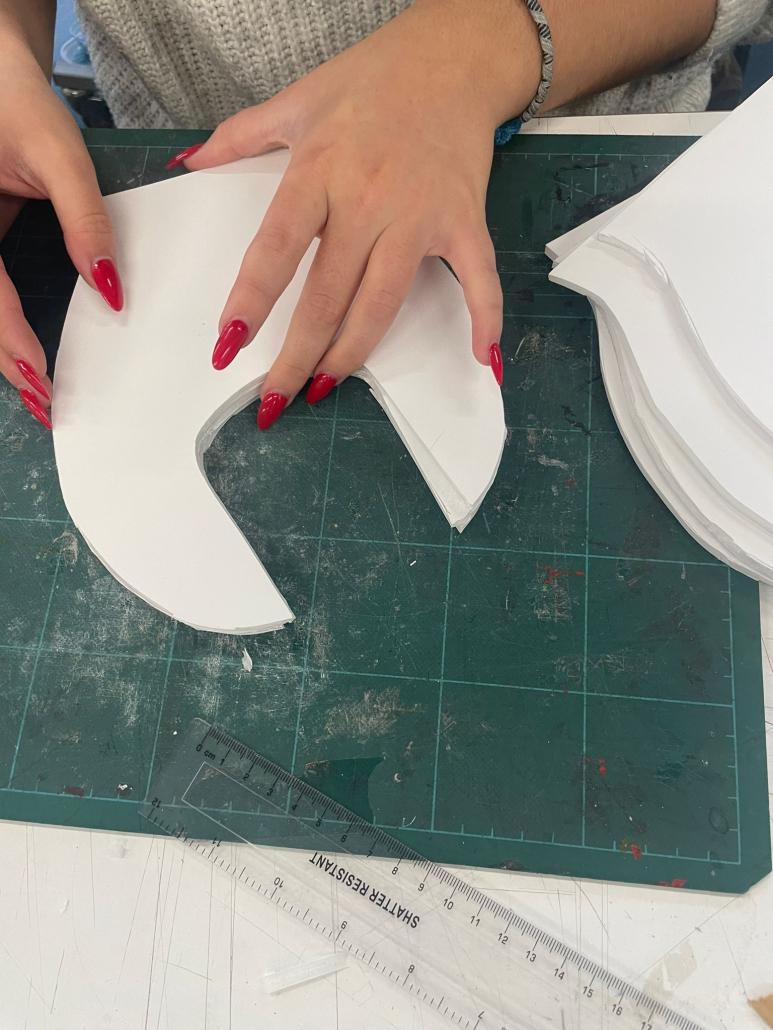
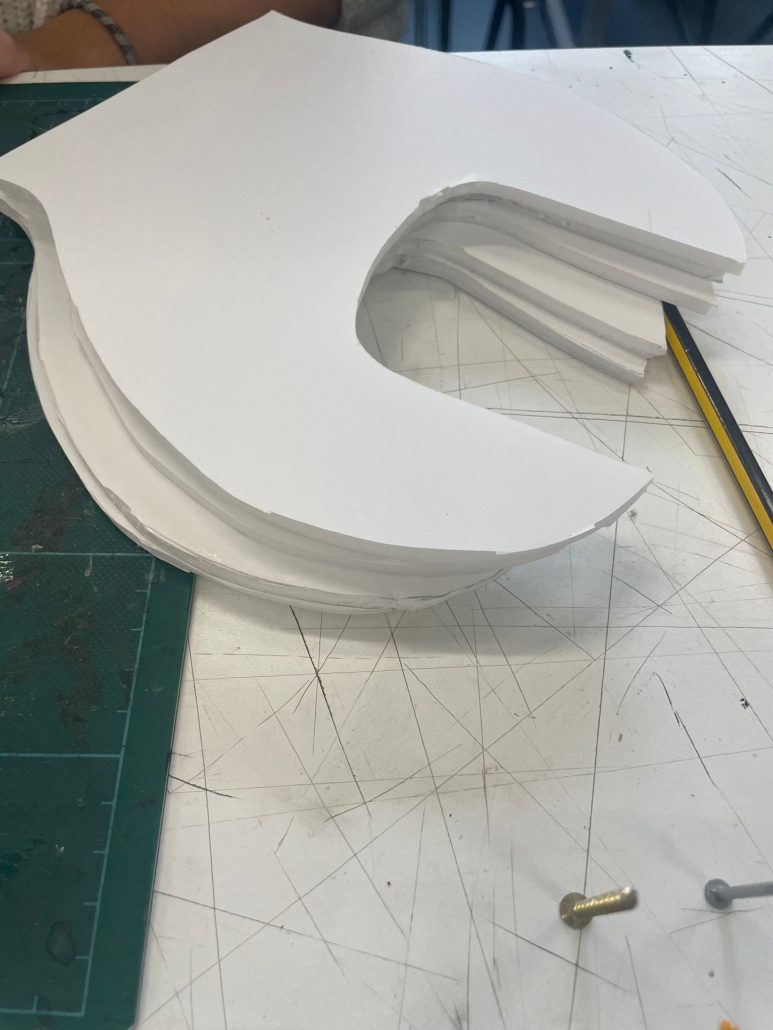
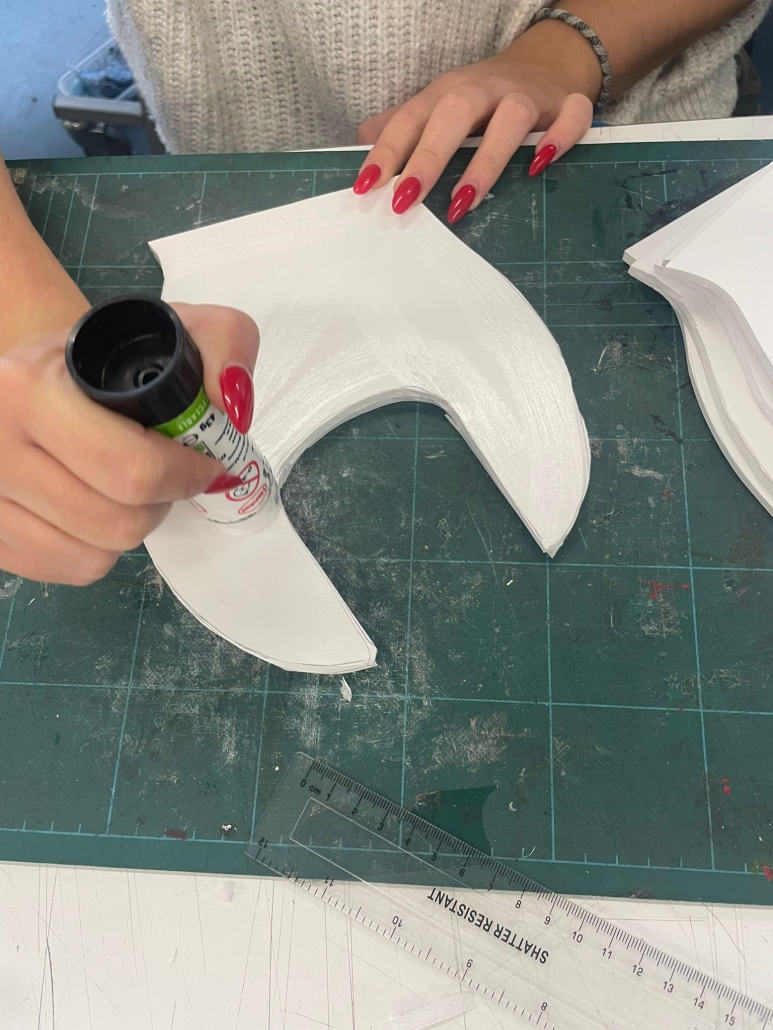
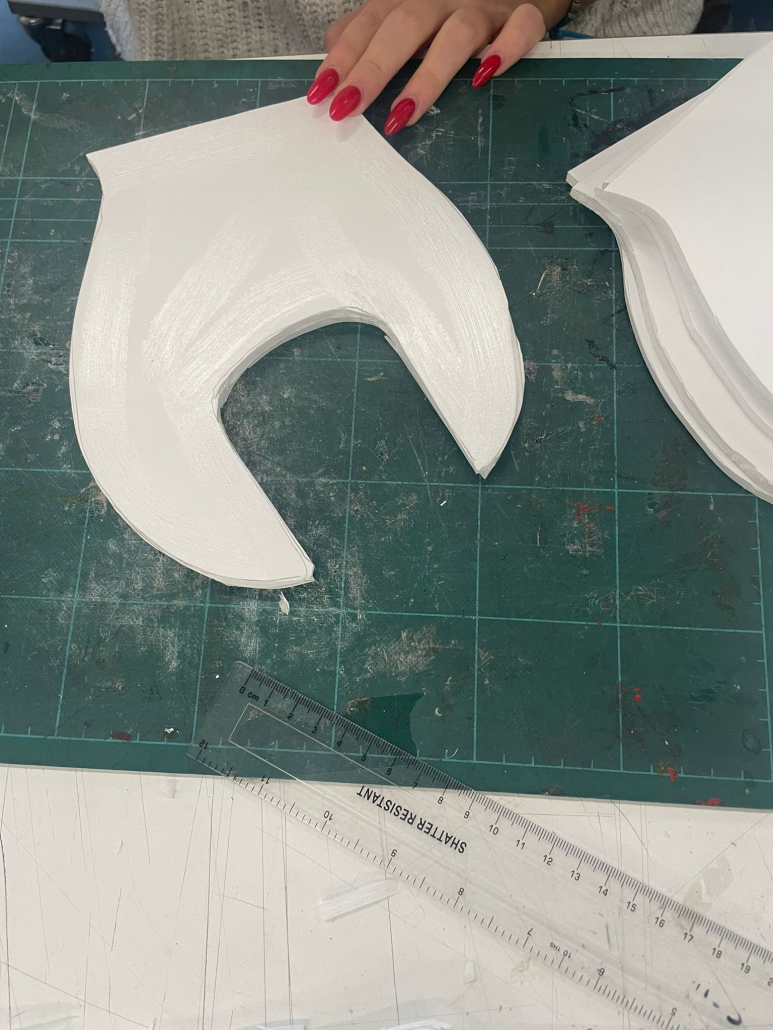
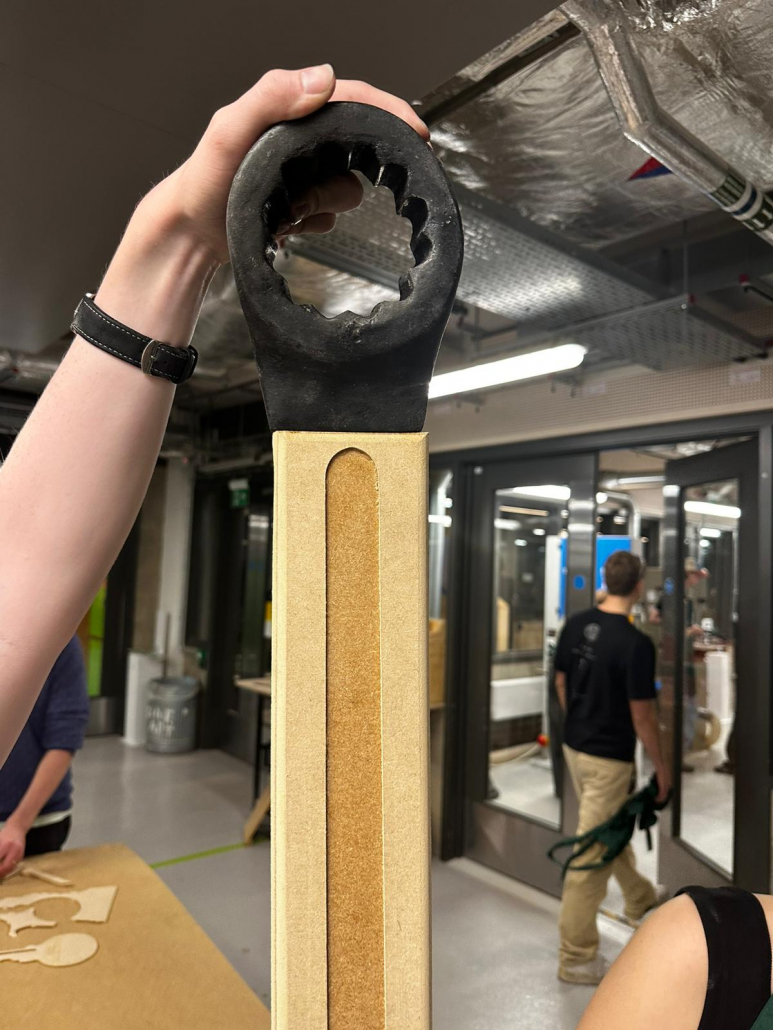
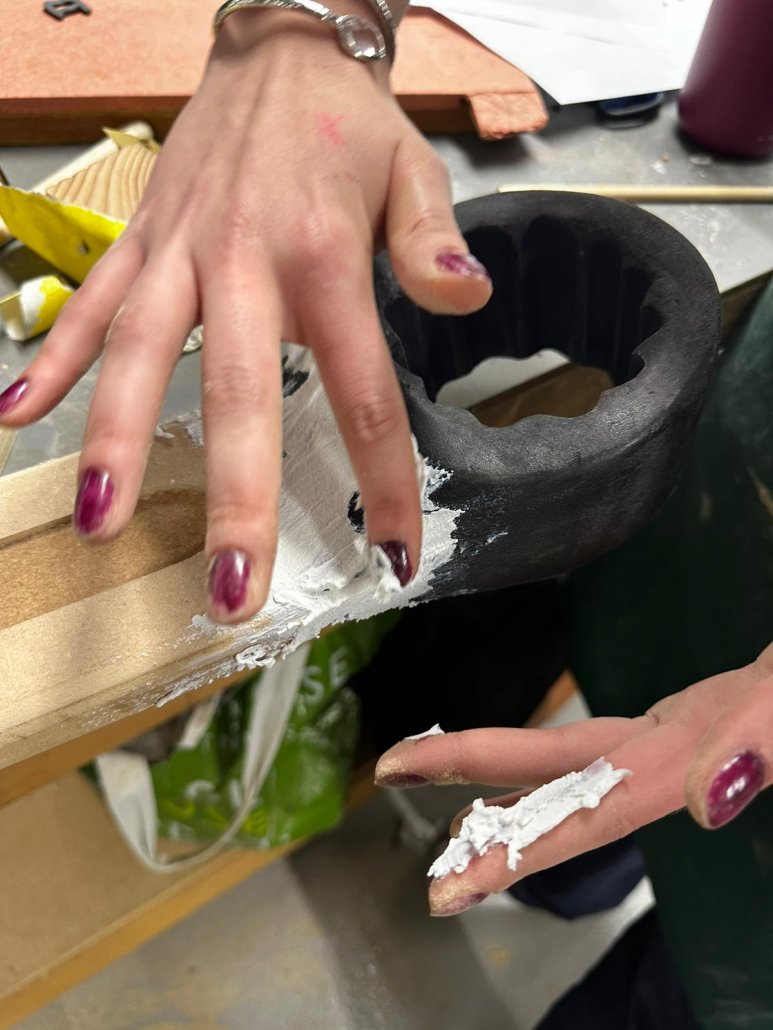
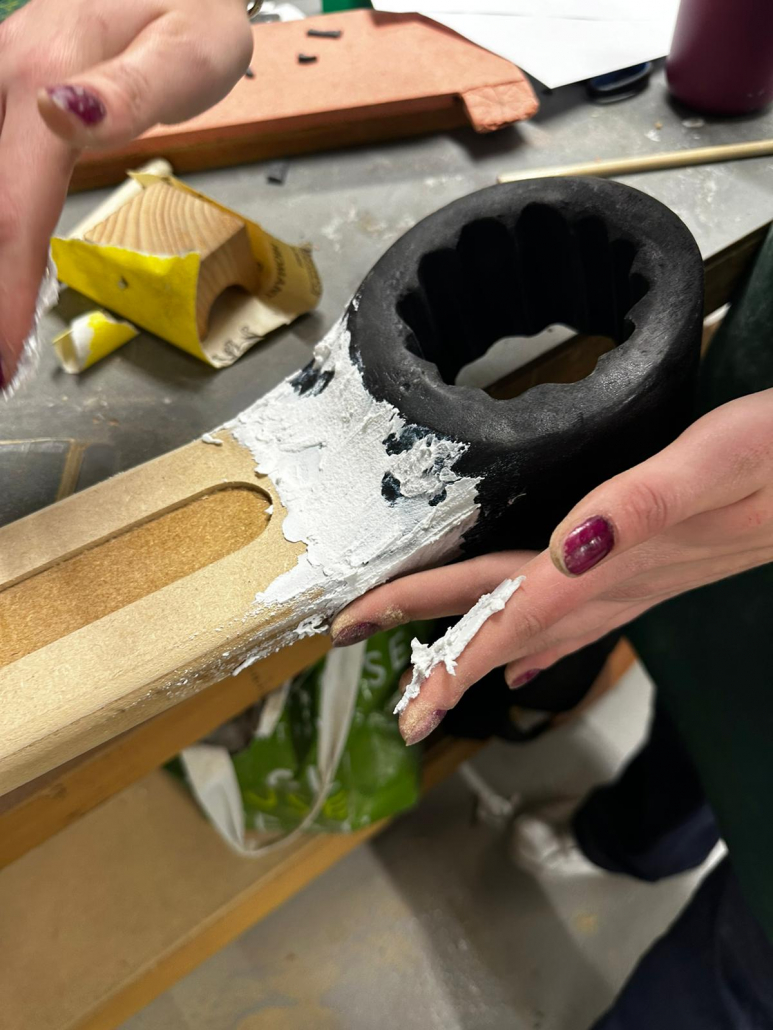
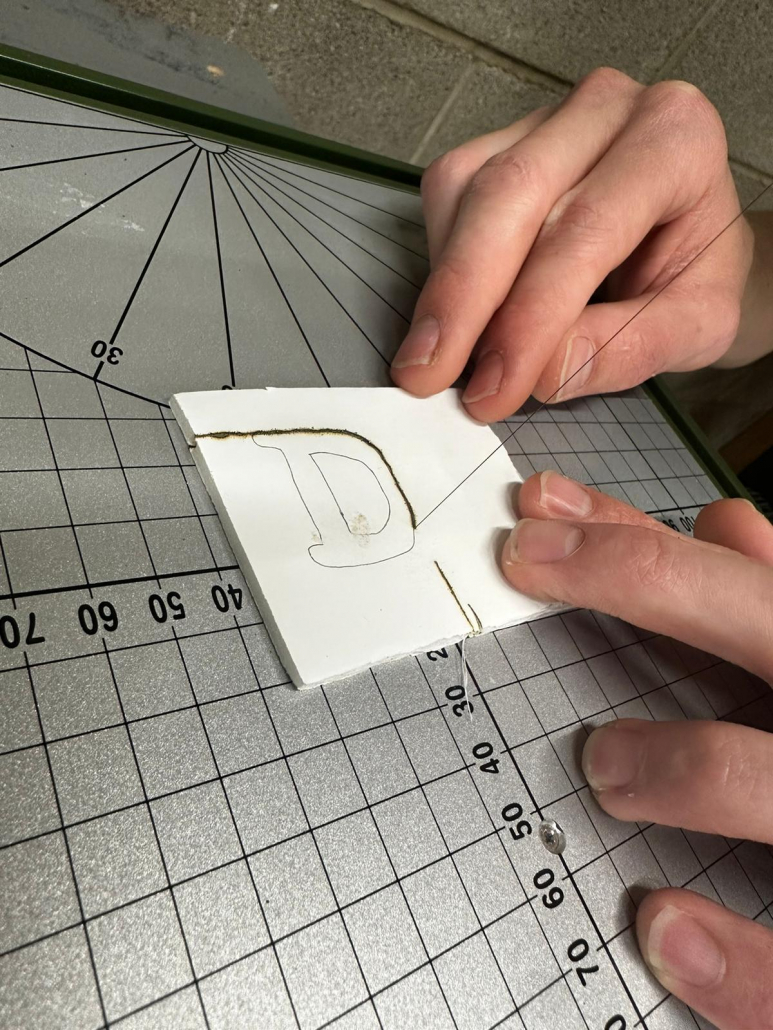
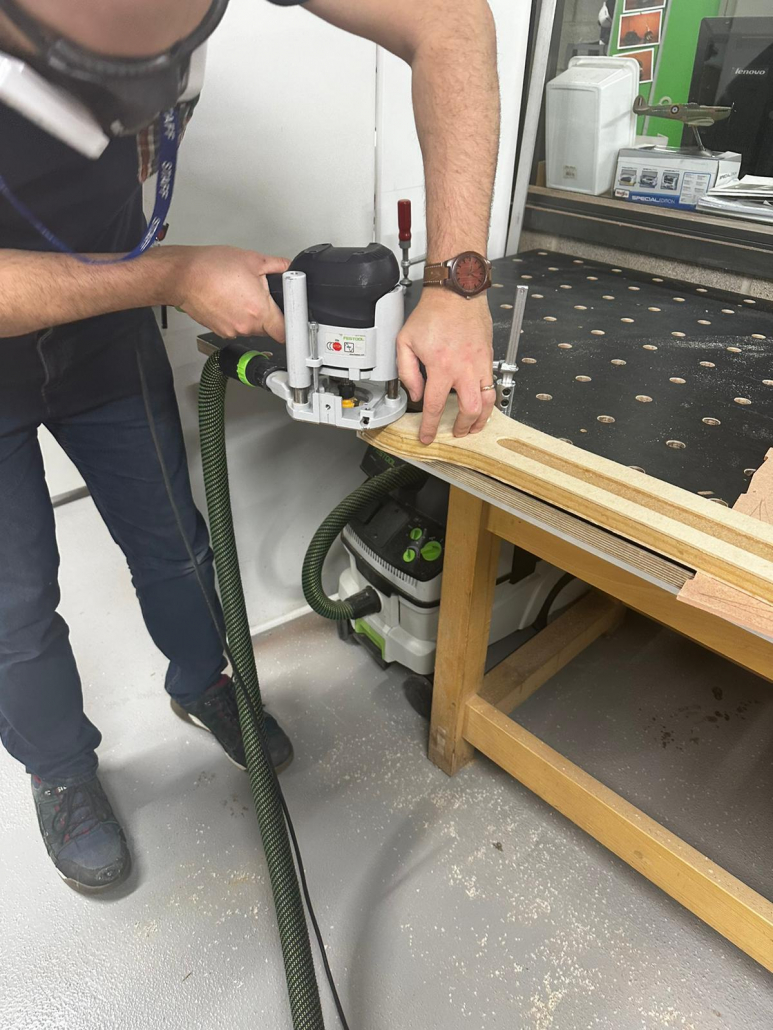
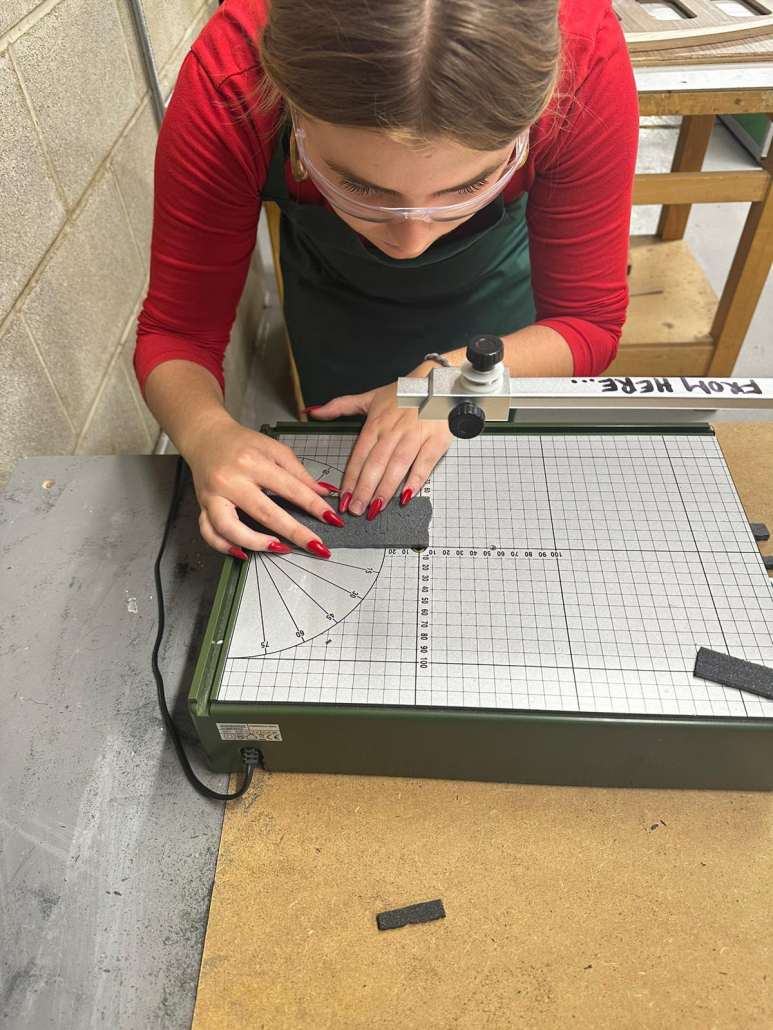
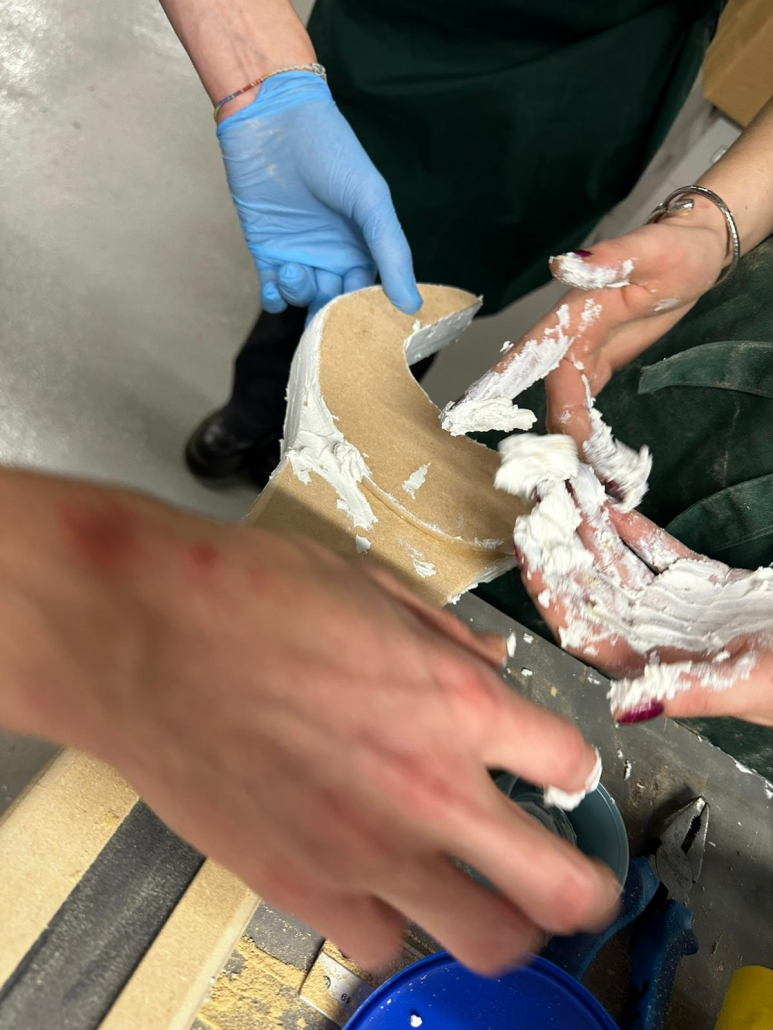
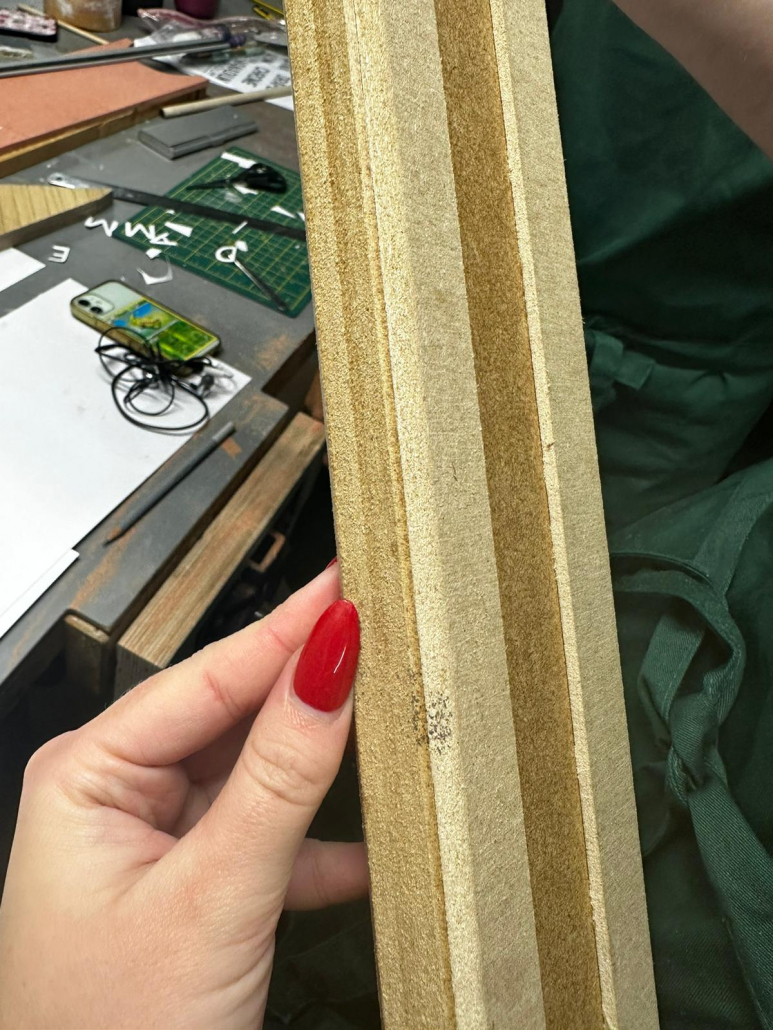
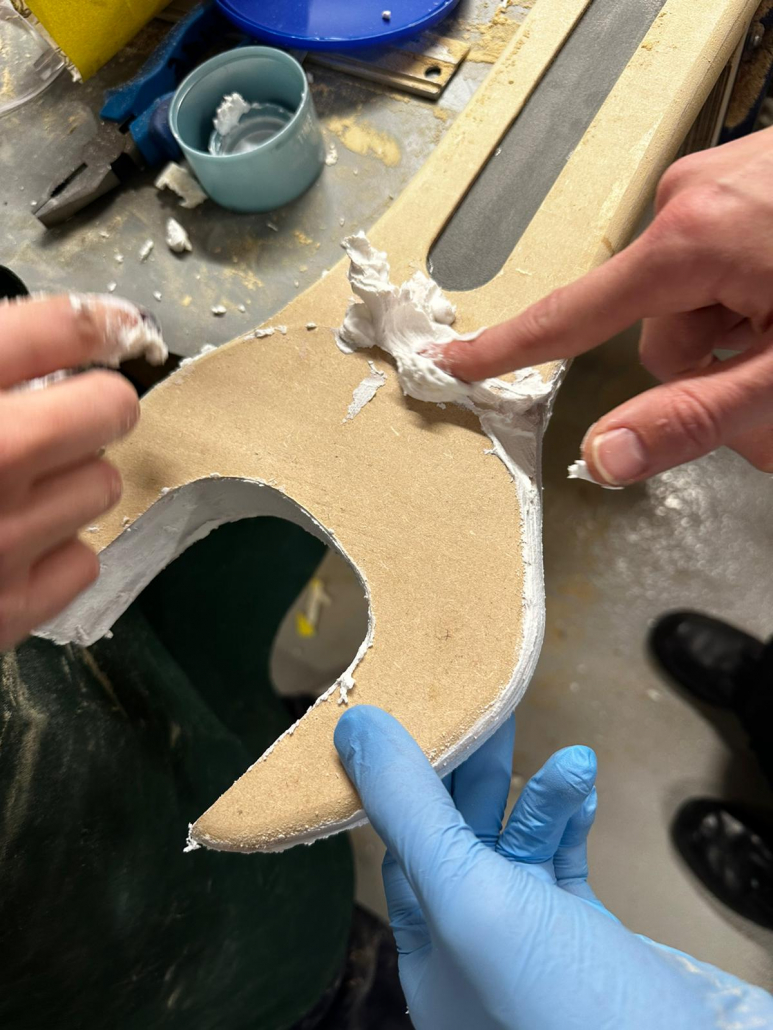
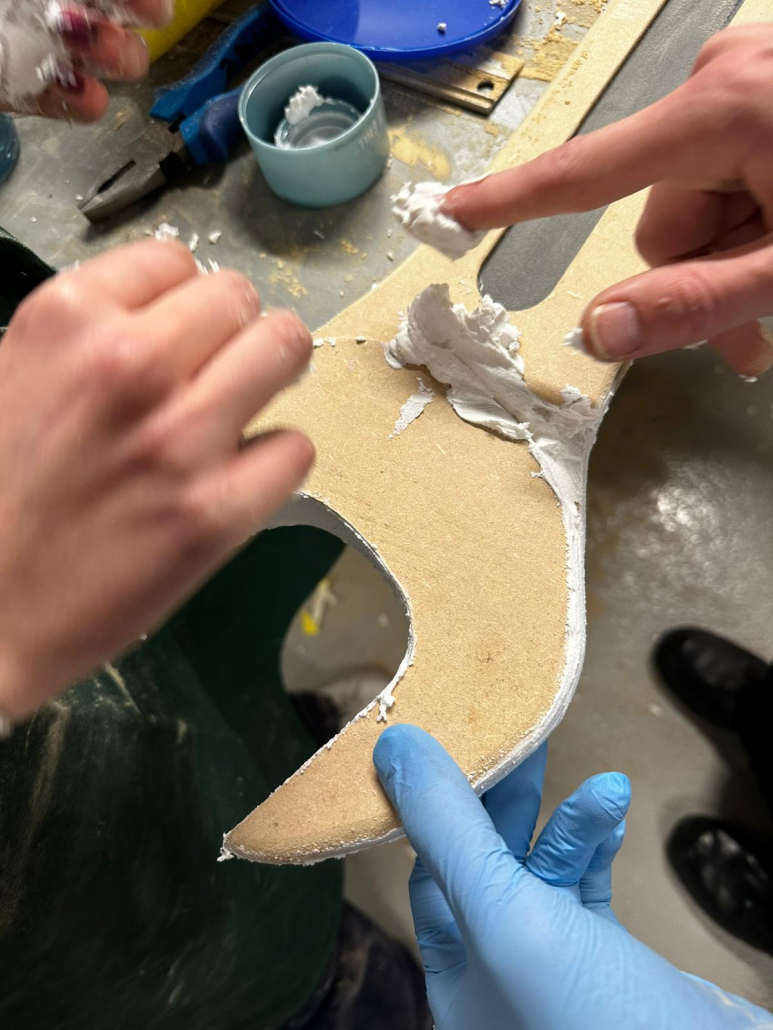
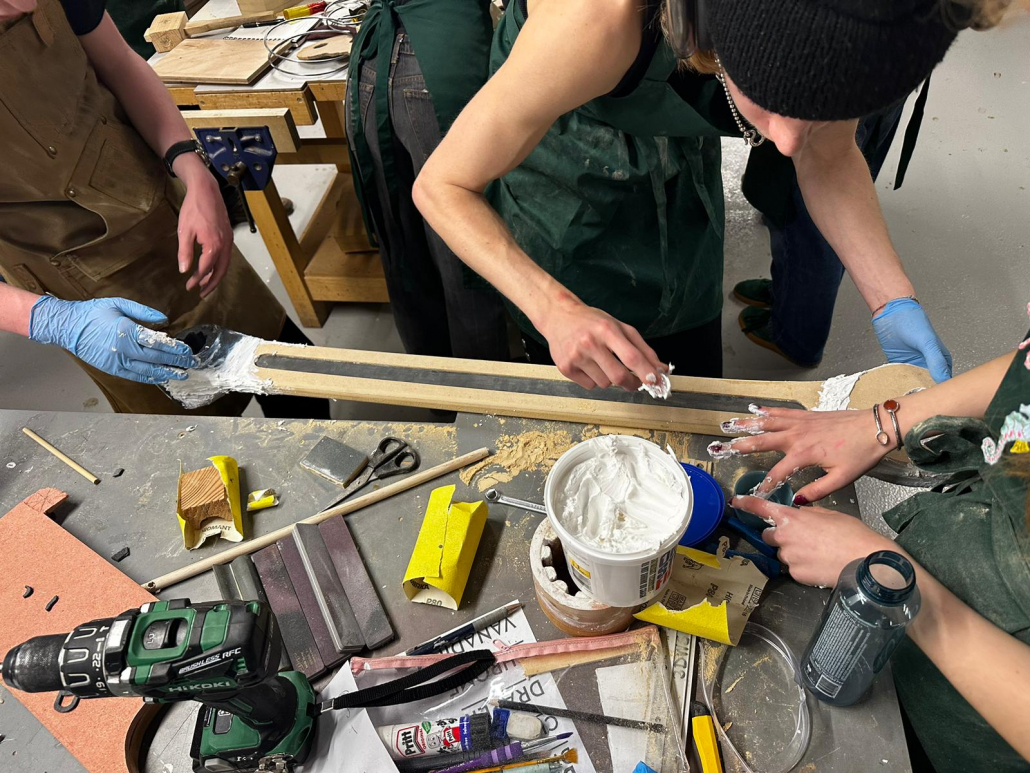
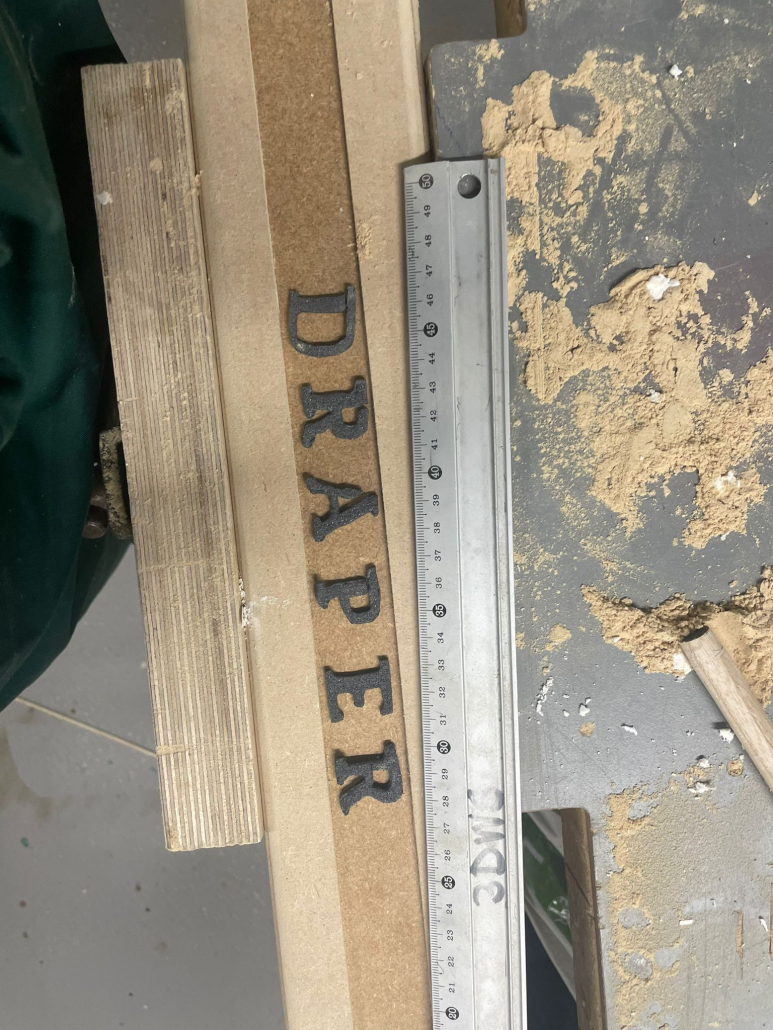
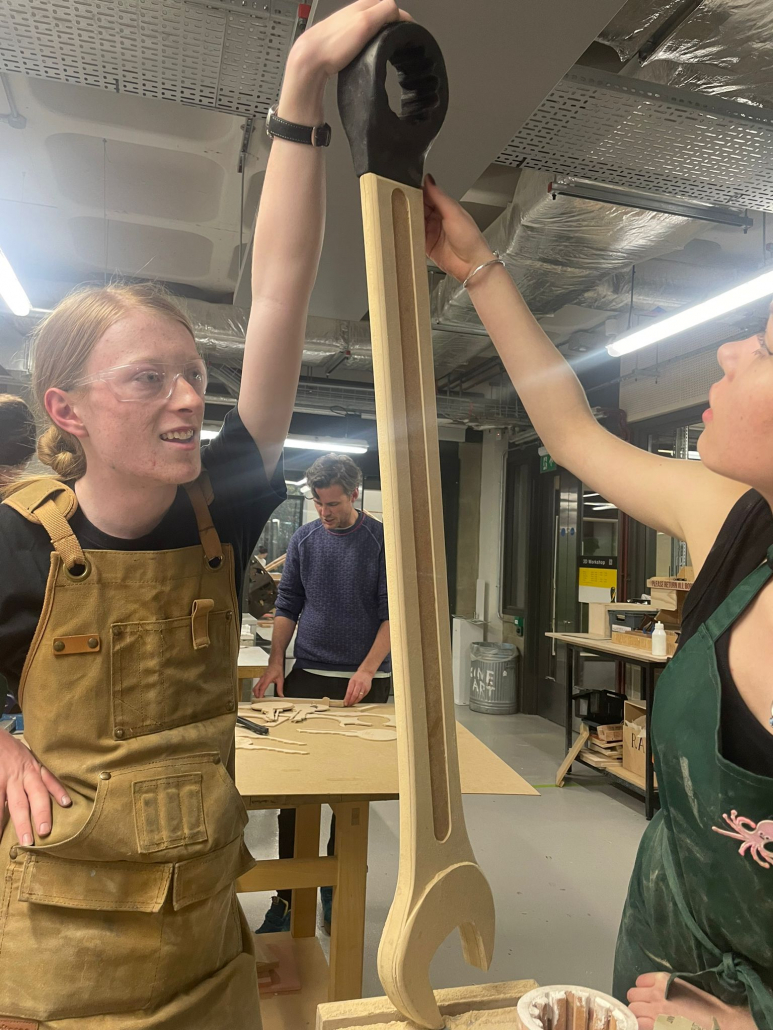
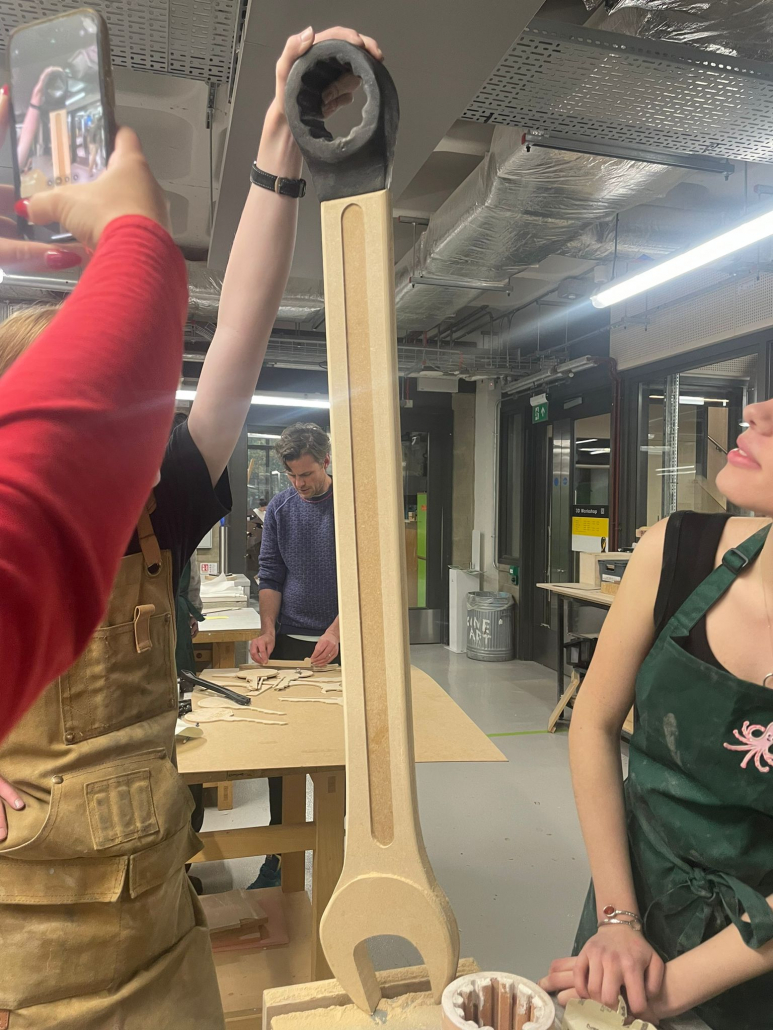
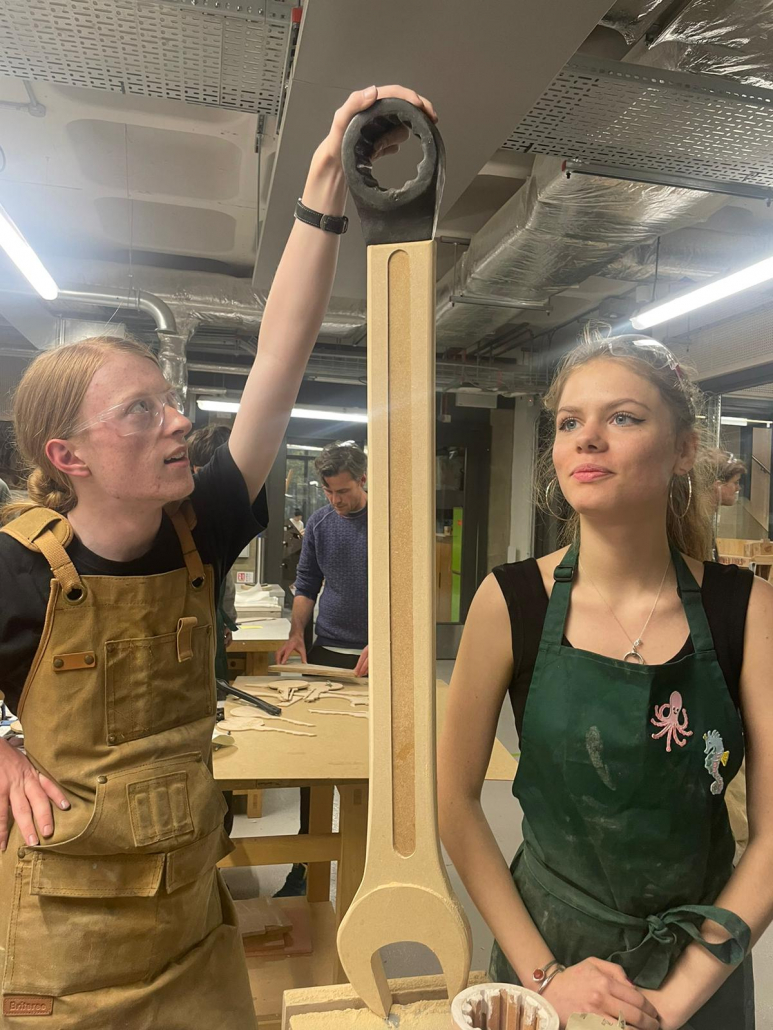
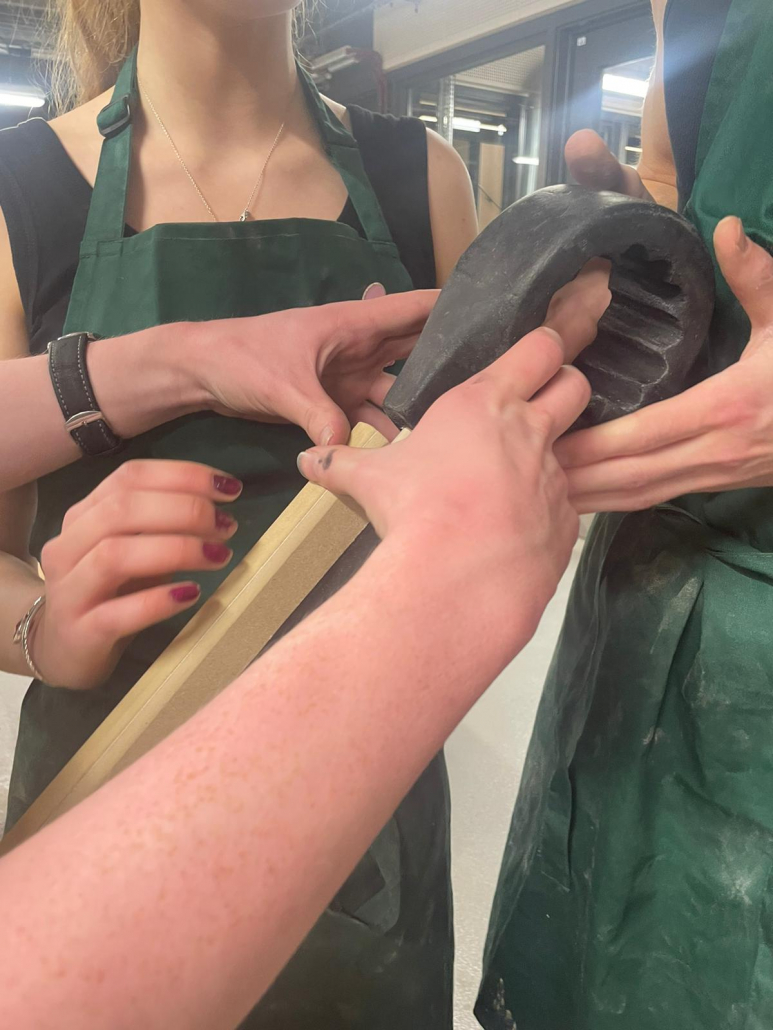
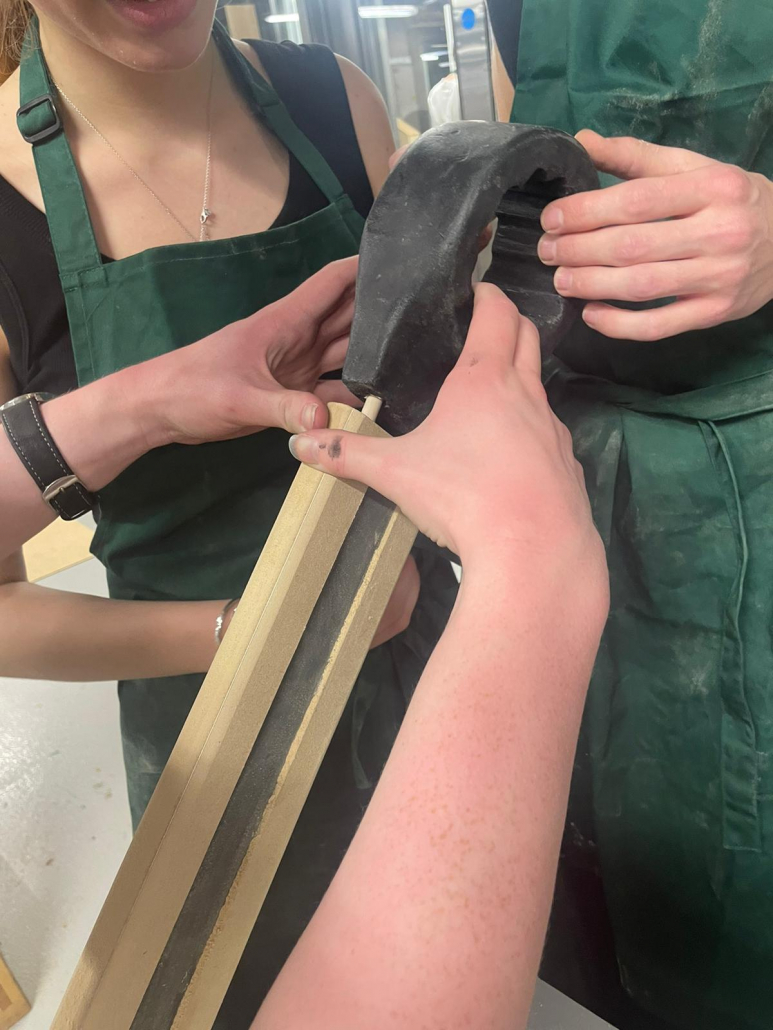
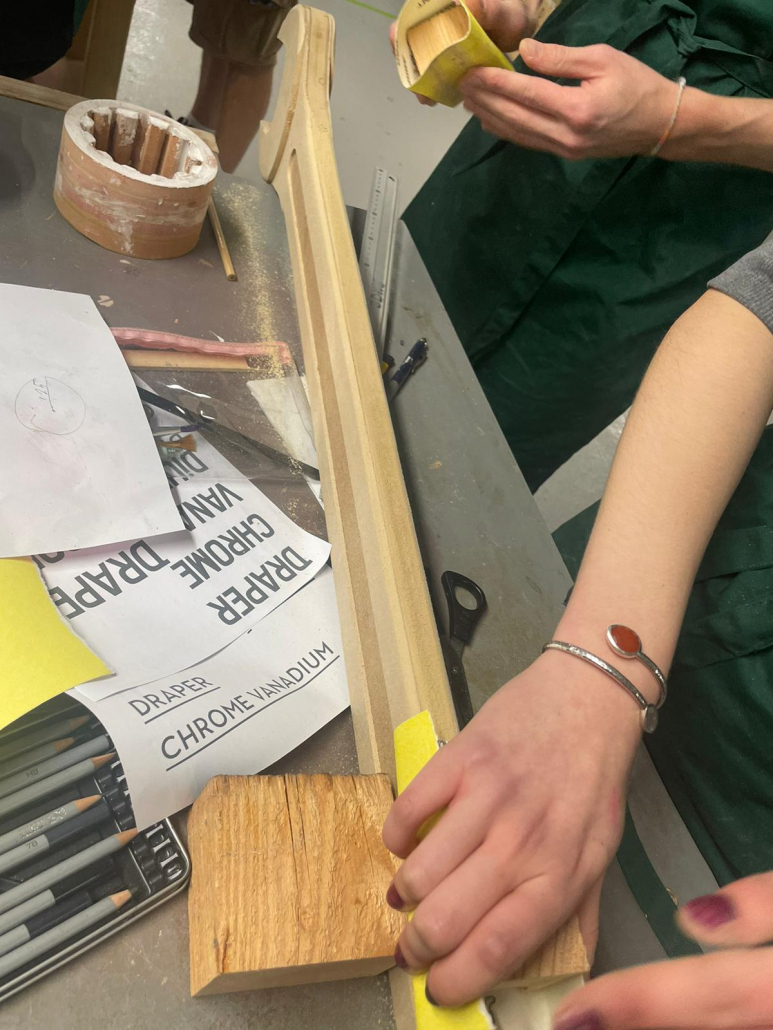
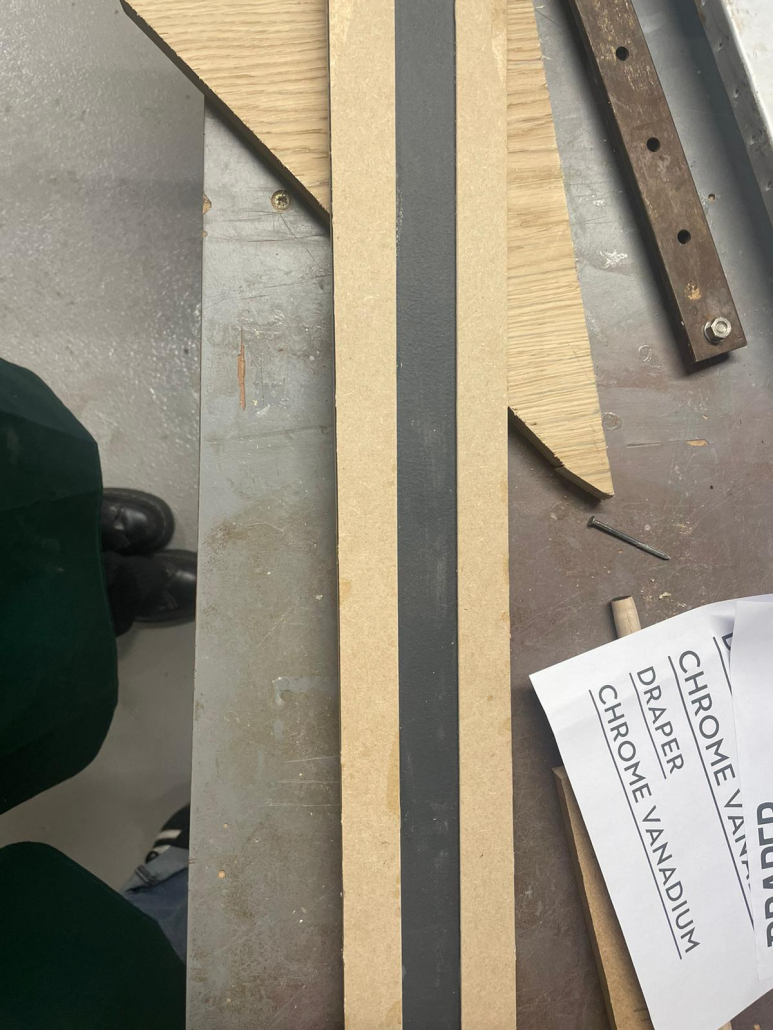
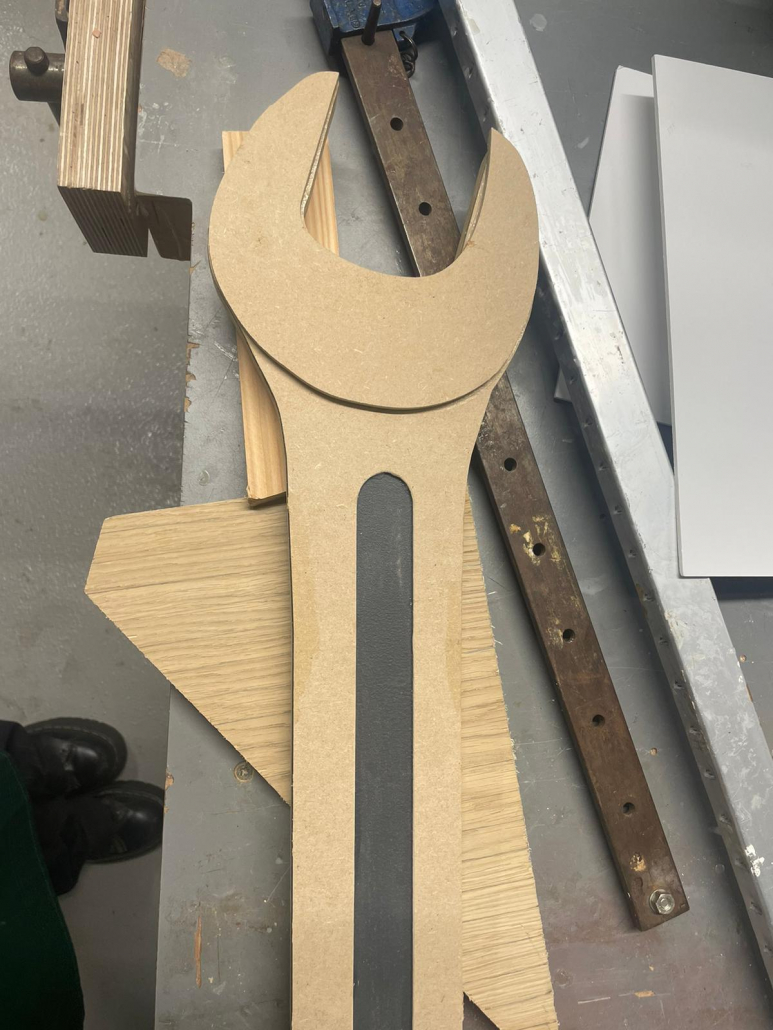
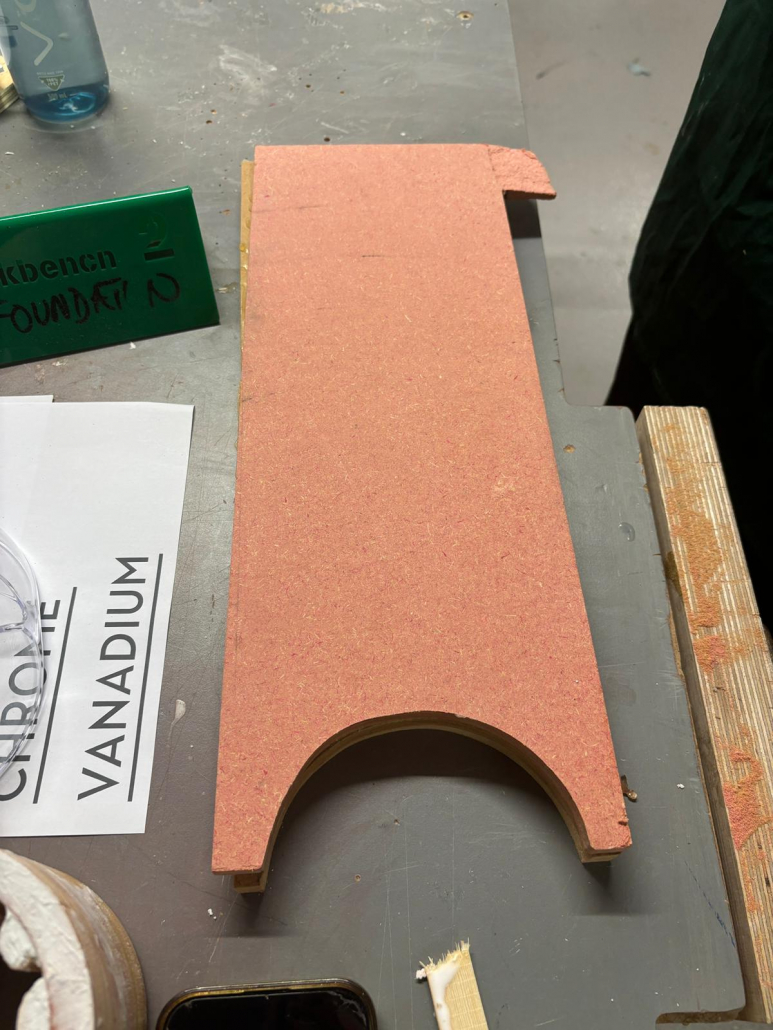
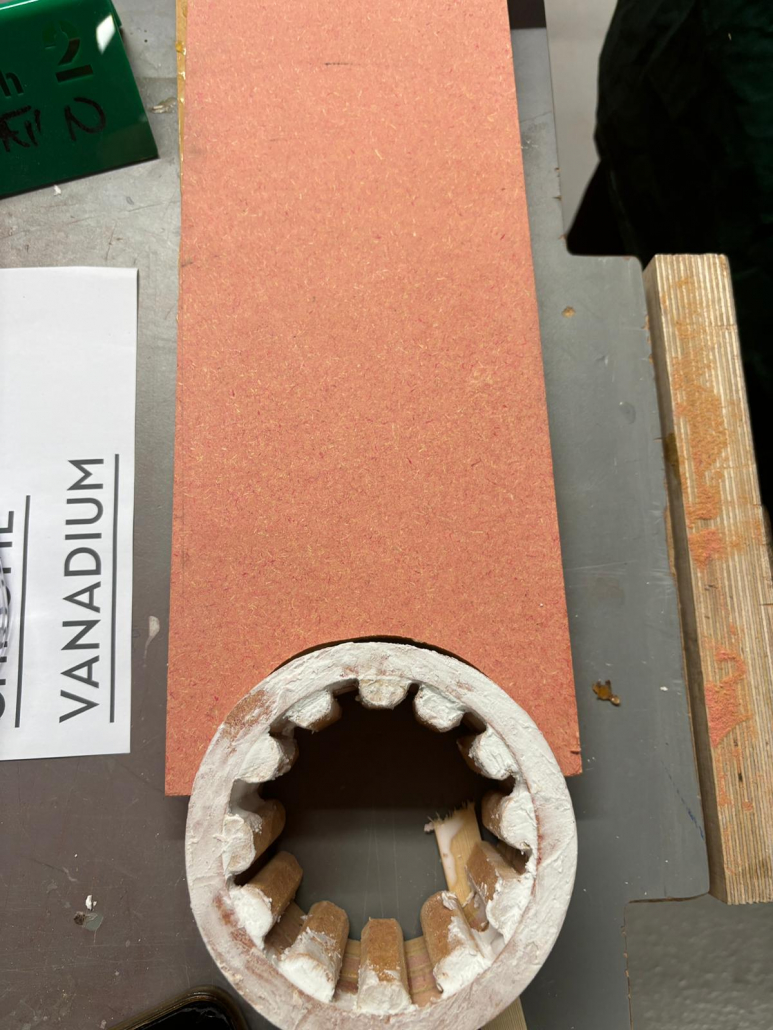
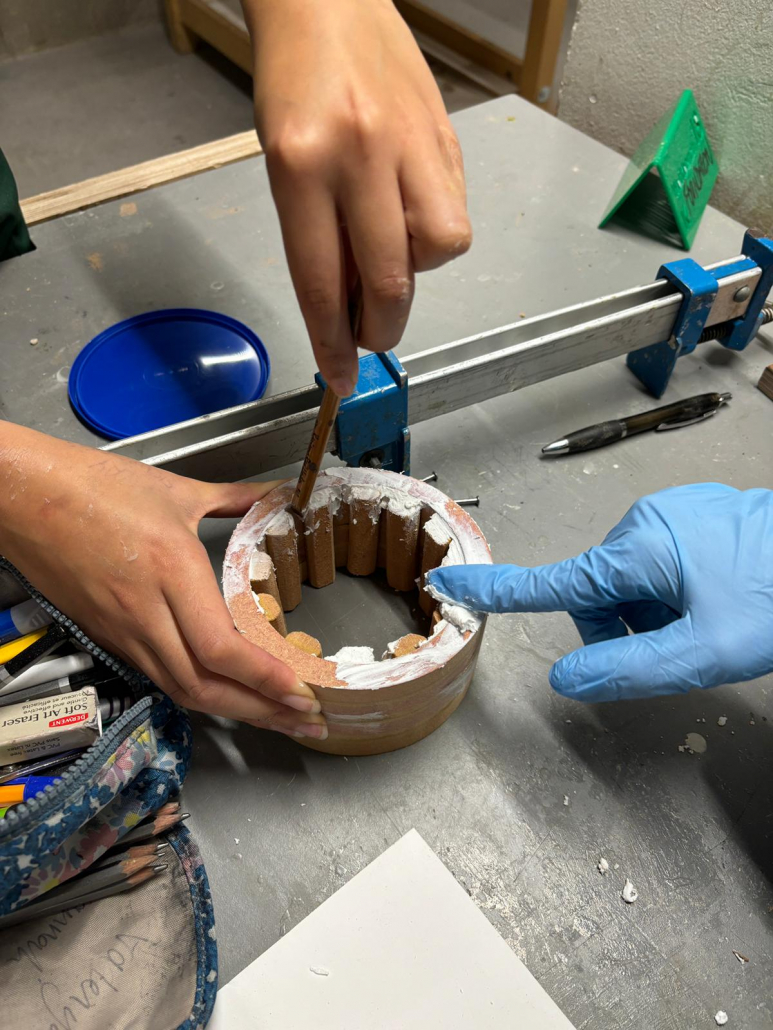
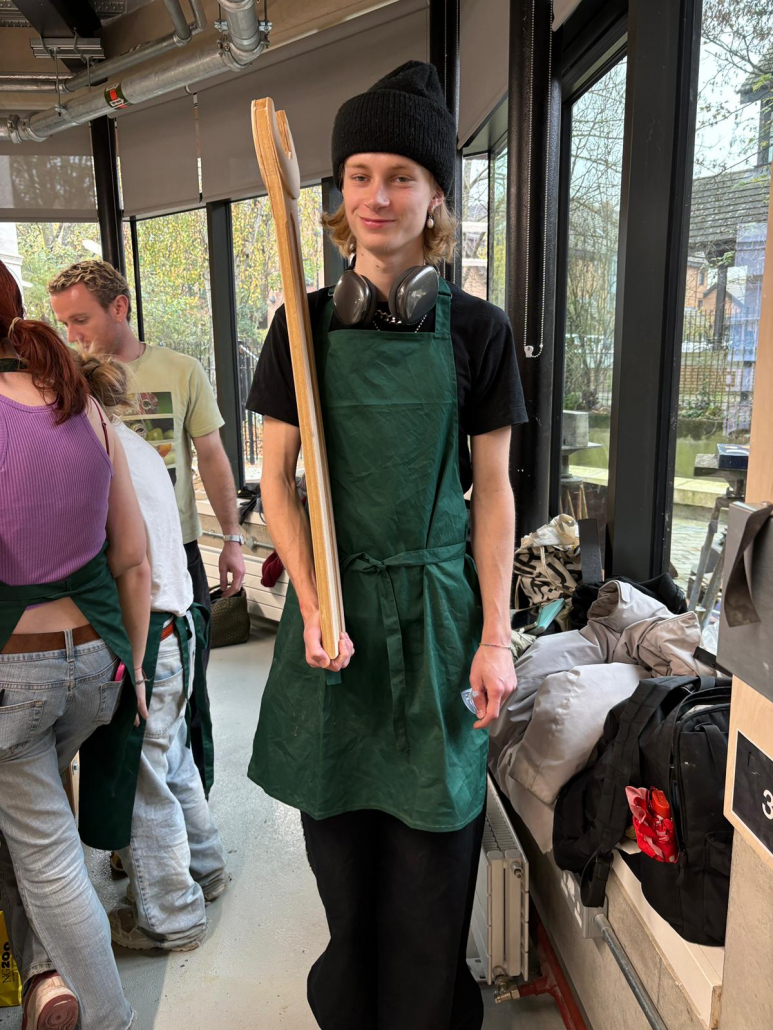
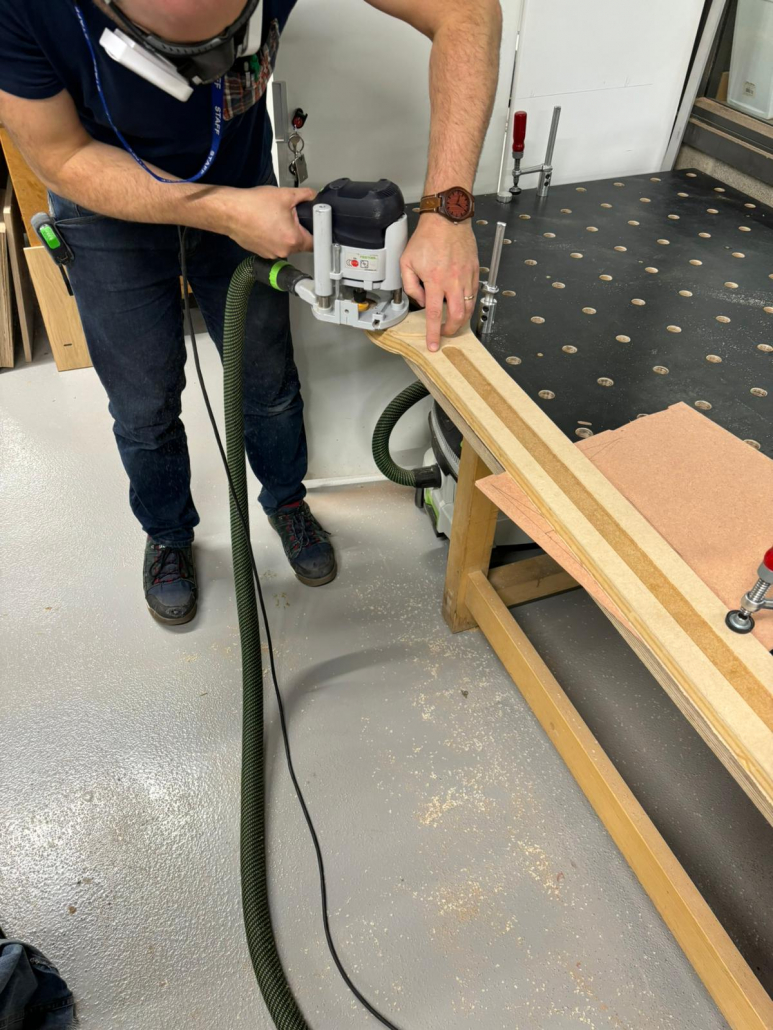
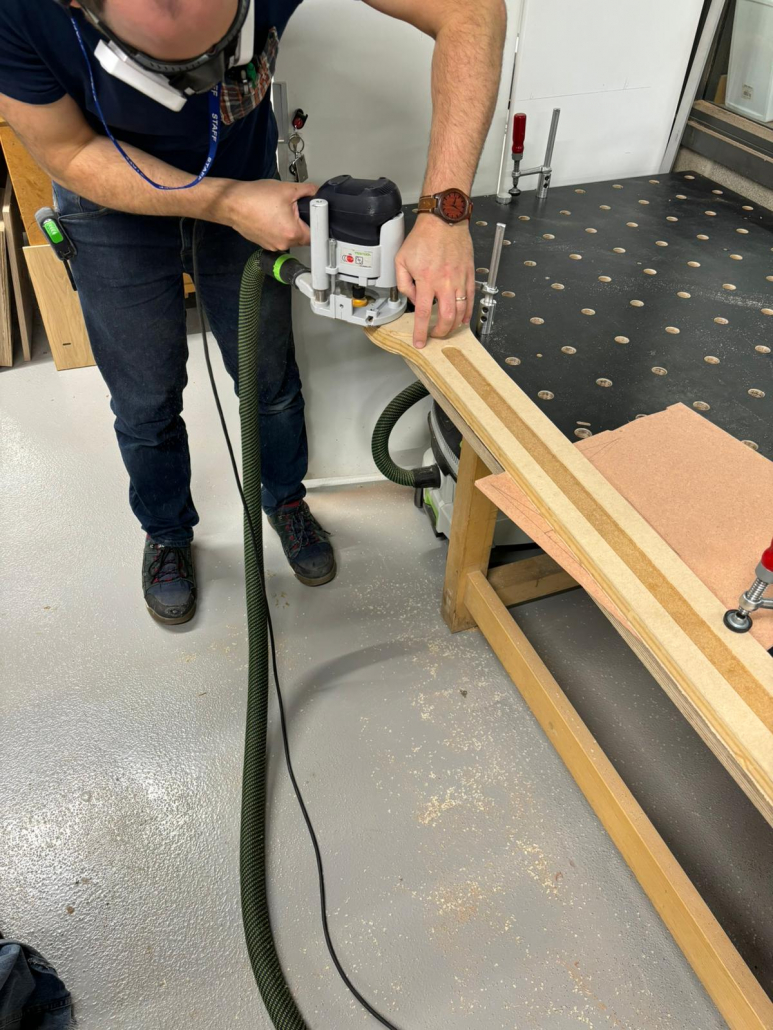
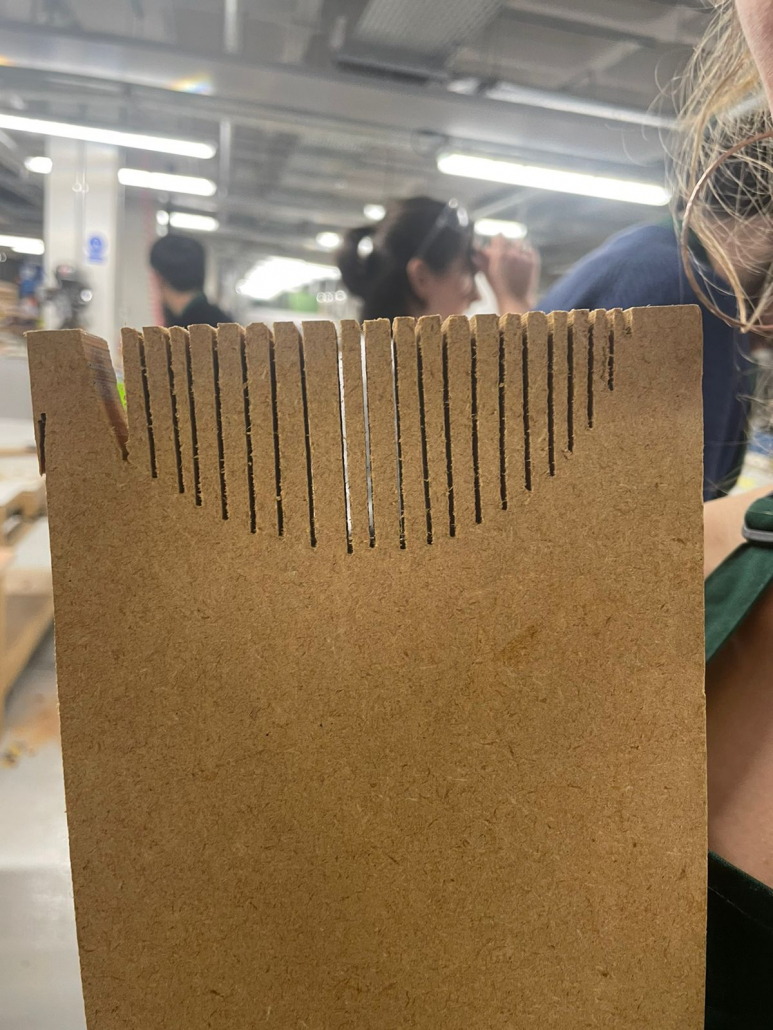
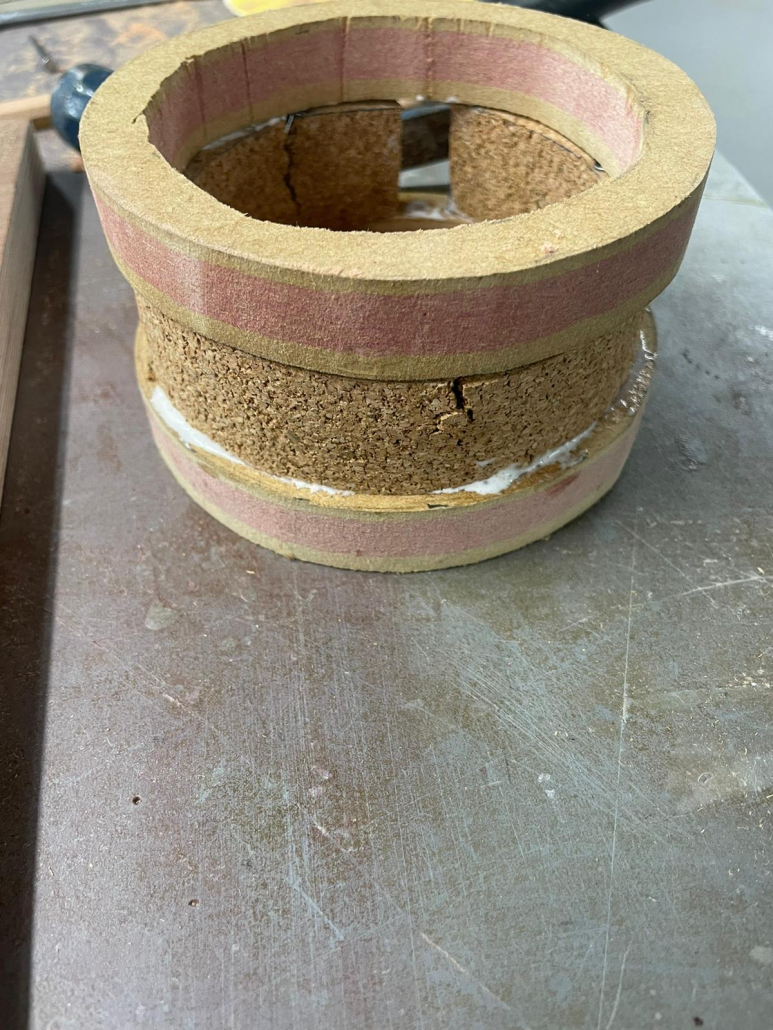
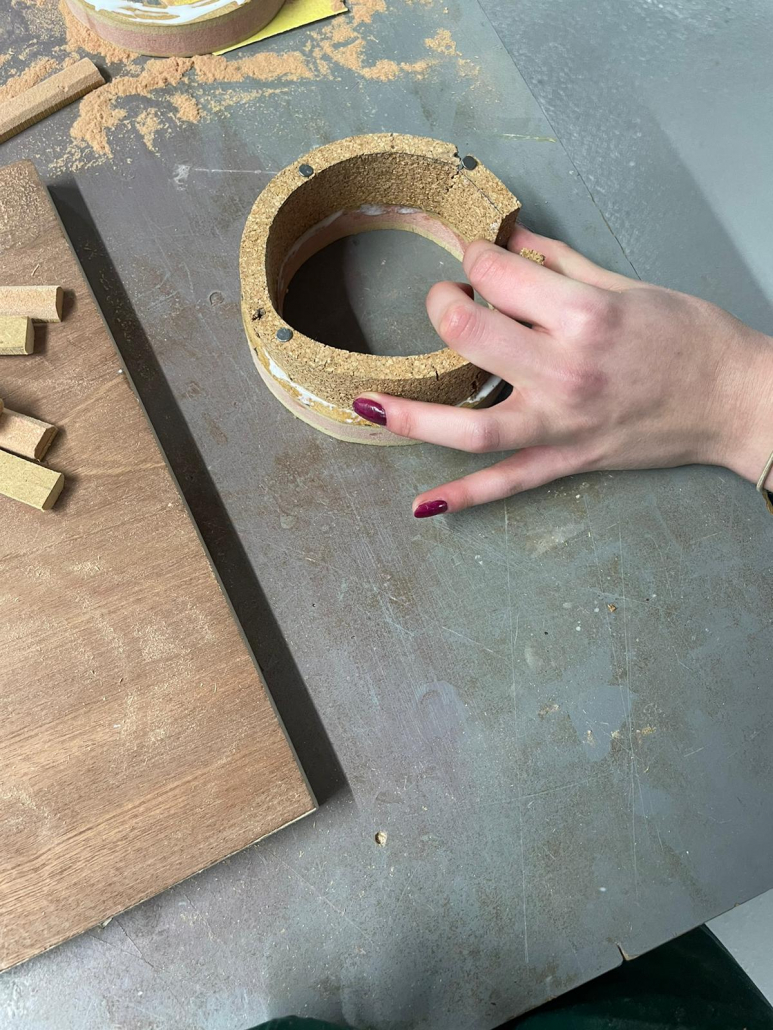
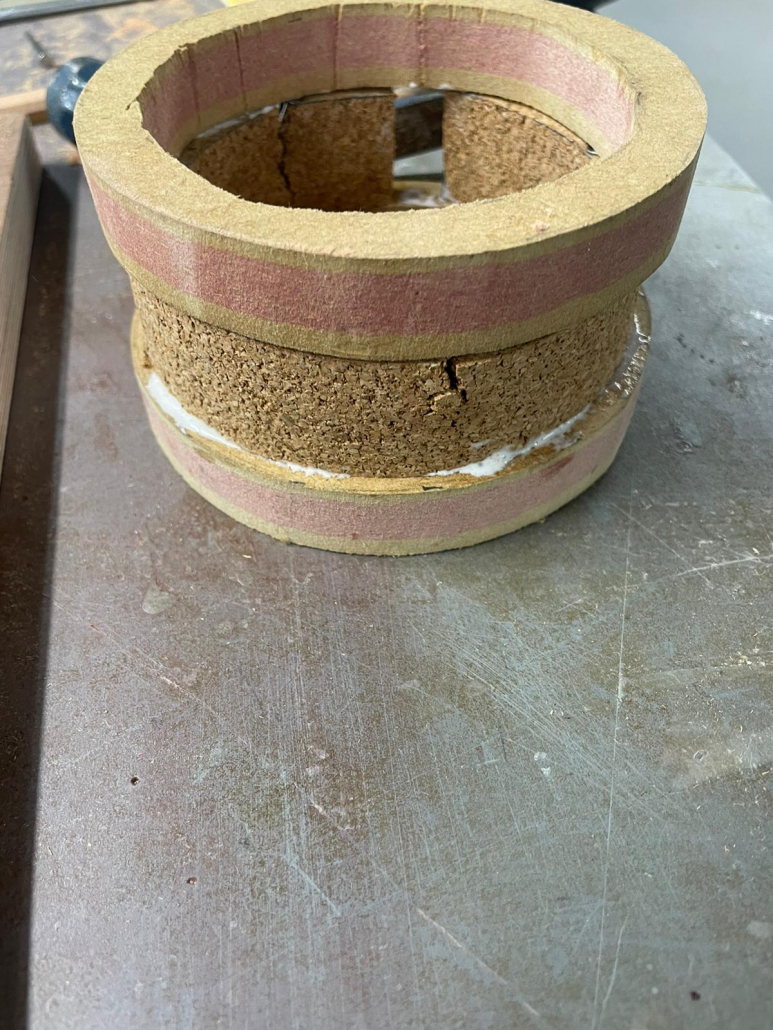
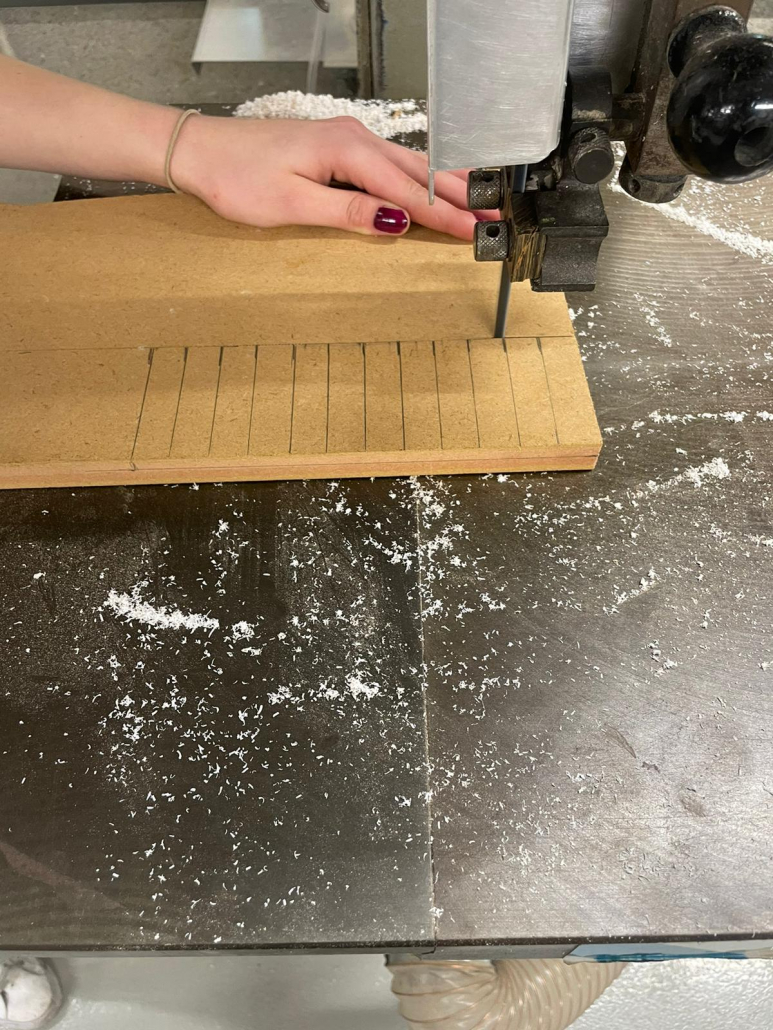
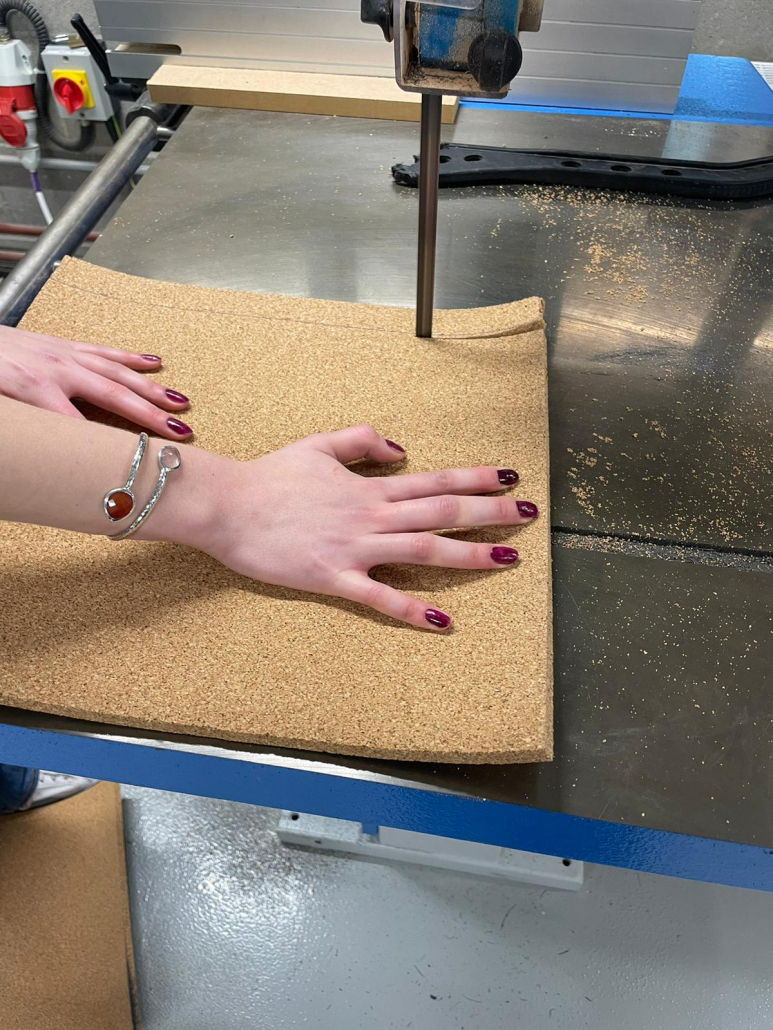
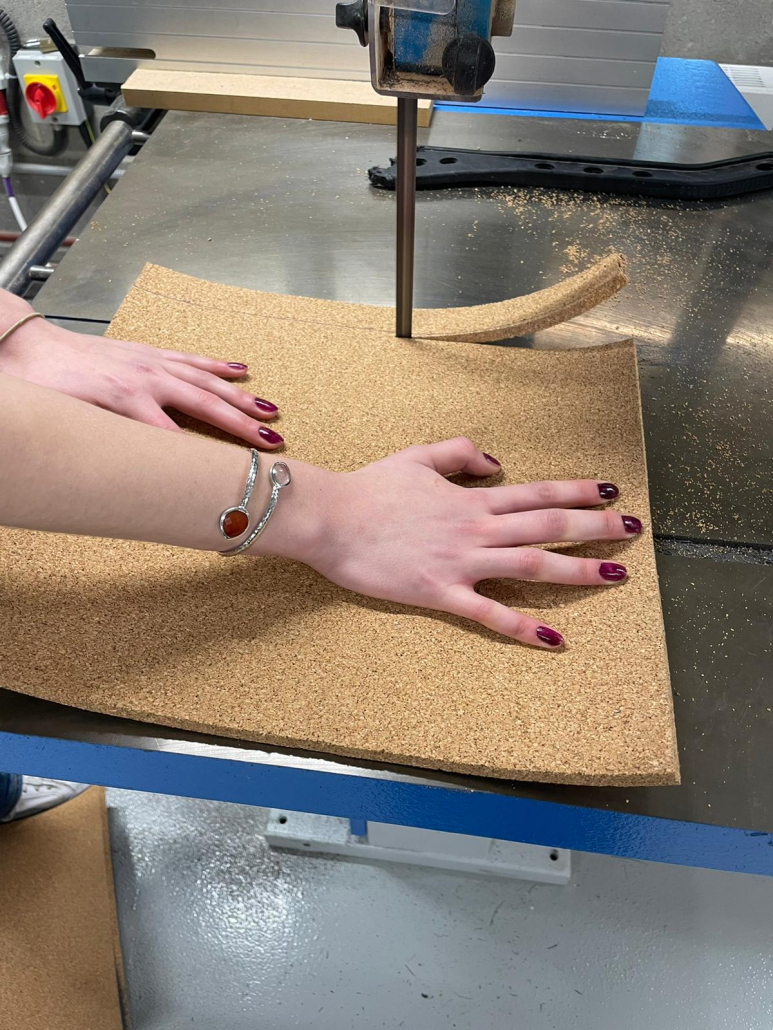
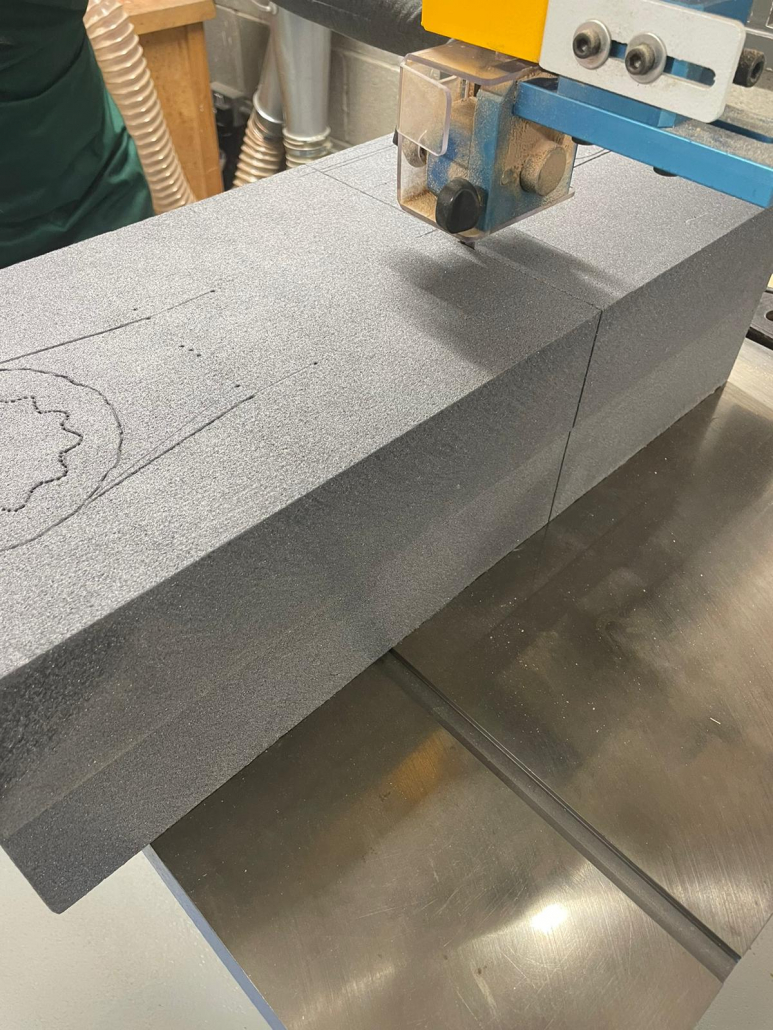
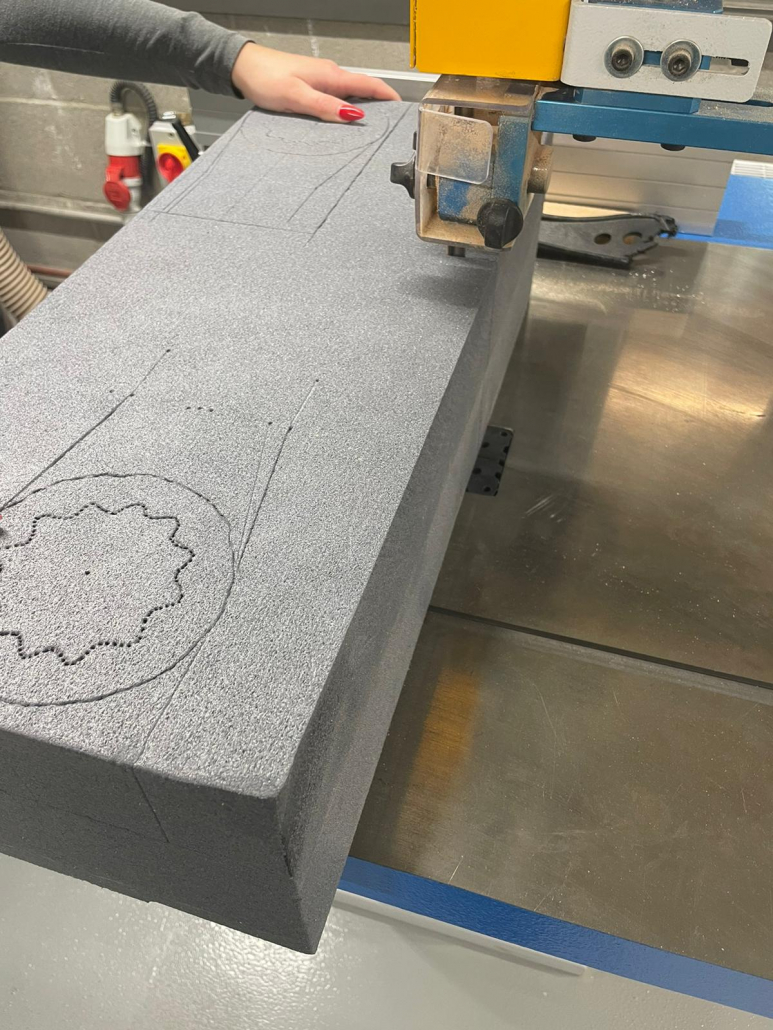
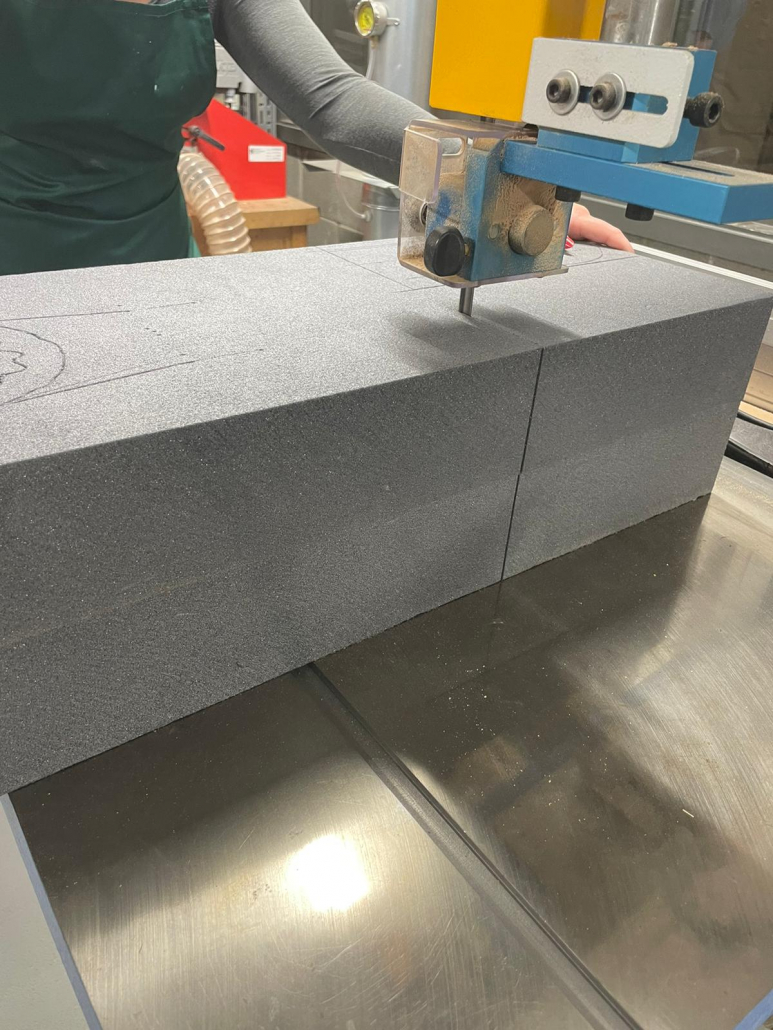
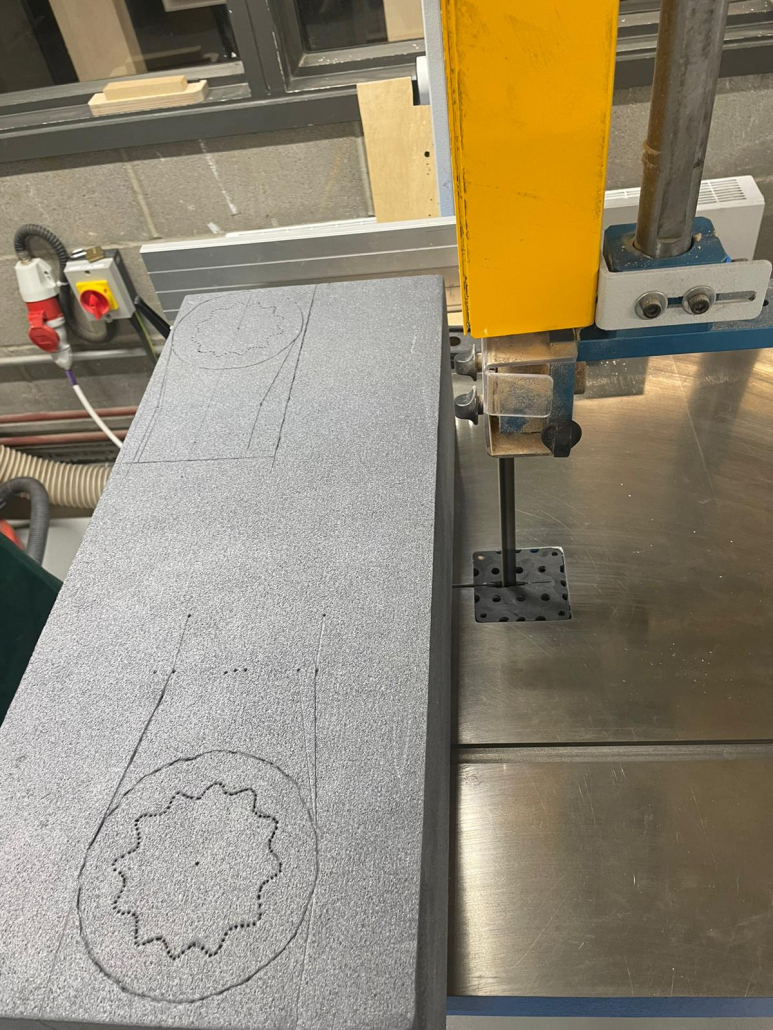
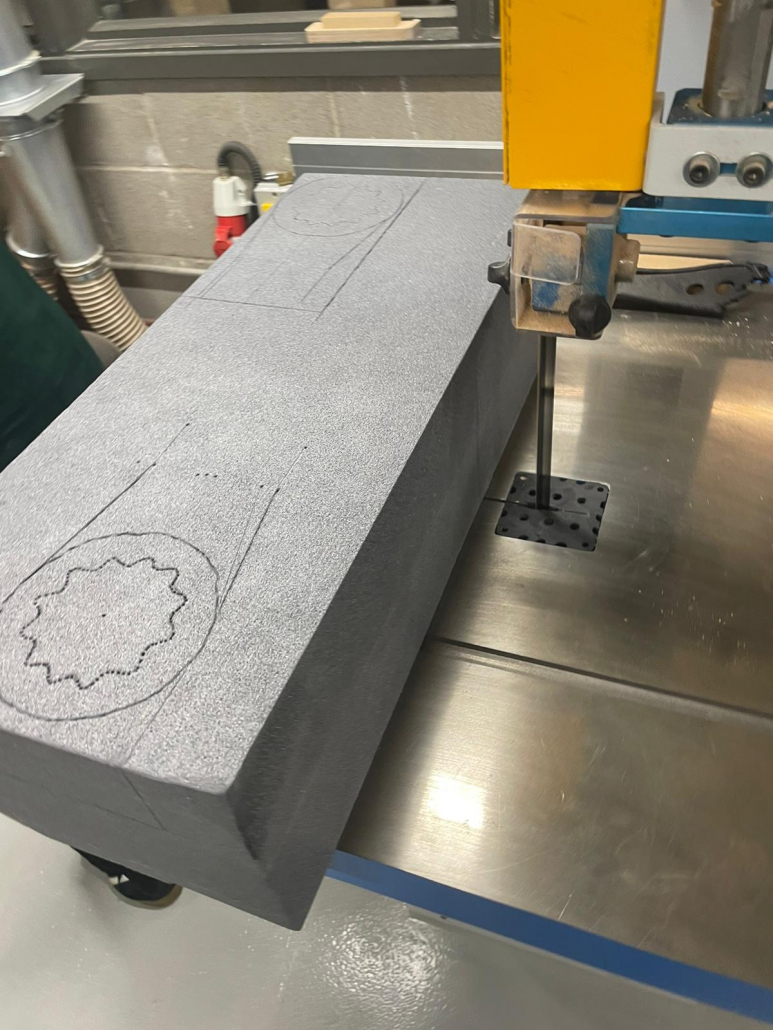
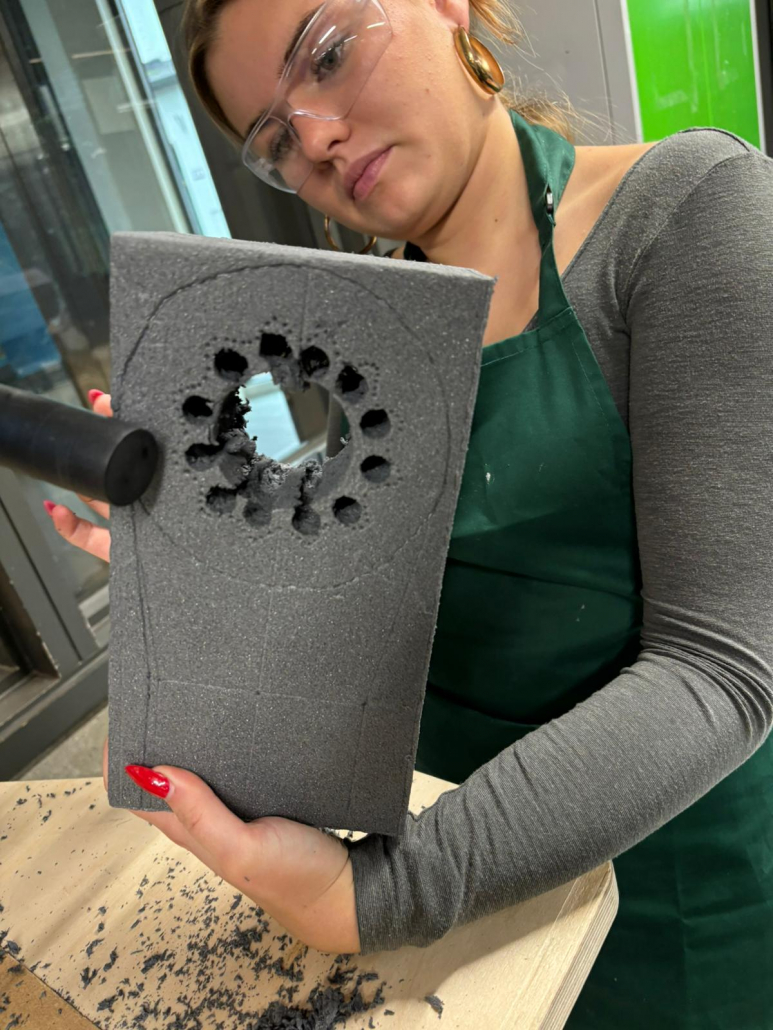
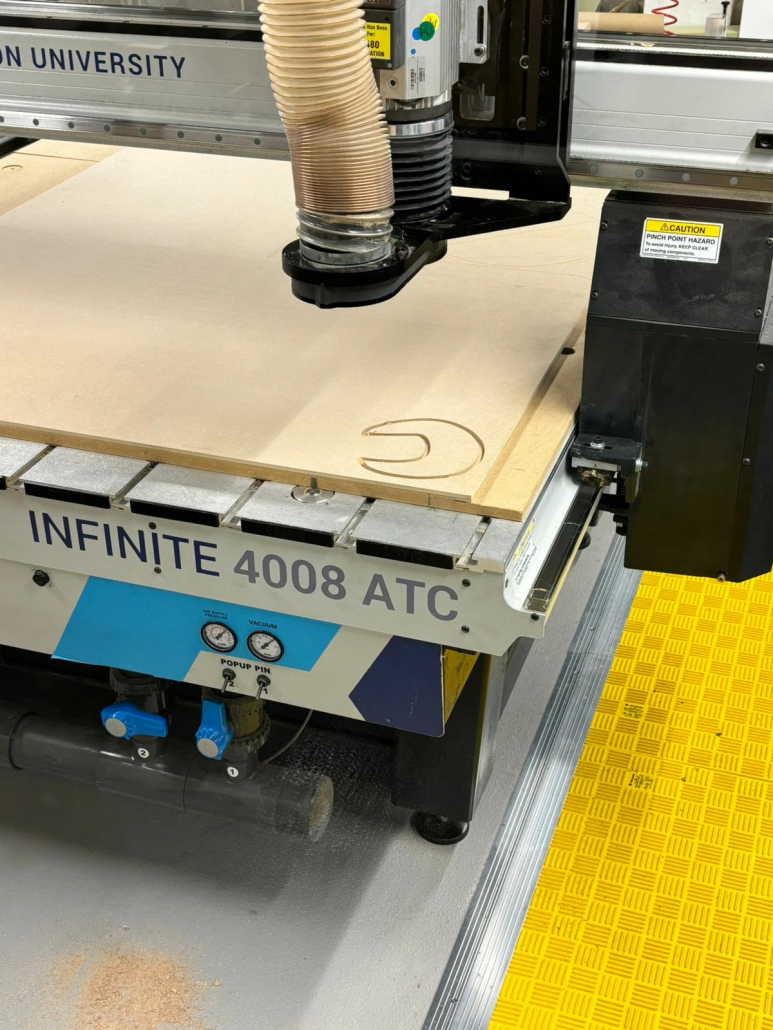
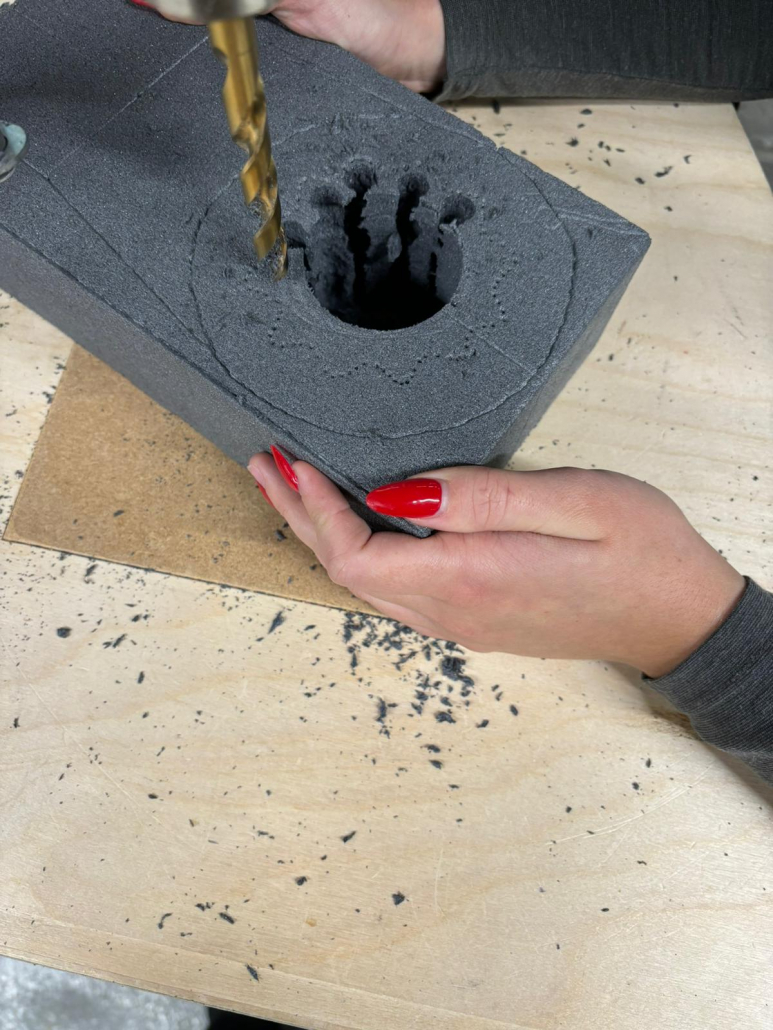
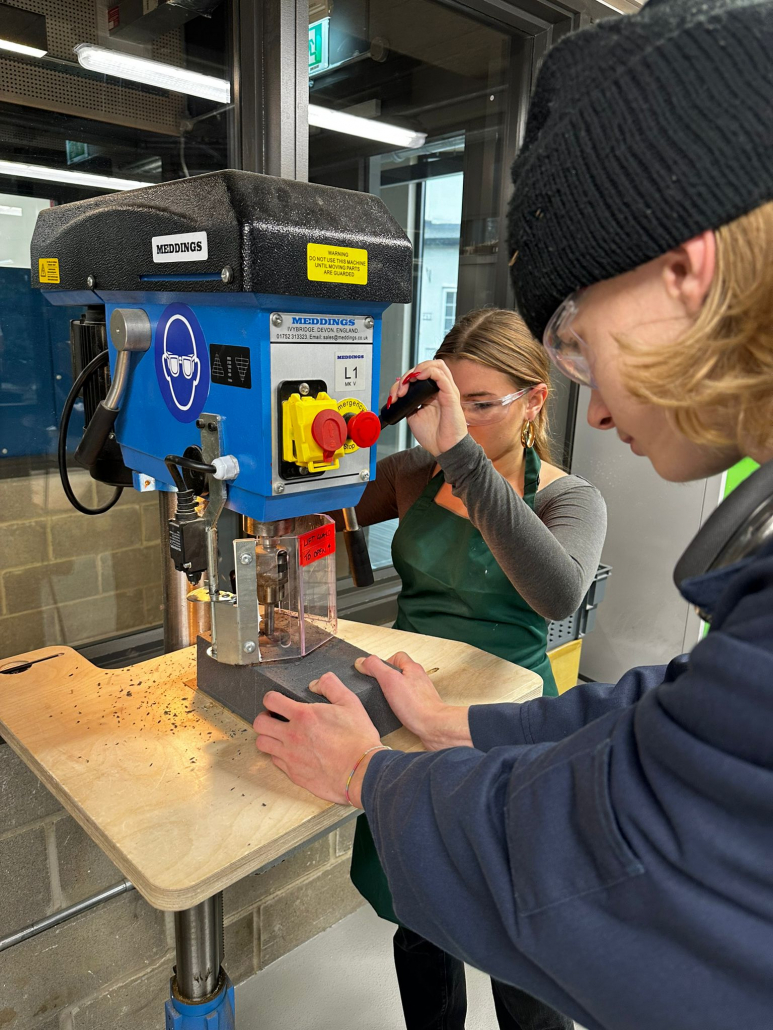
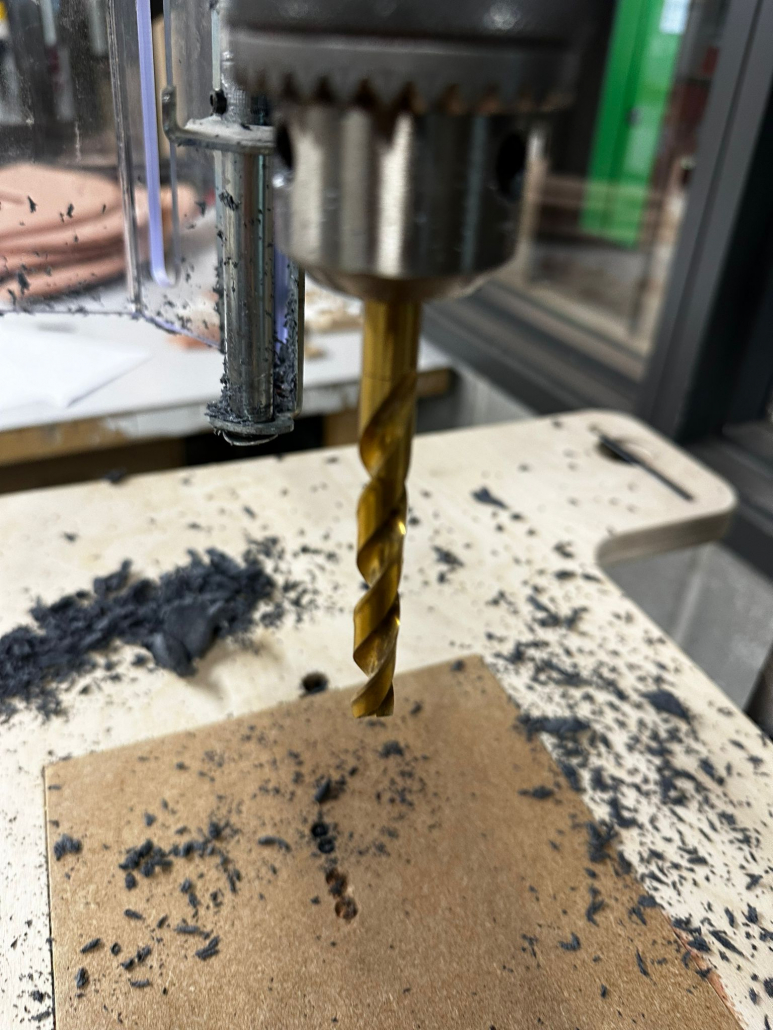
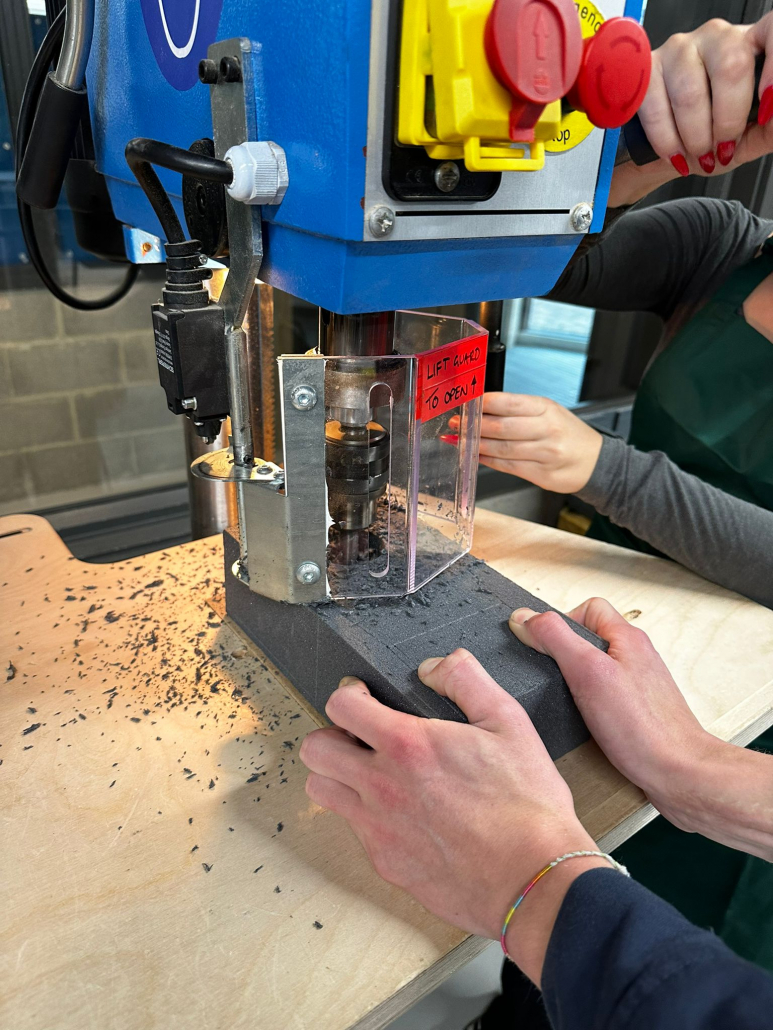
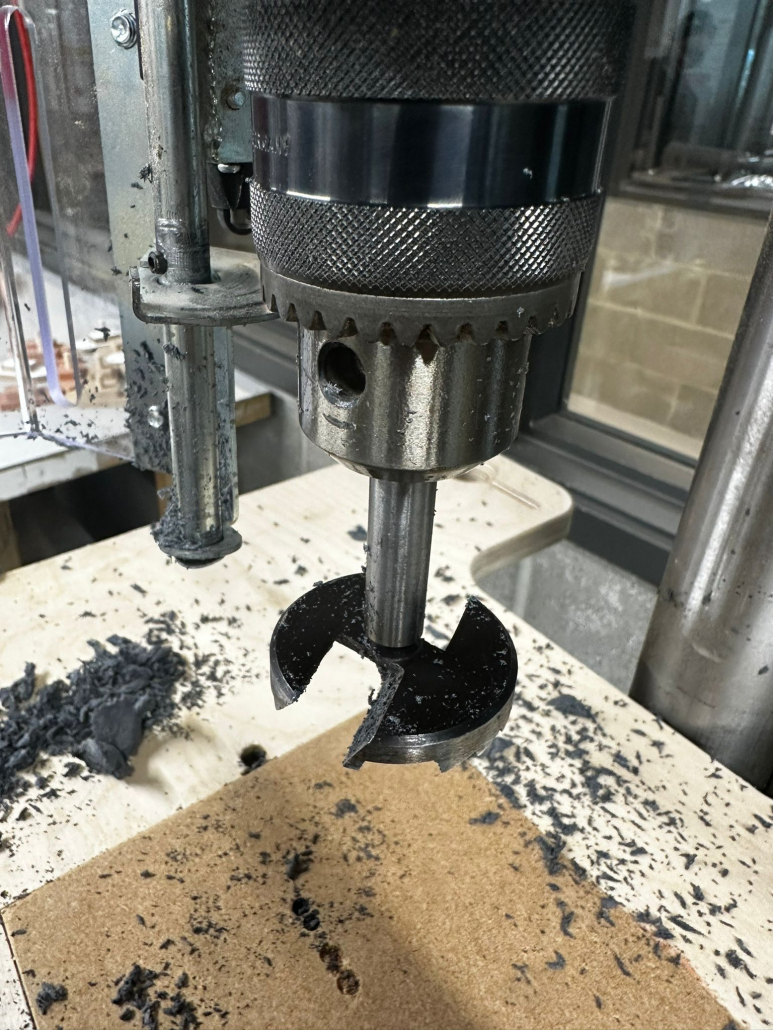
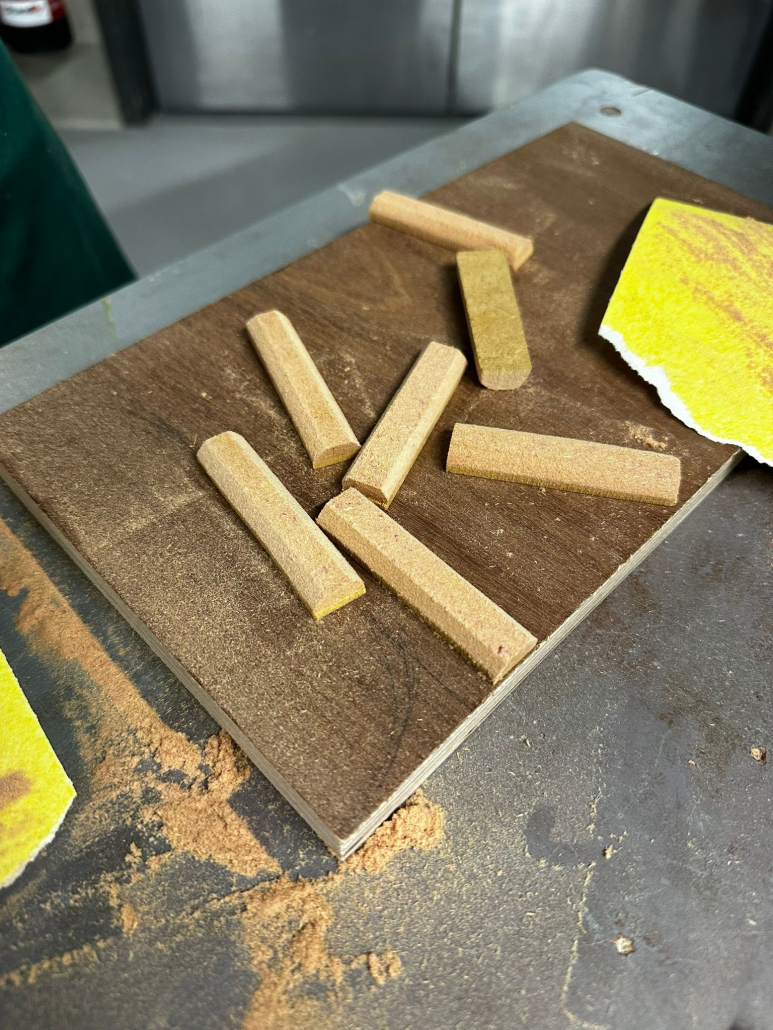
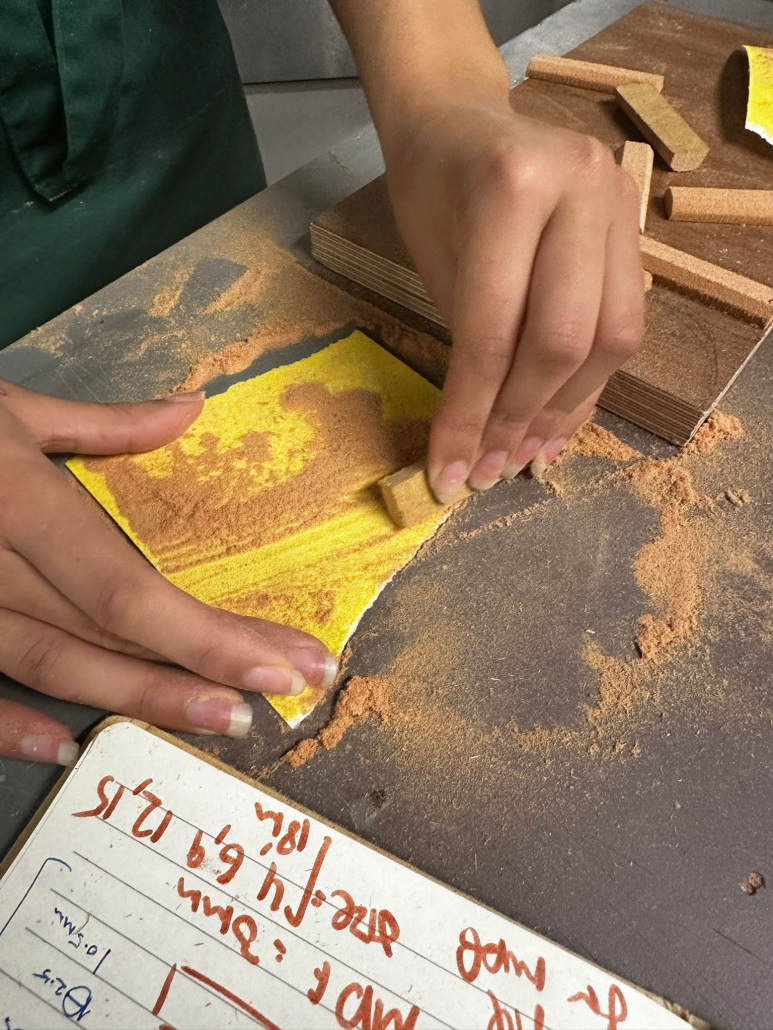
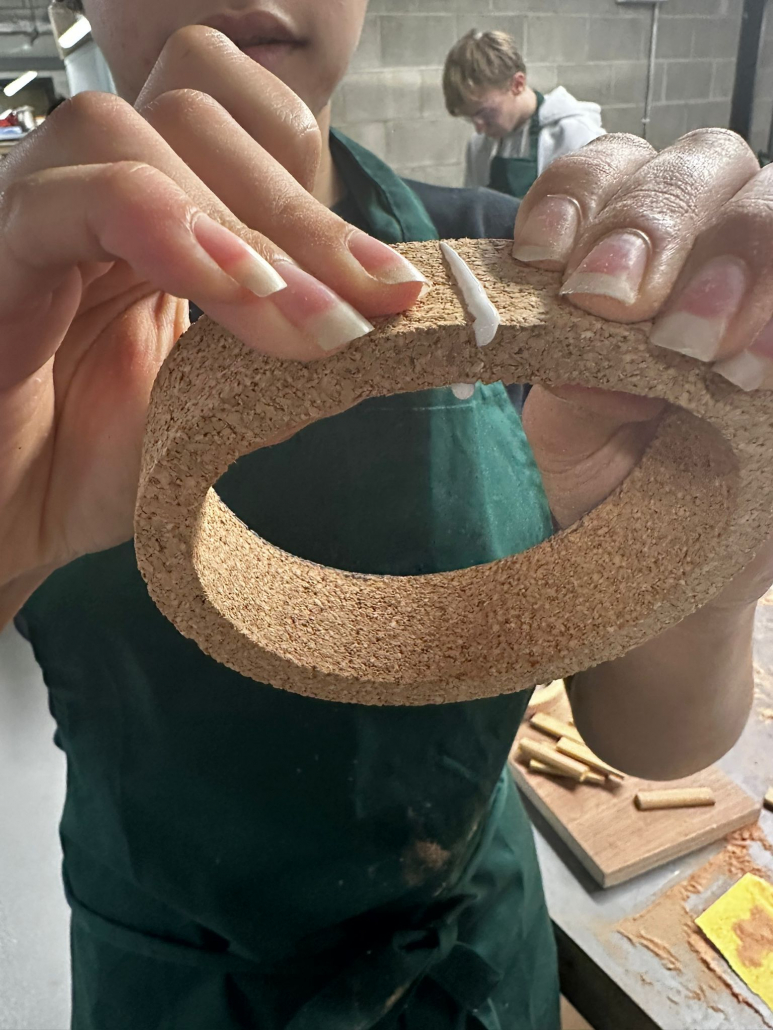
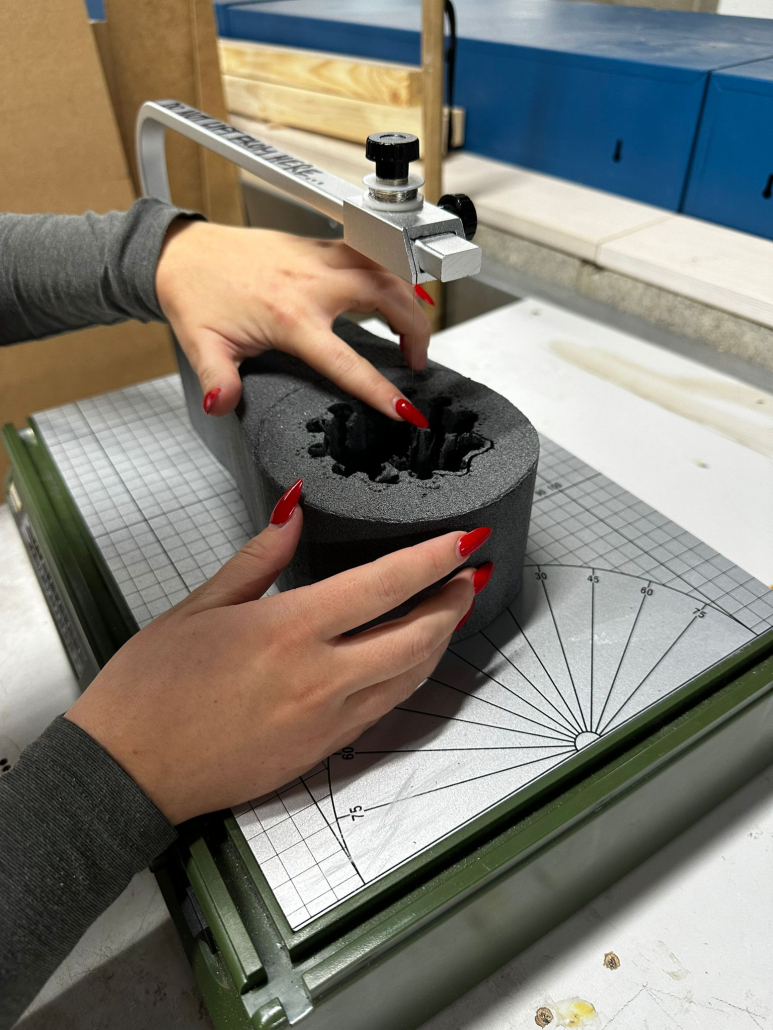
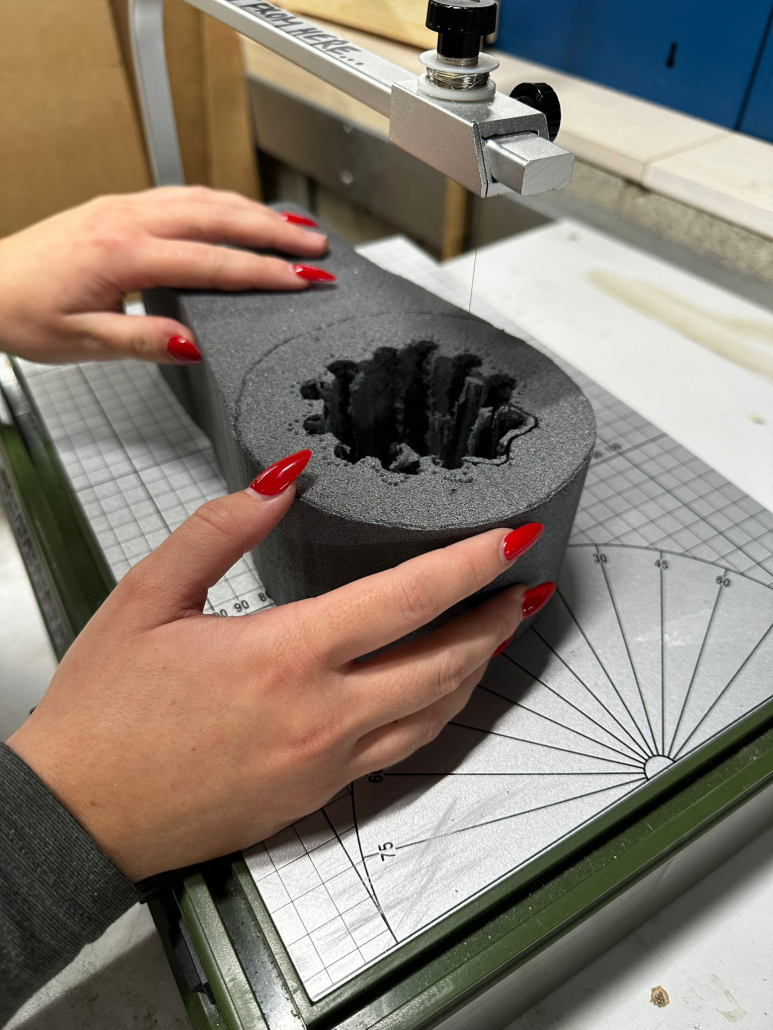
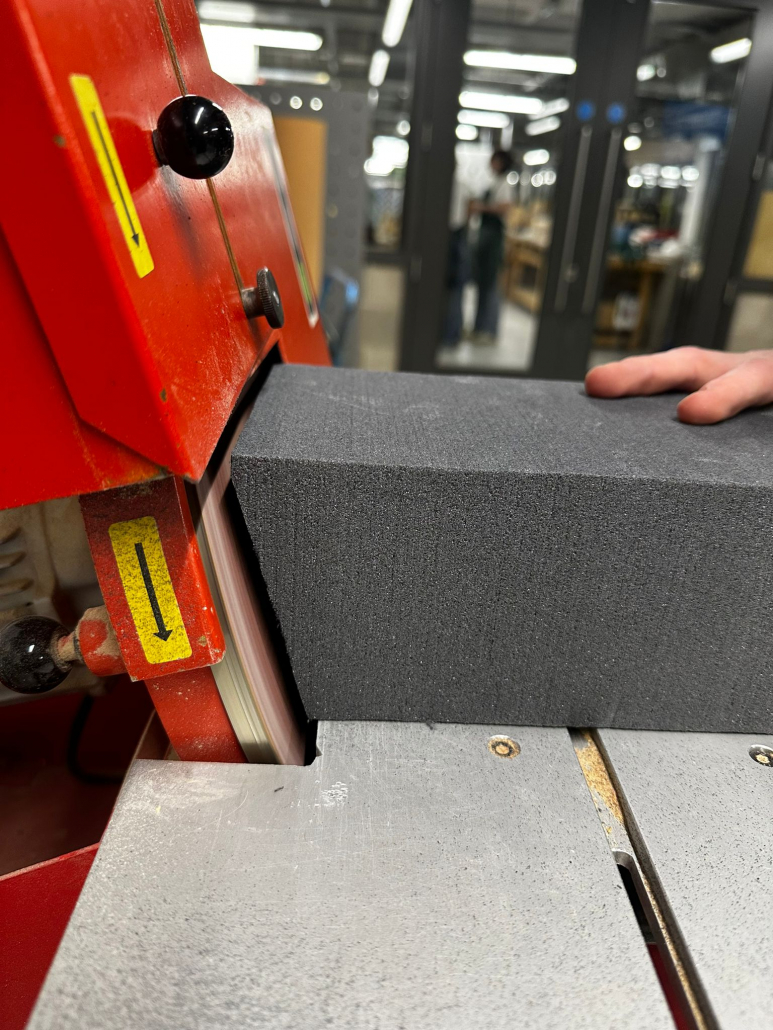
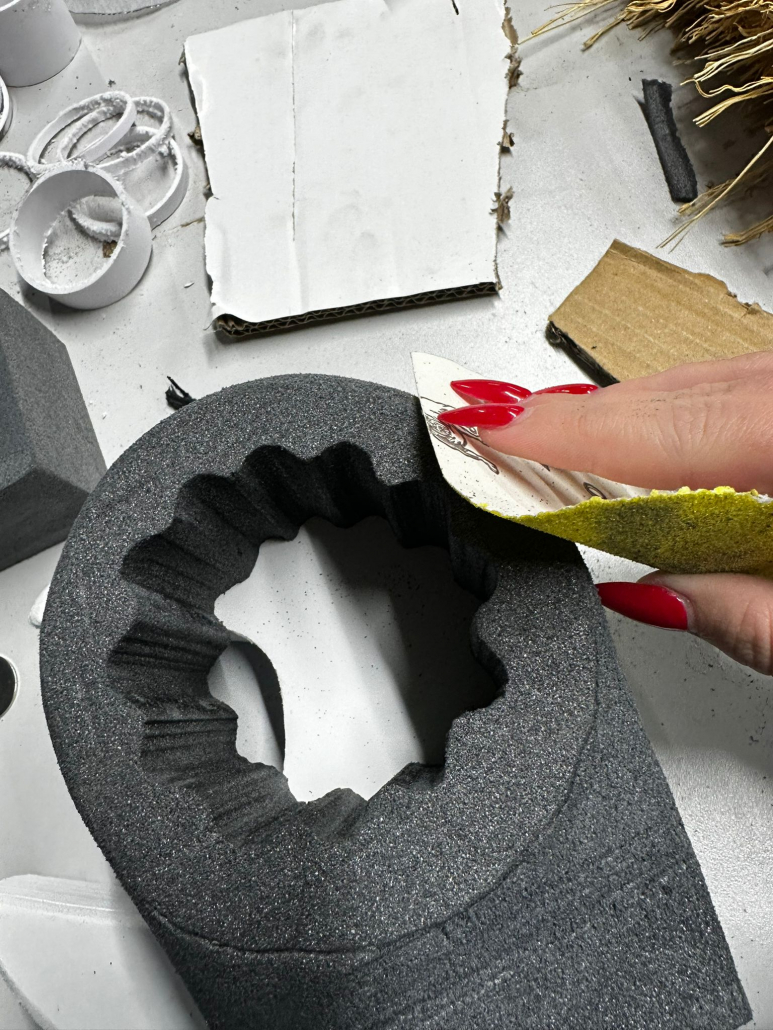
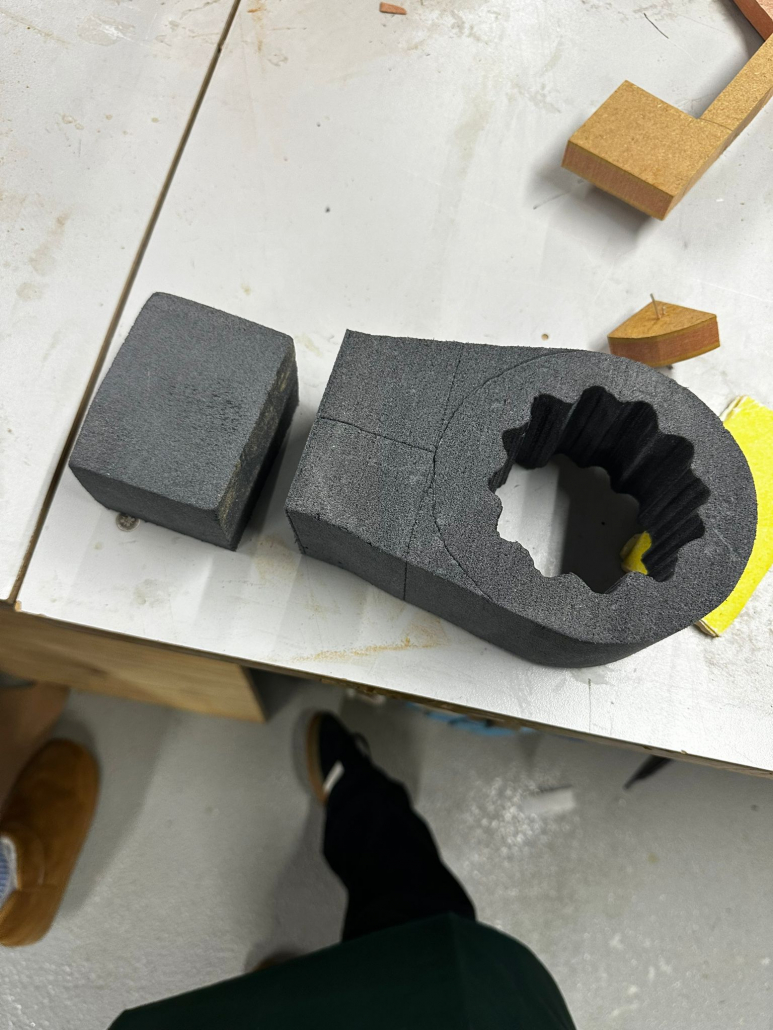
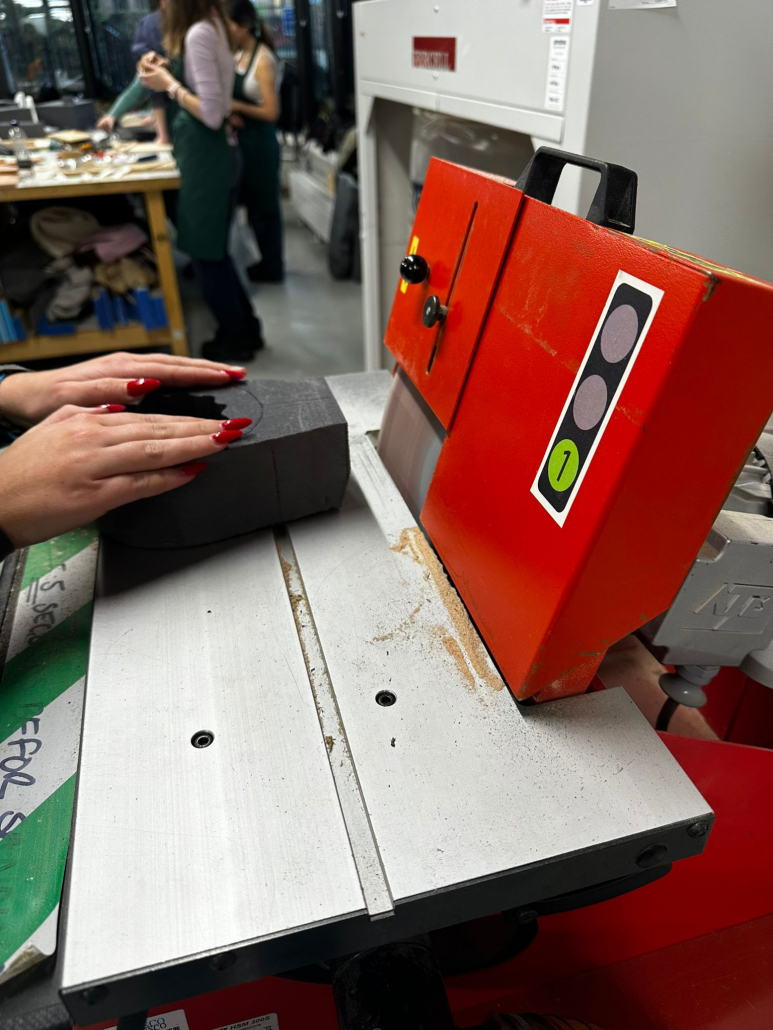
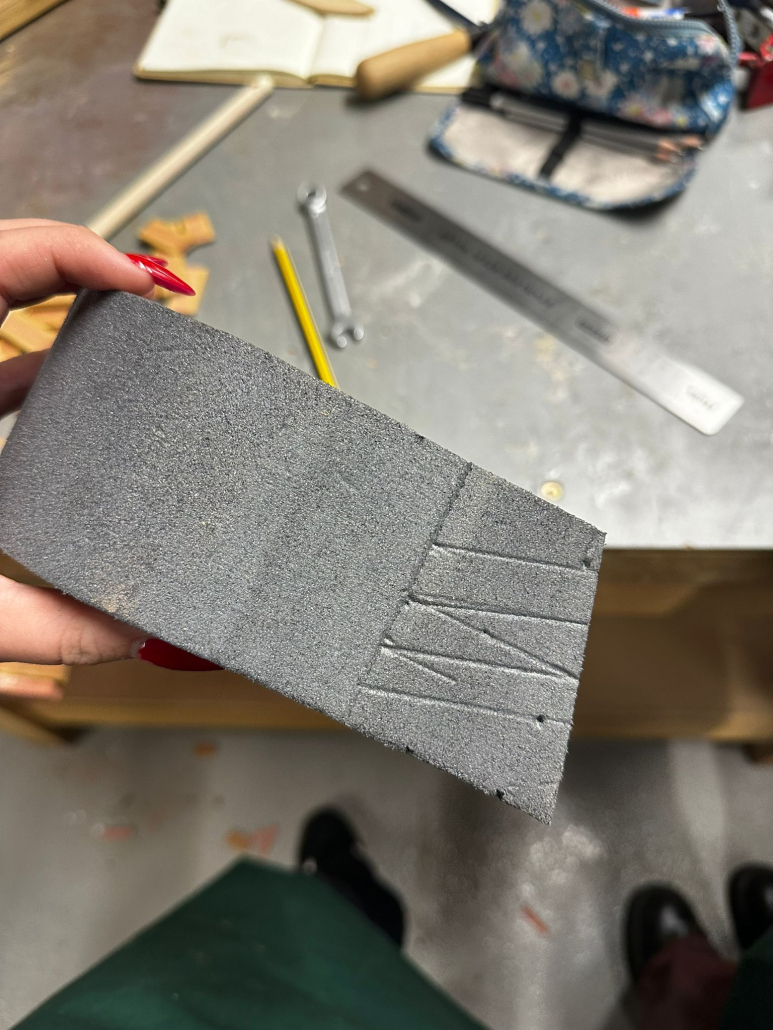
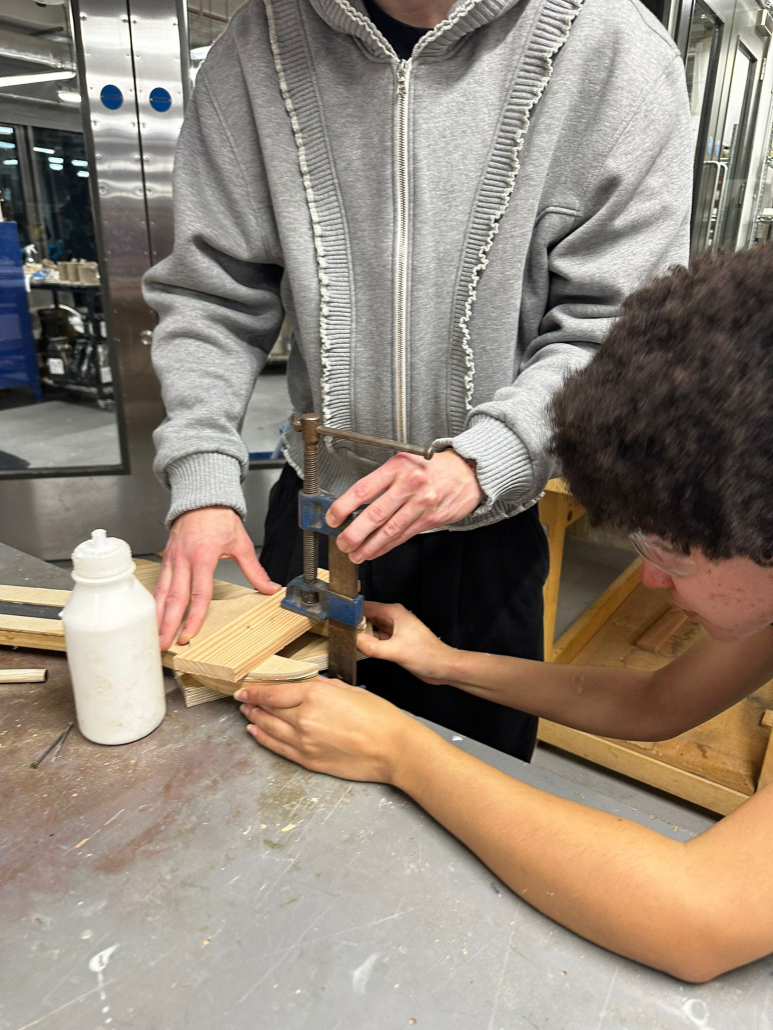
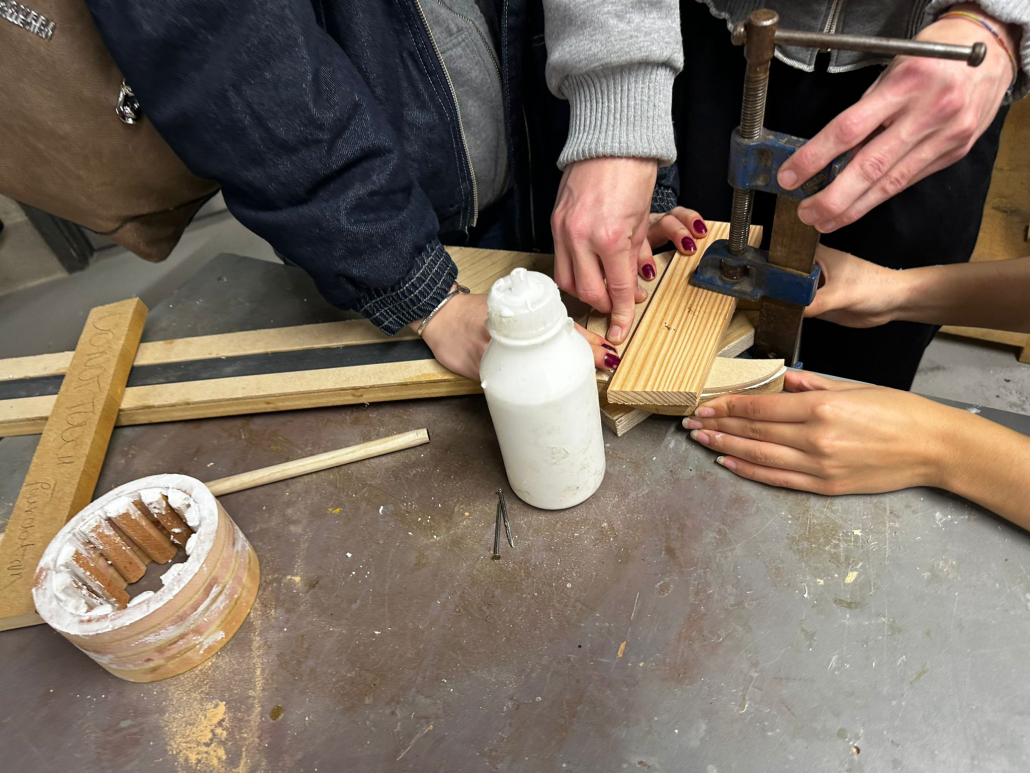
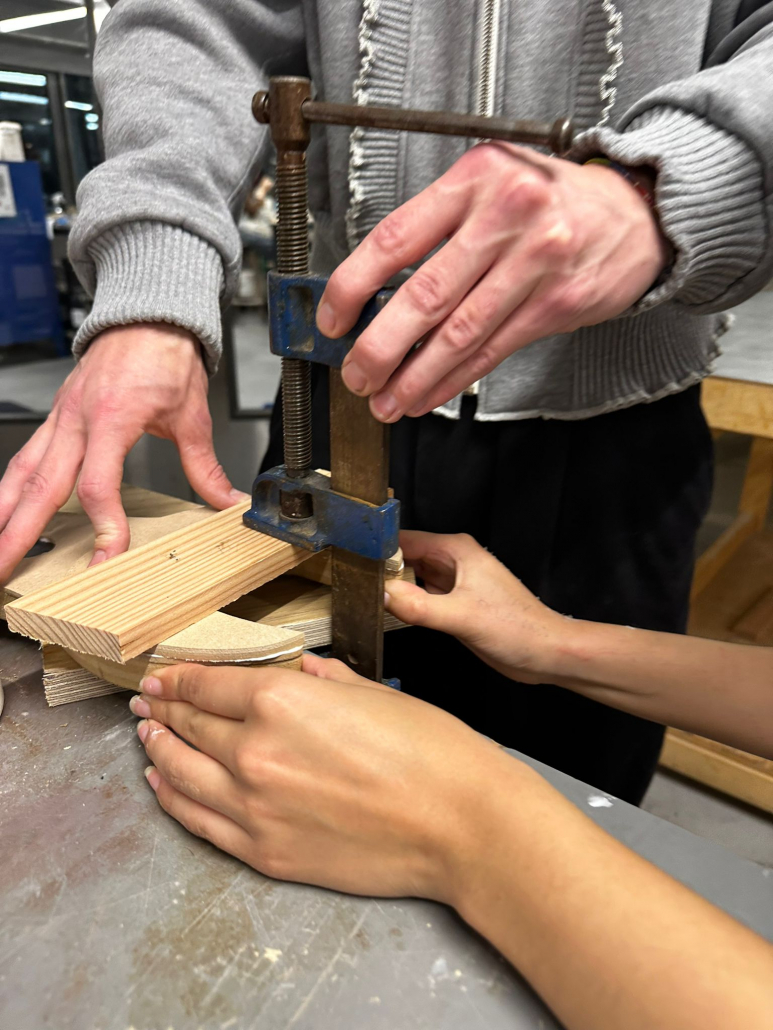
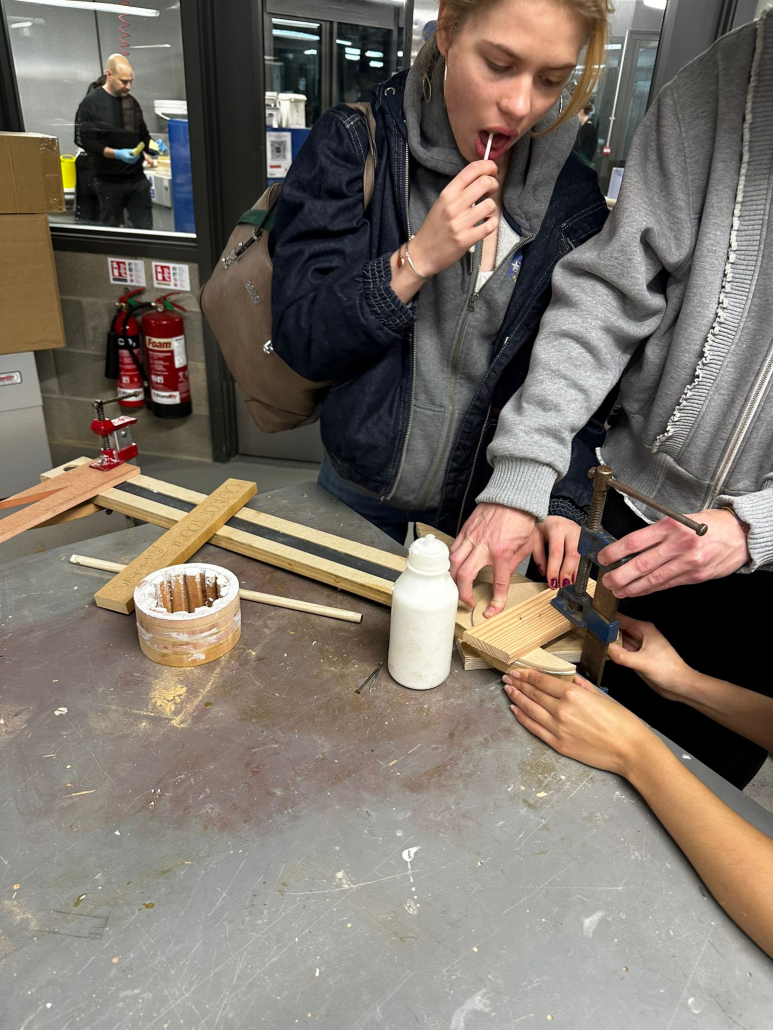
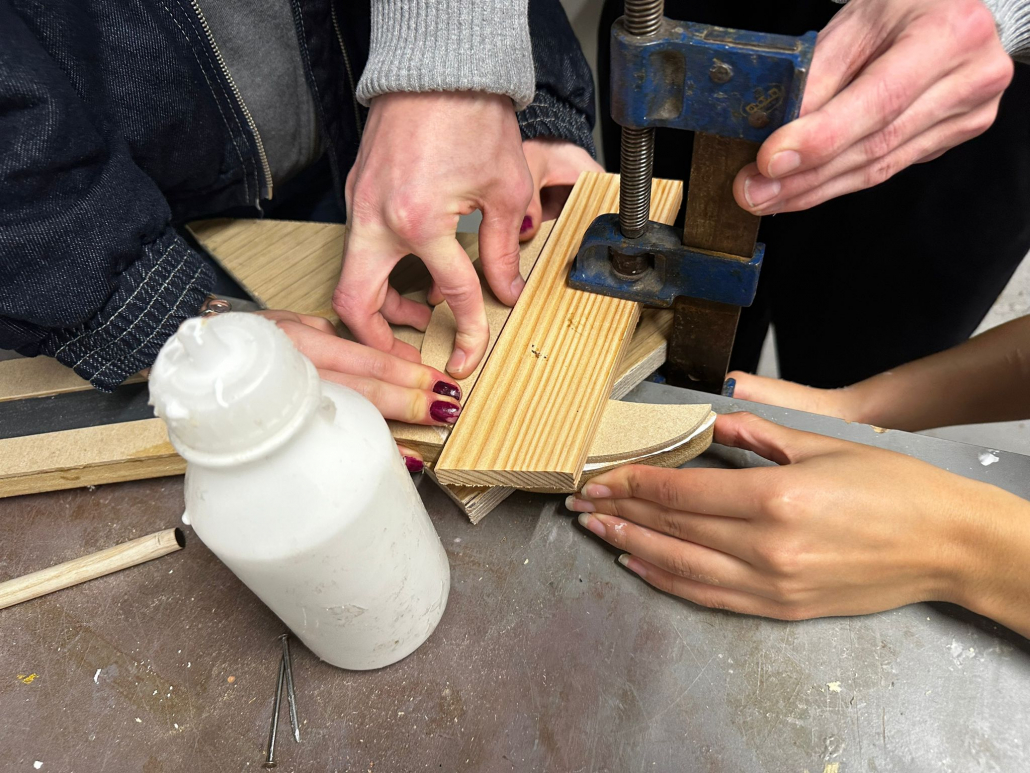
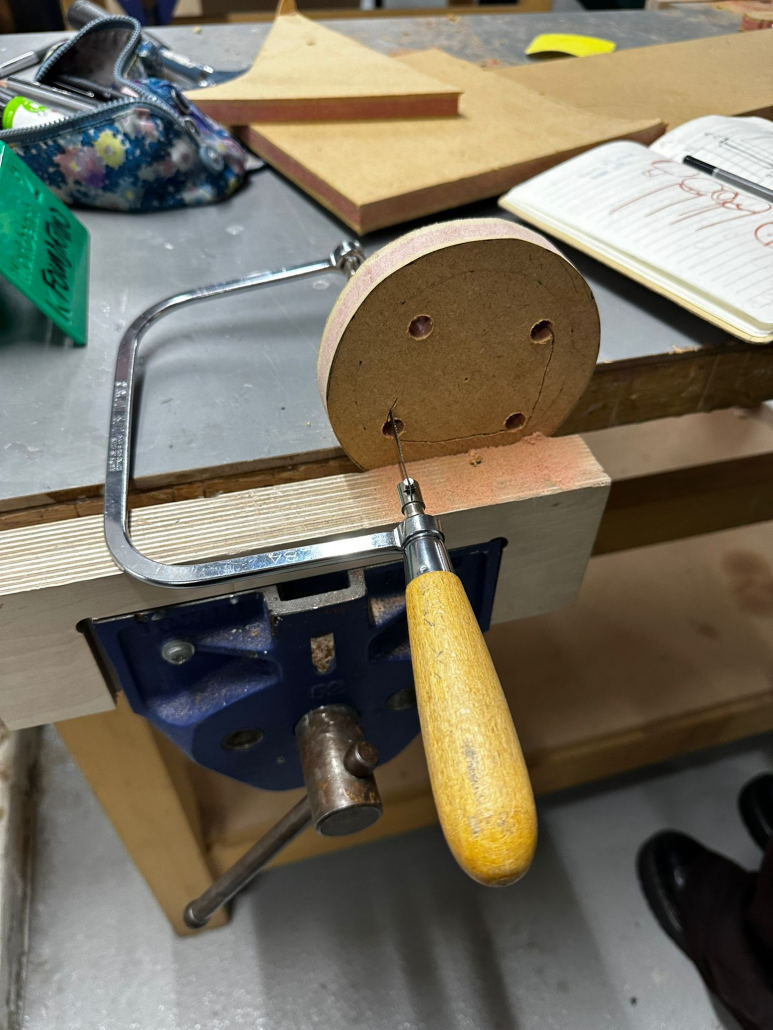
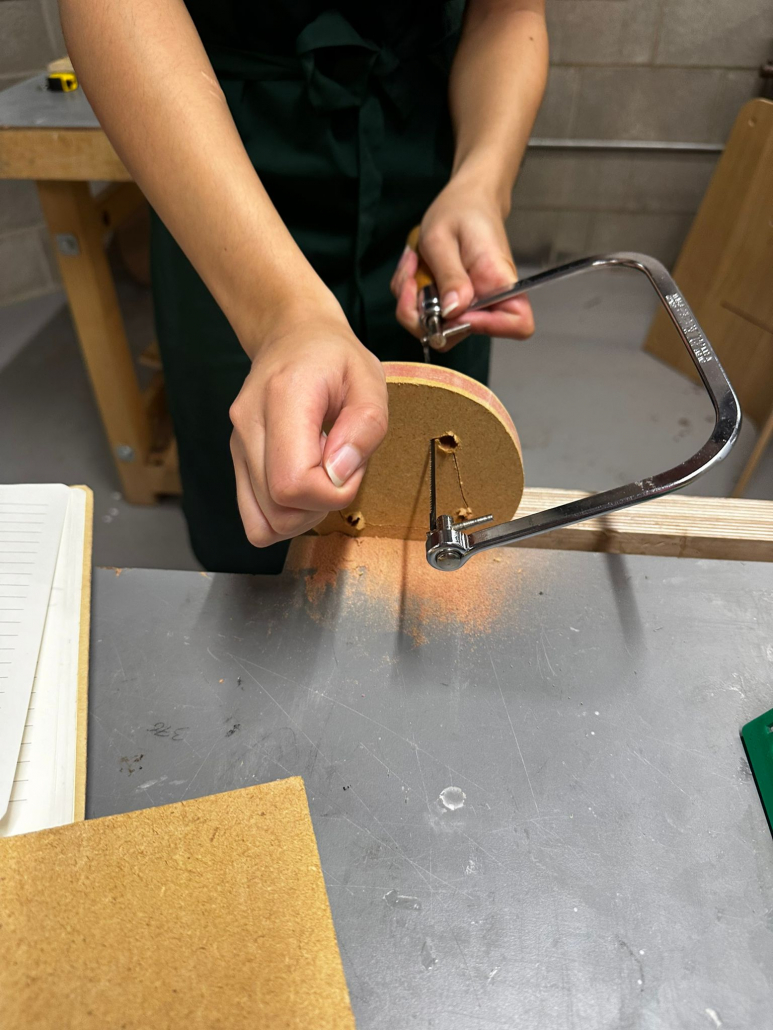
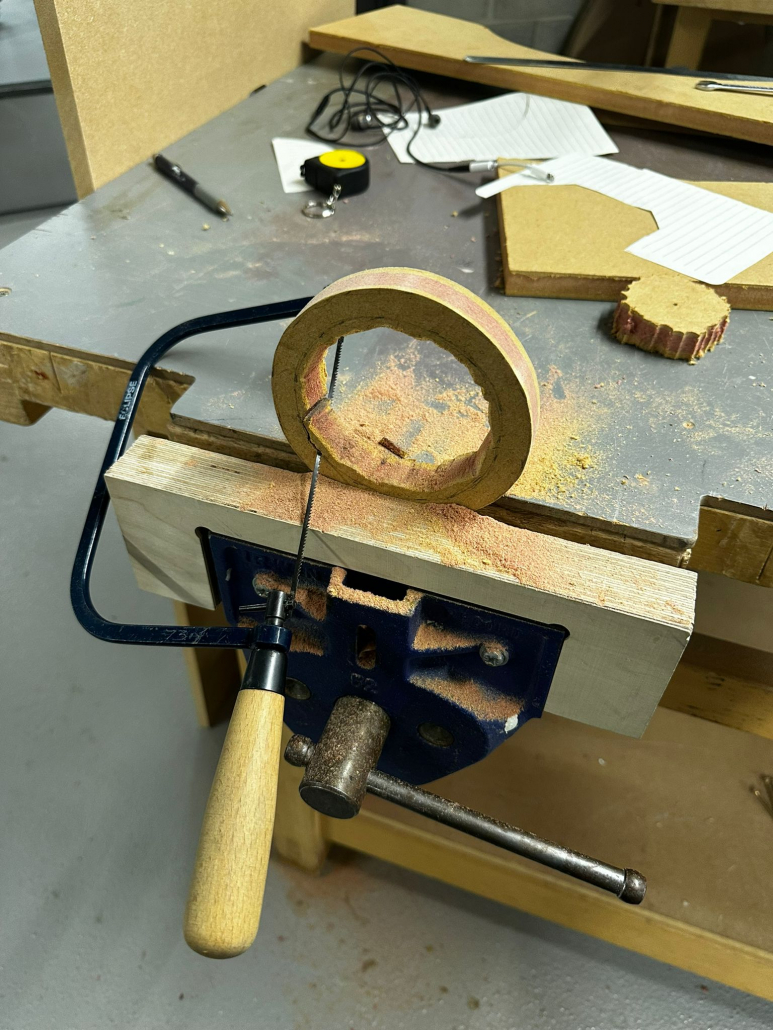
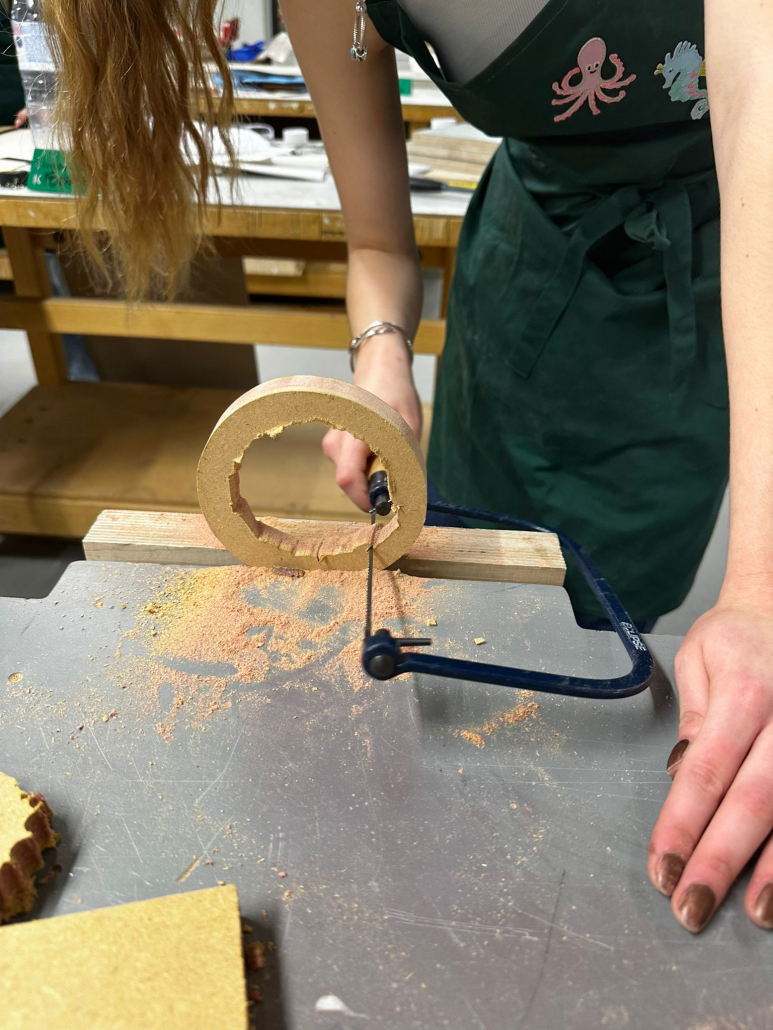
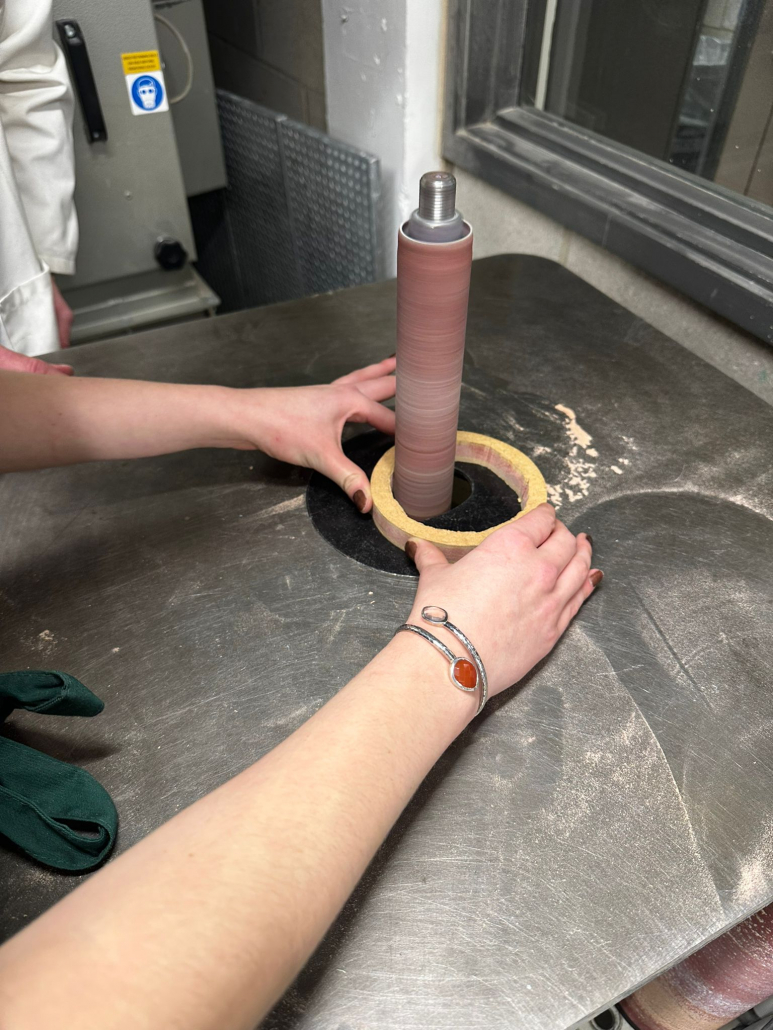
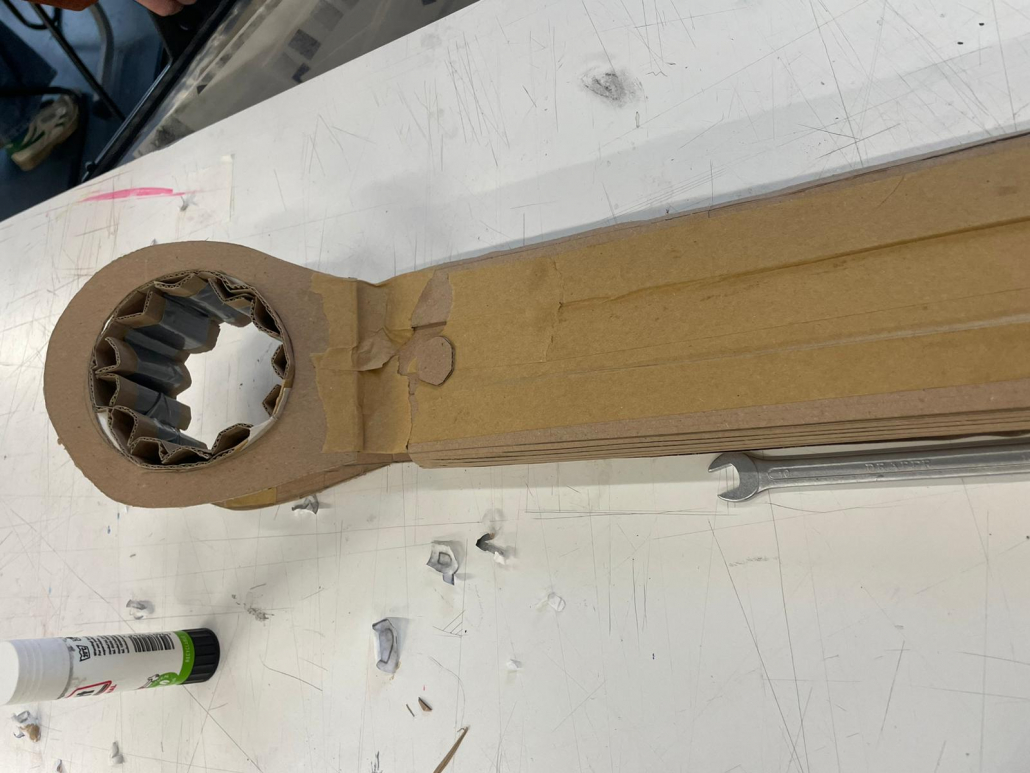
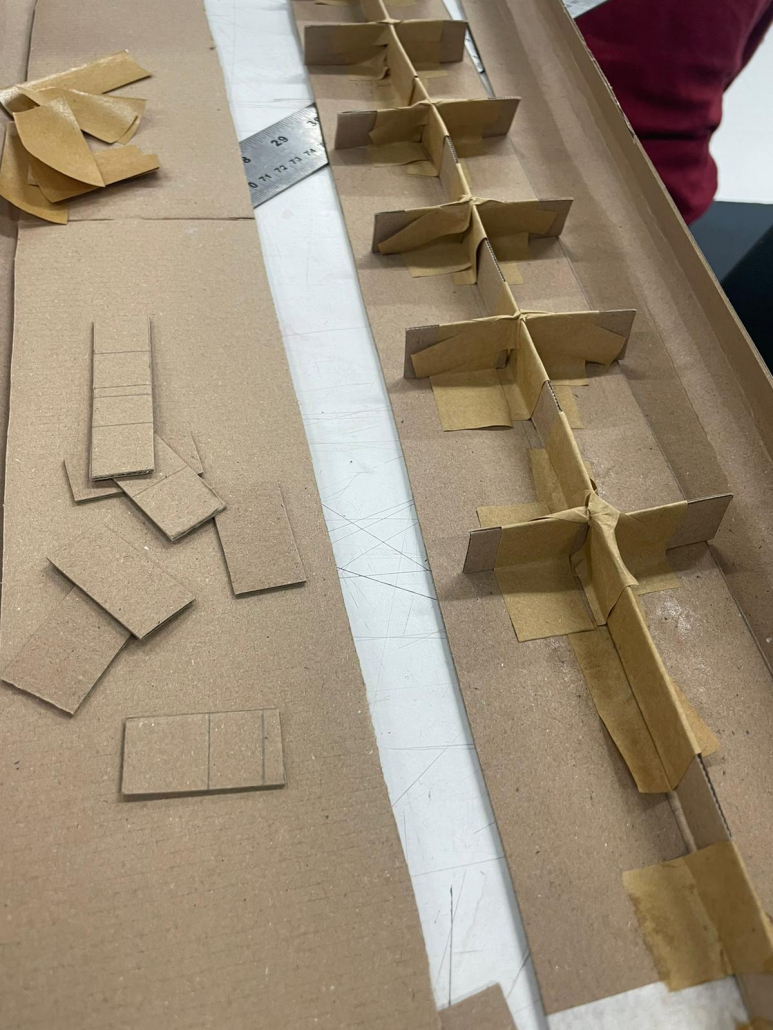
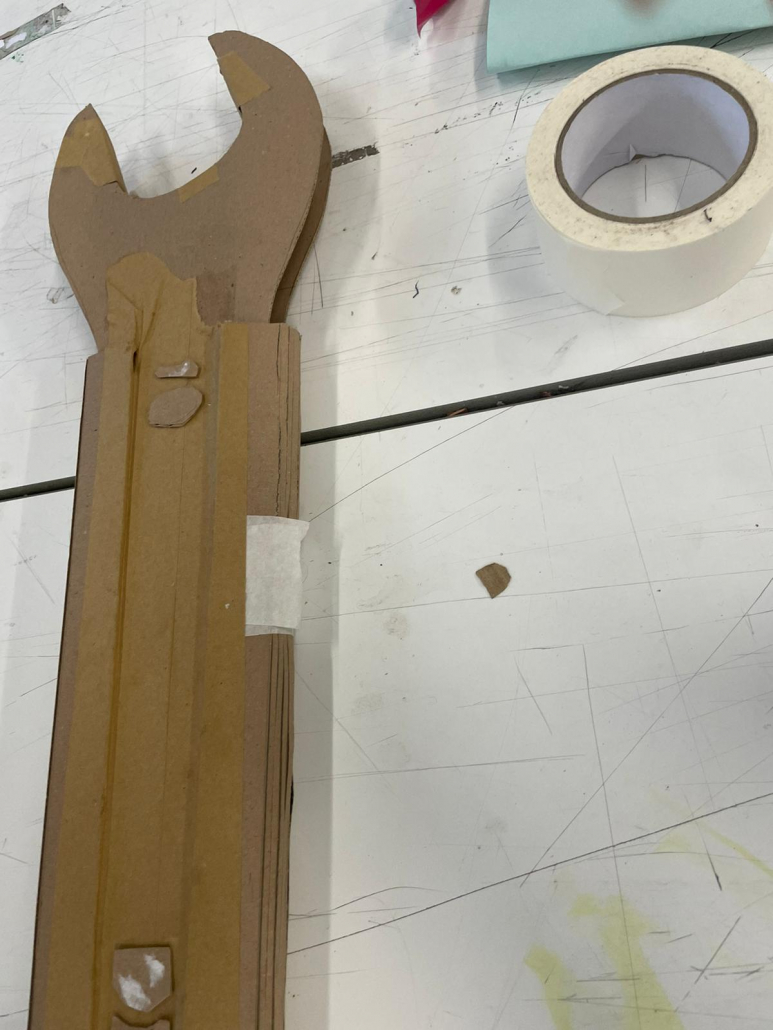
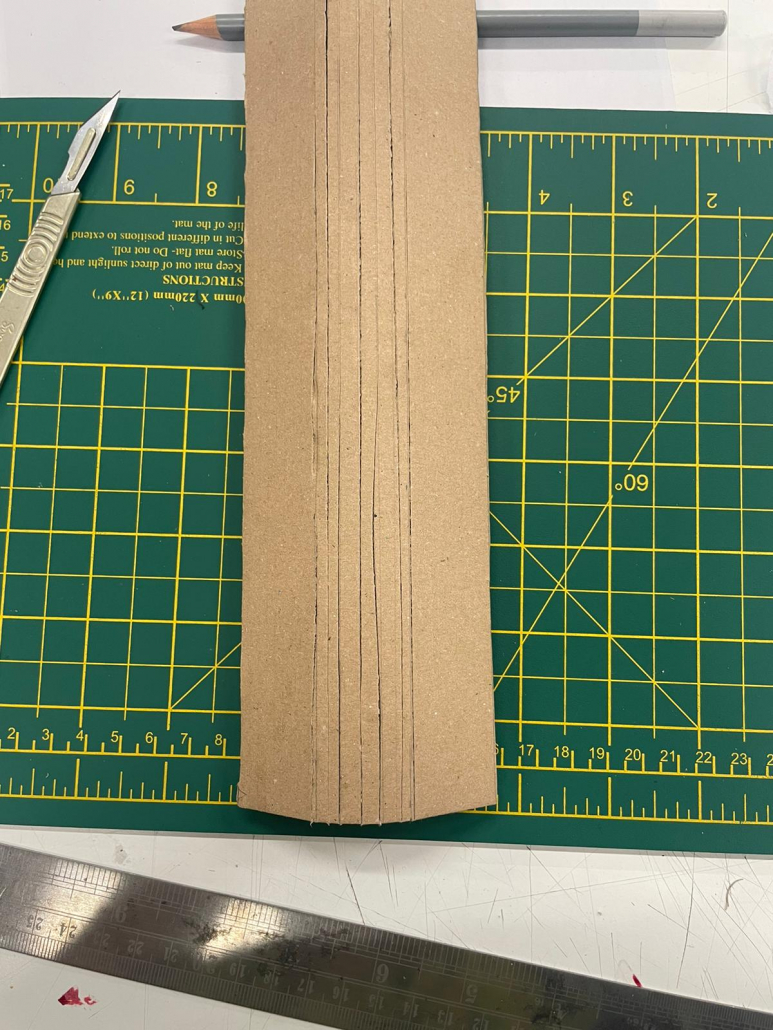
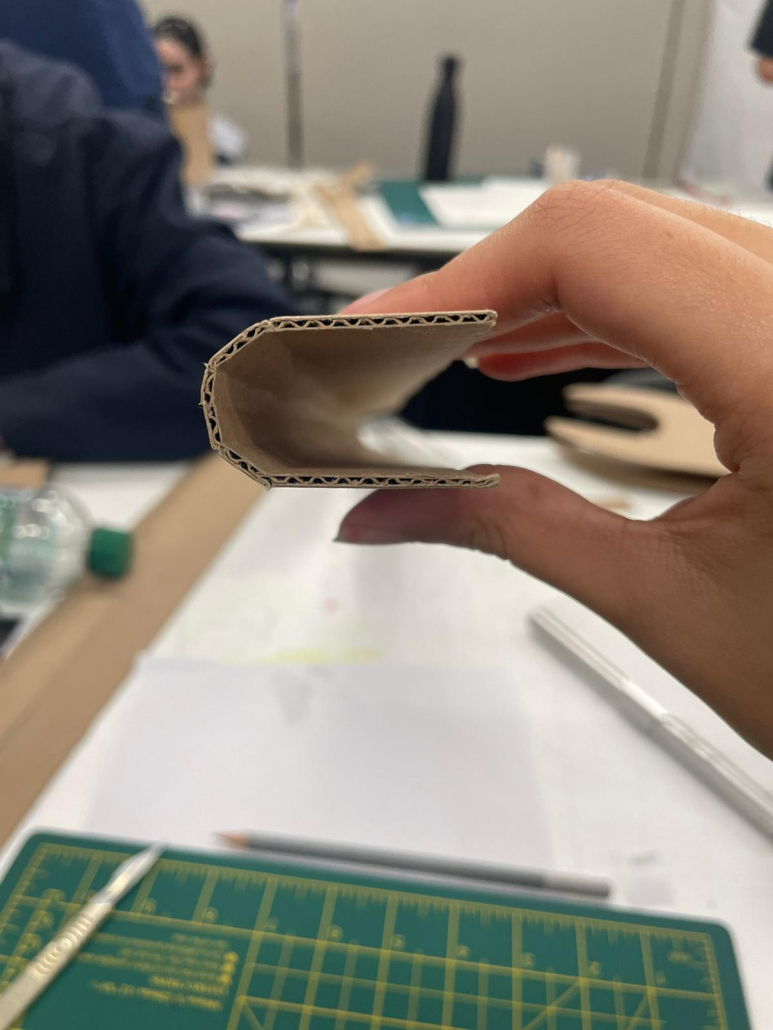
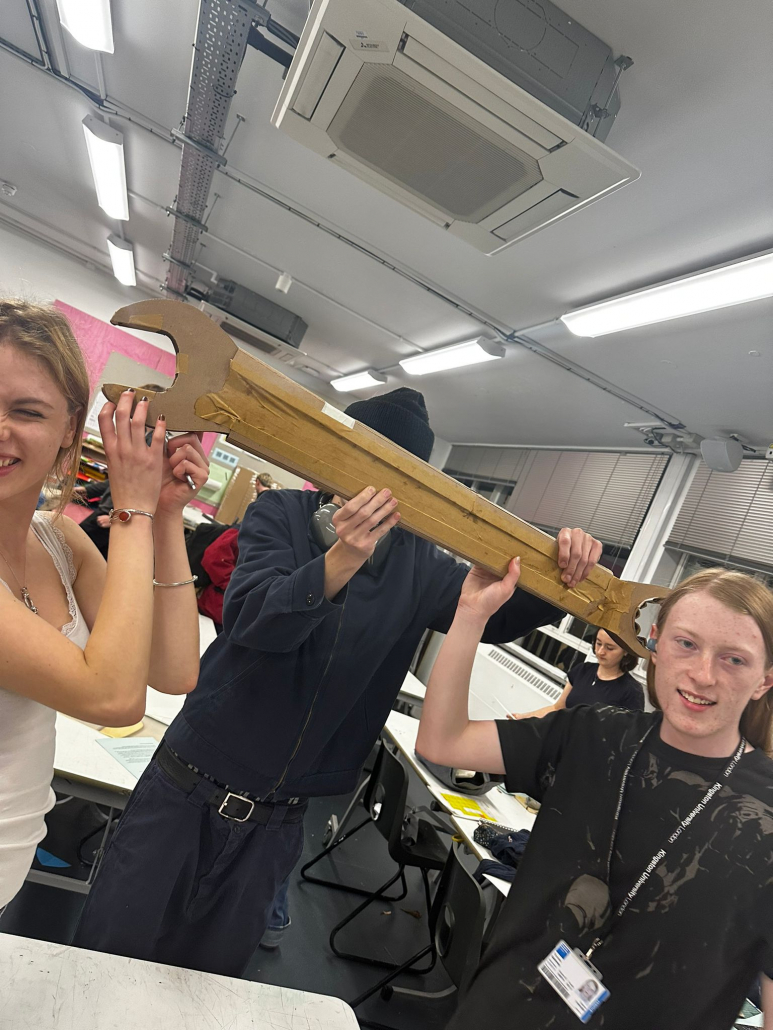
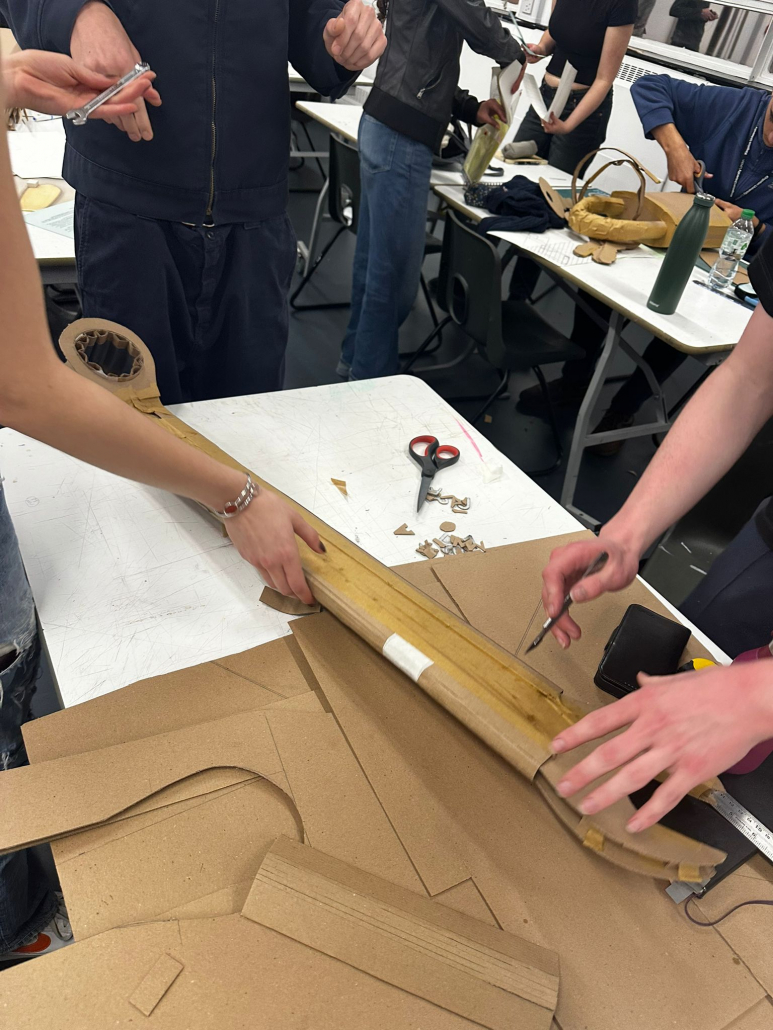
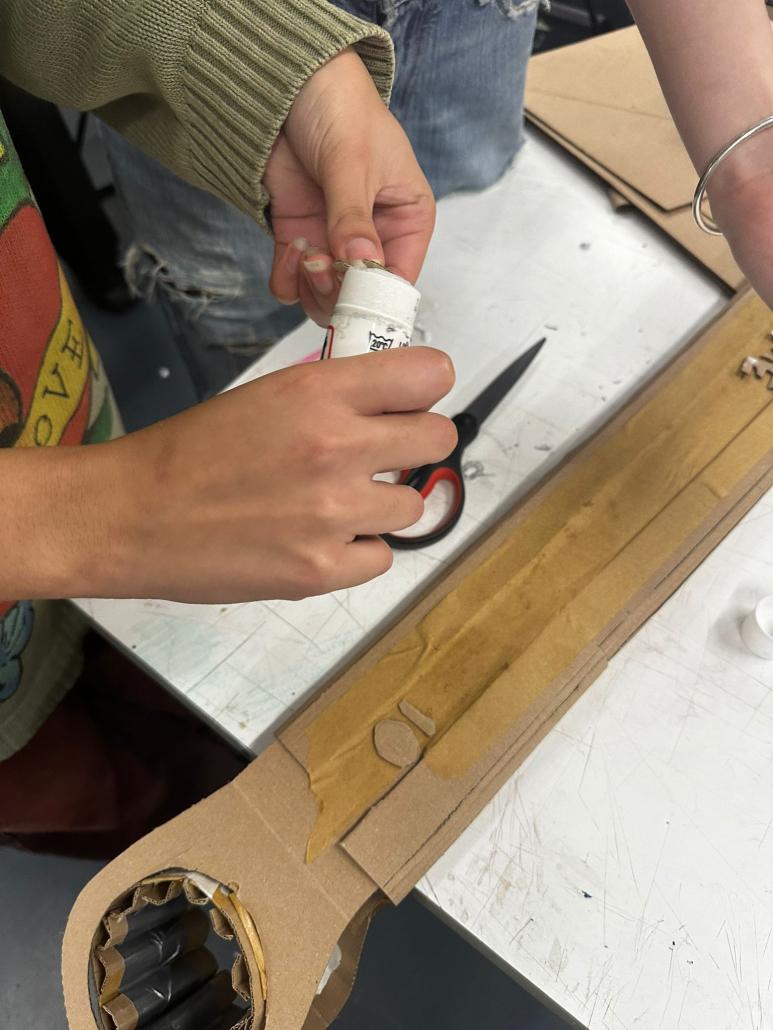
Step 4: Cut Out the Shape
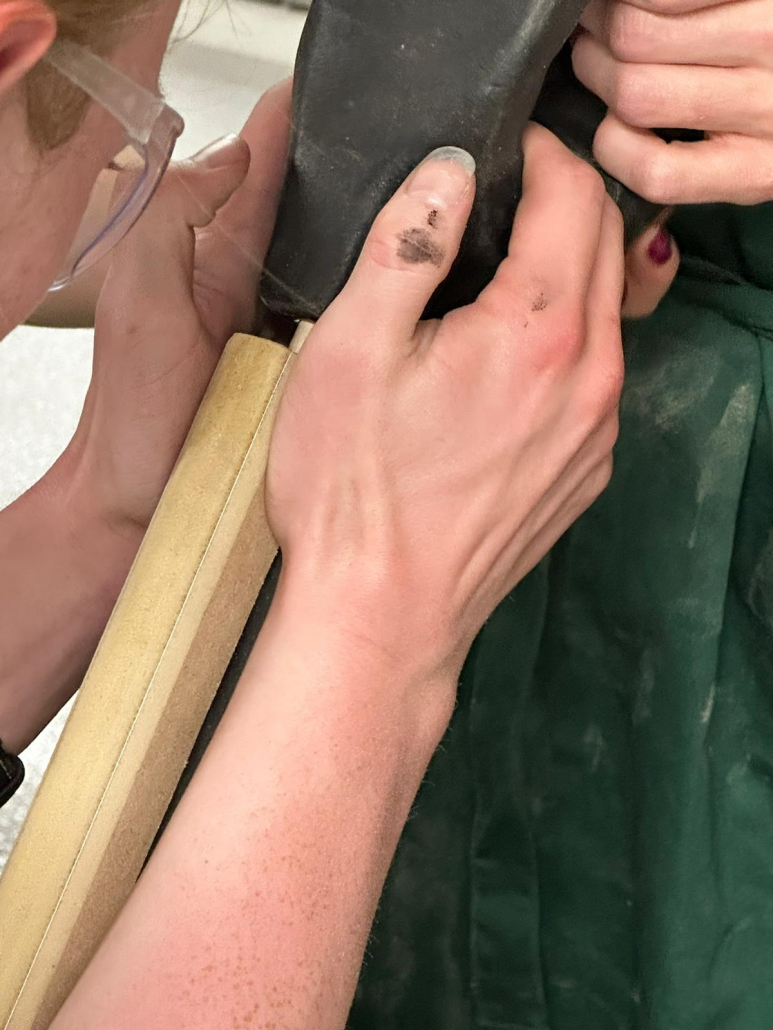
My first step in bringing the design to life was carefully tracing the shape onto the material. Working with larger dimensions required a steady hand and a focus on proportions. We aimed to achieve clean, smooth edges that mirrored the original spanner’s form. Smoothing these edges was vital, as even slight imperfections could detract from the realism at this scale. I took my time, keeping a critical eye to ensure an even, refined surface.
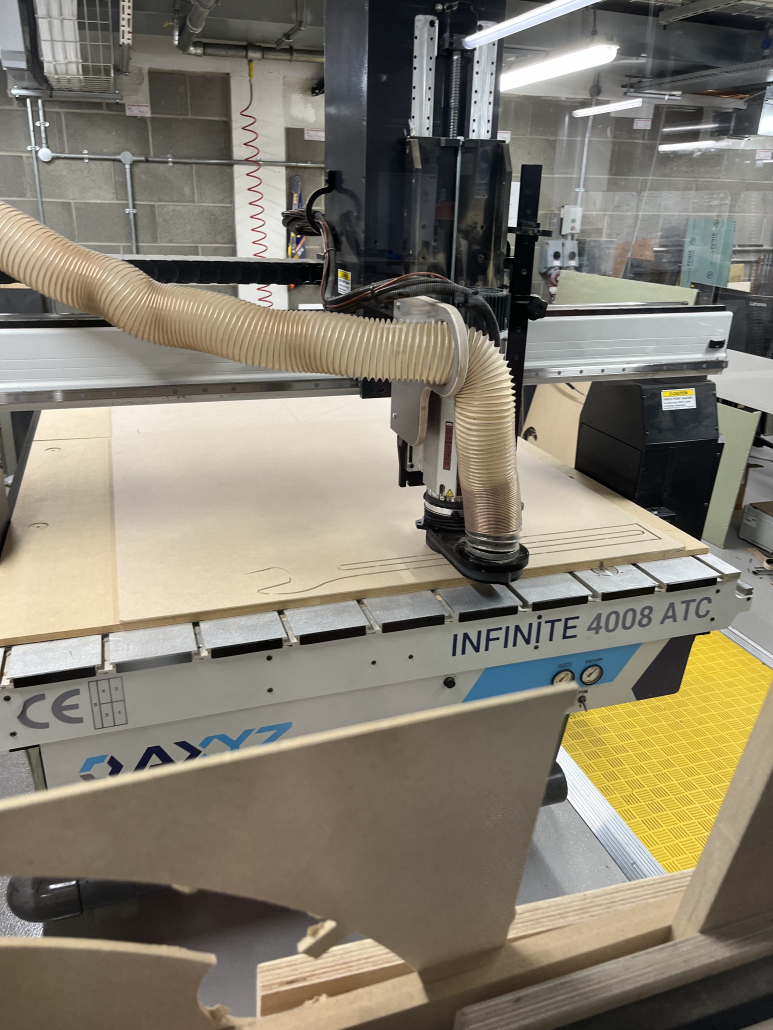
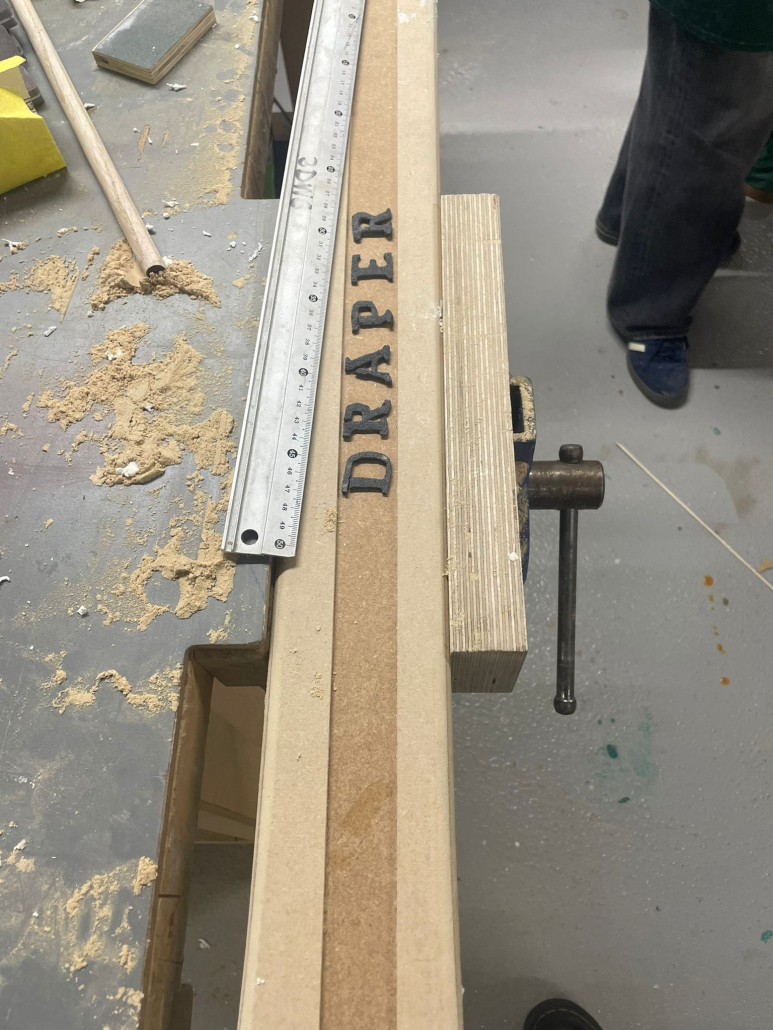
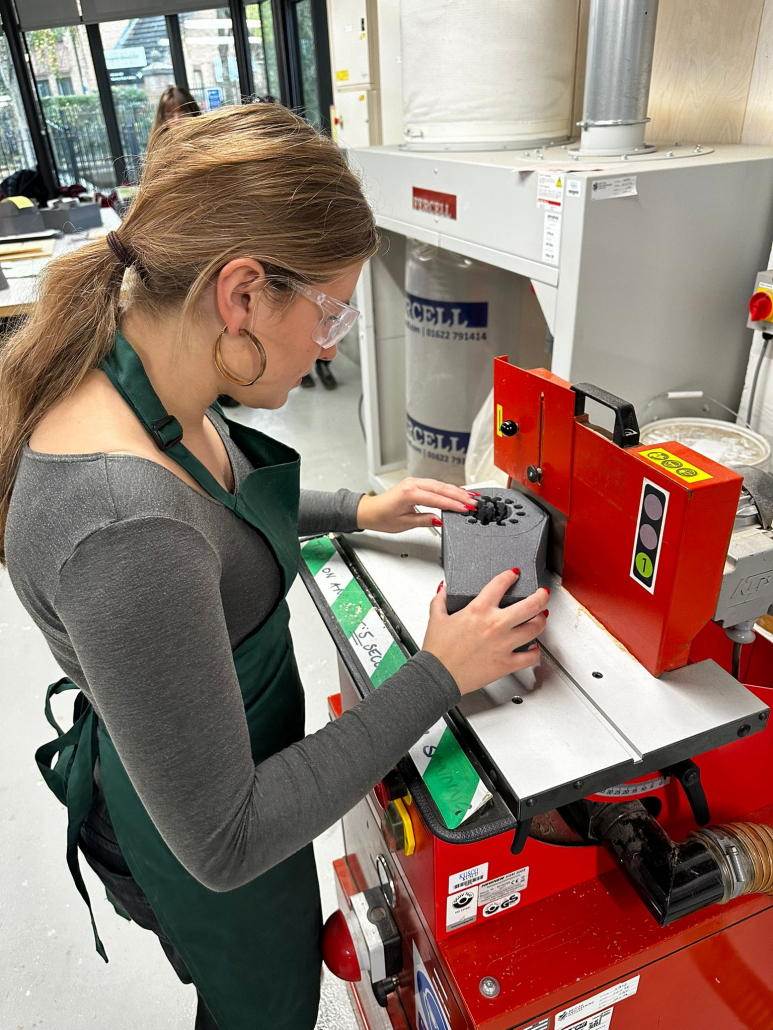
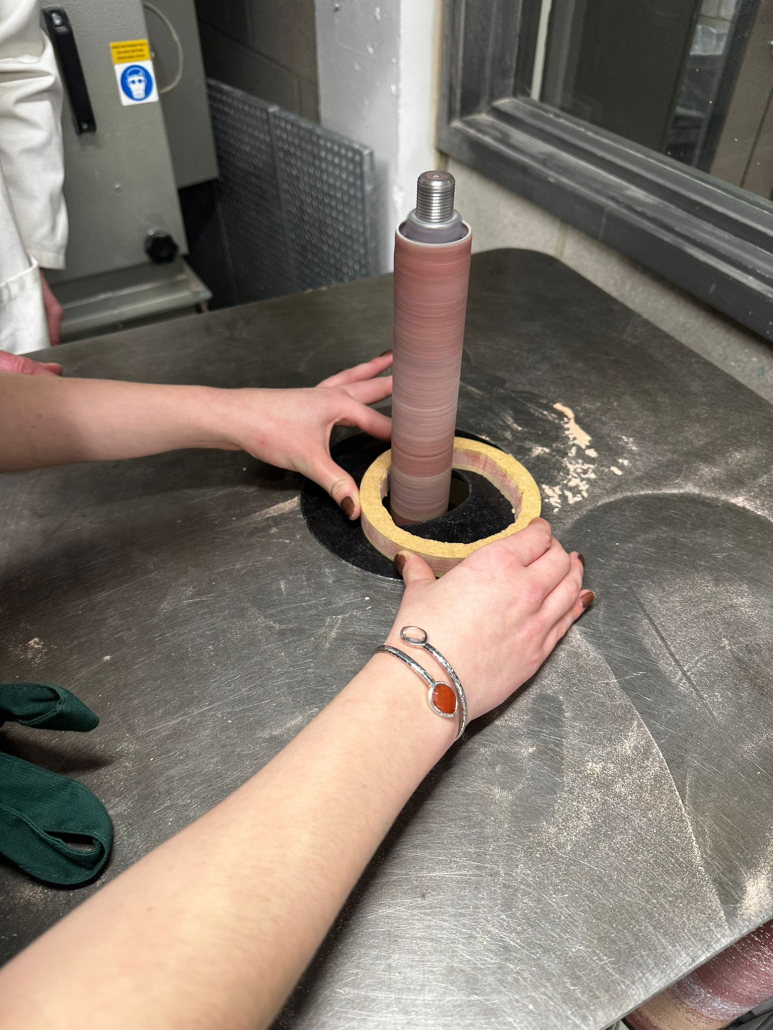
We decided to CNC it instead of using metal or 3D printing it. Oscar went about creating a template while we were experimenting.
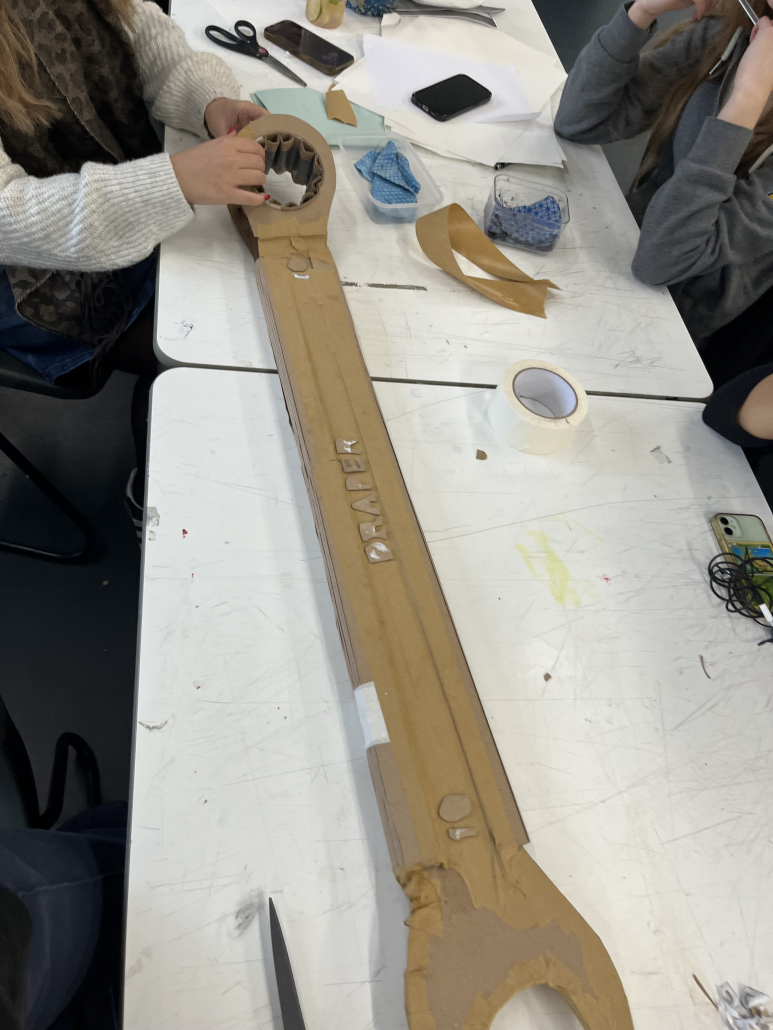
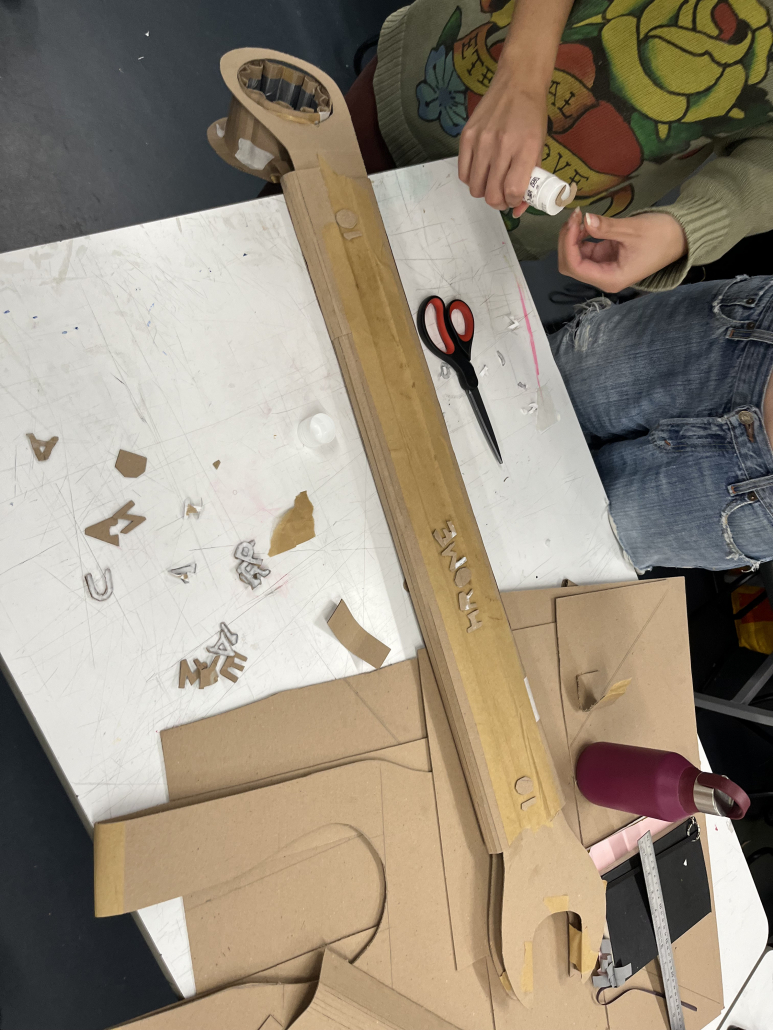
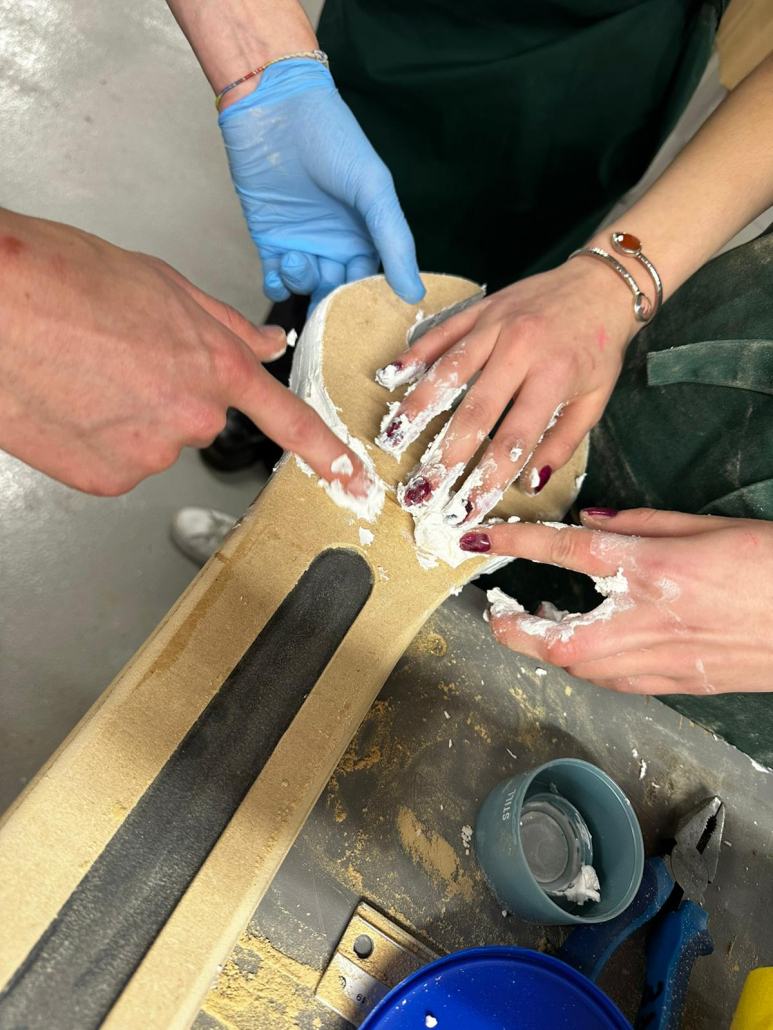
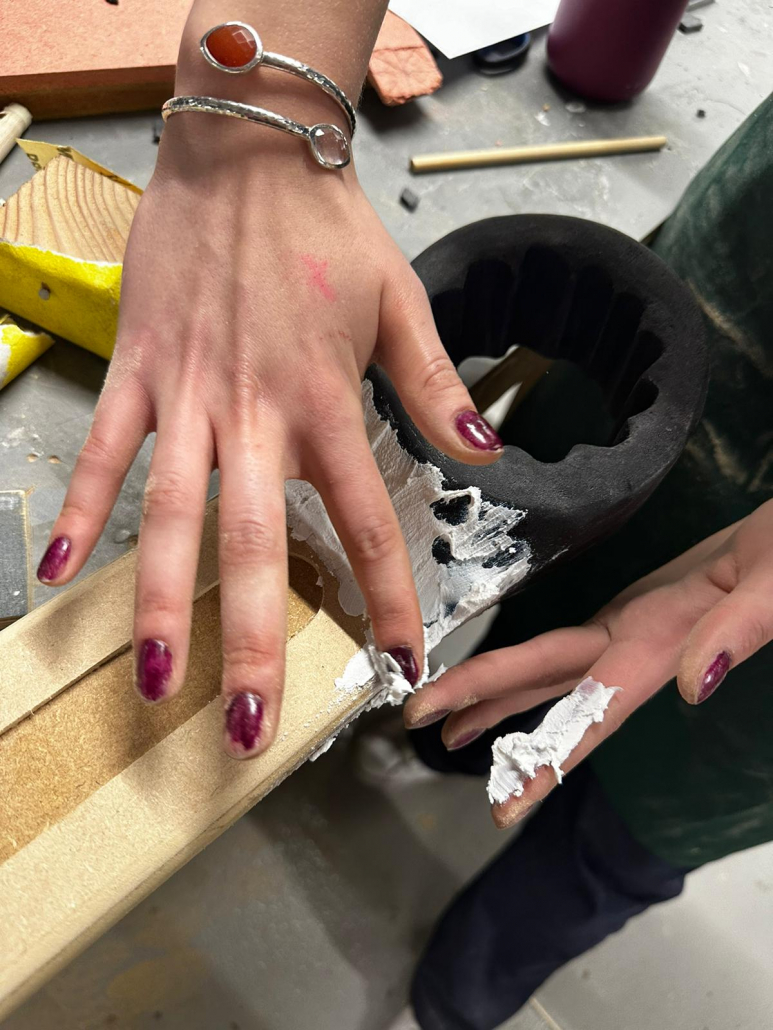
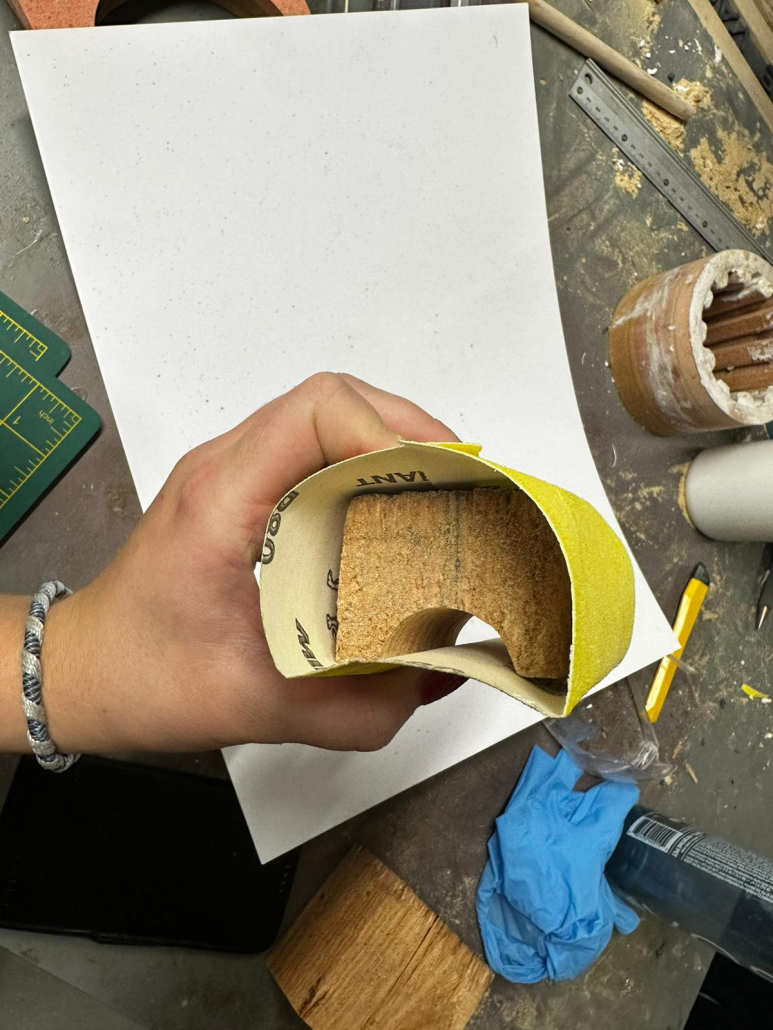
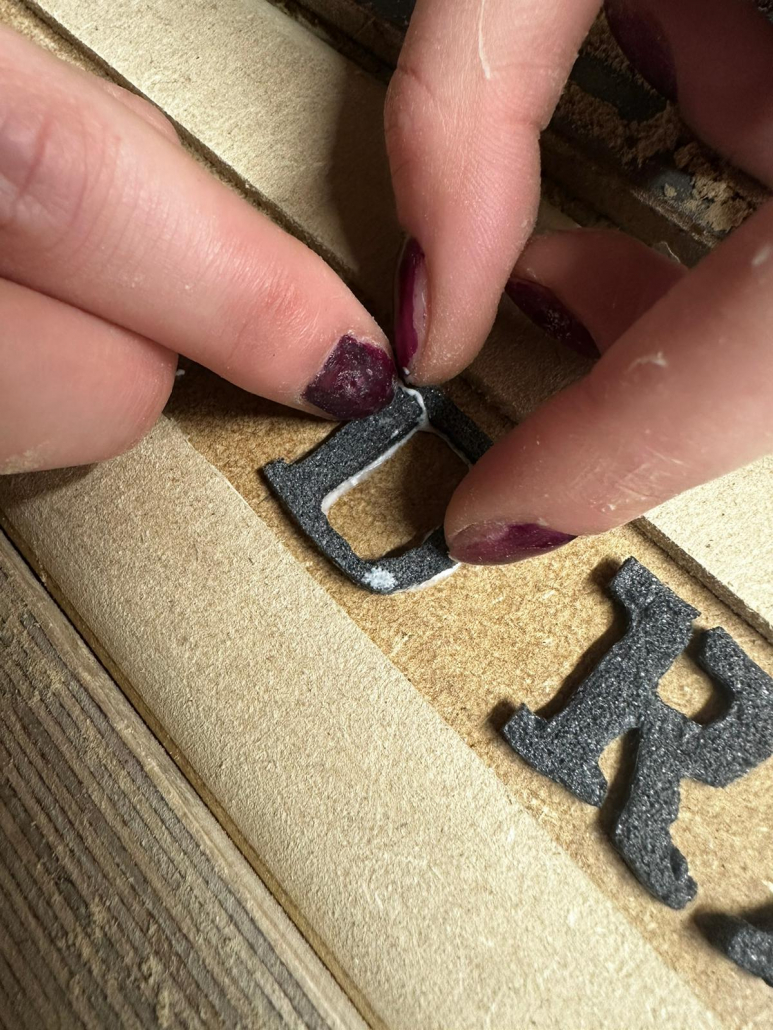
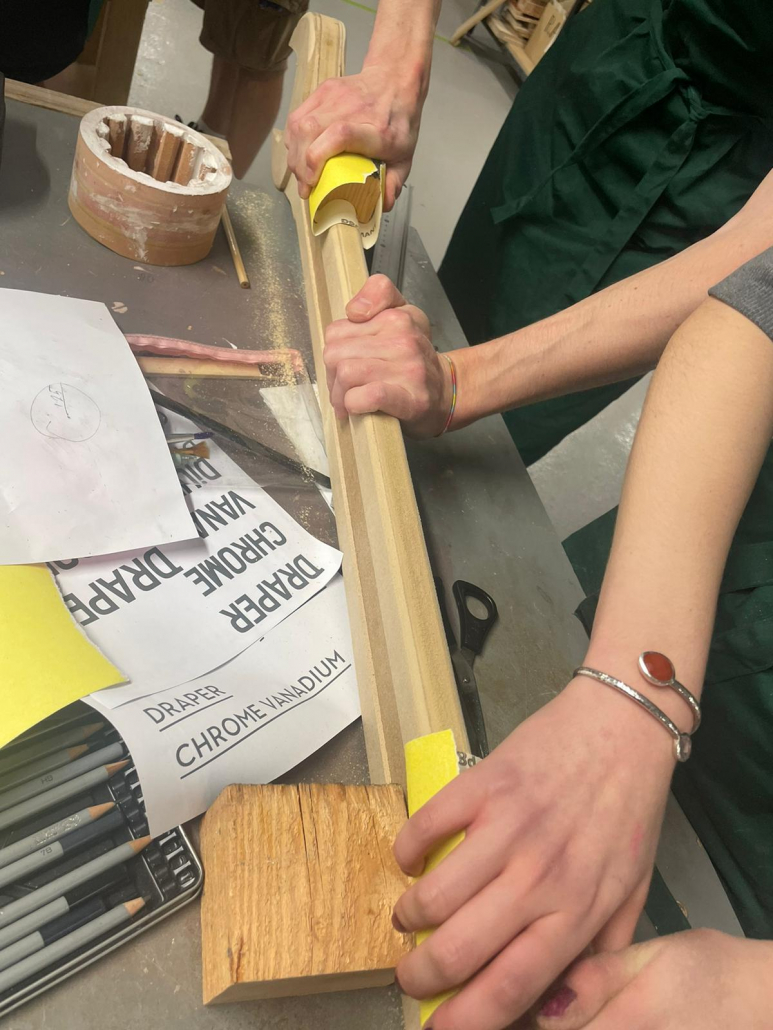
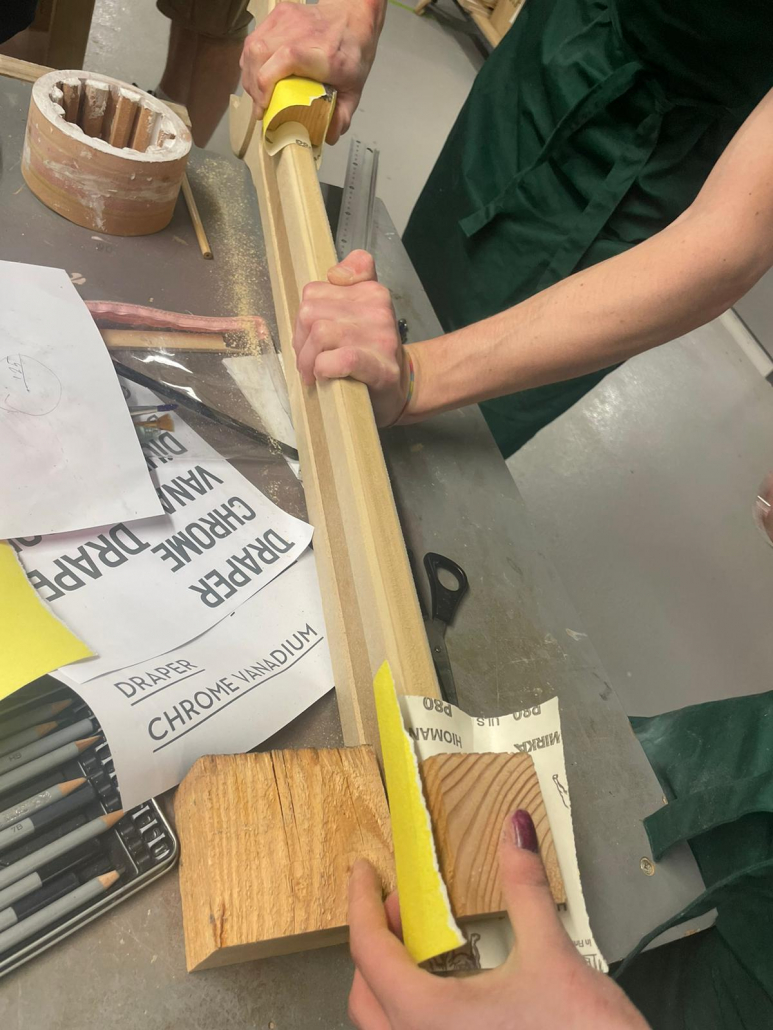
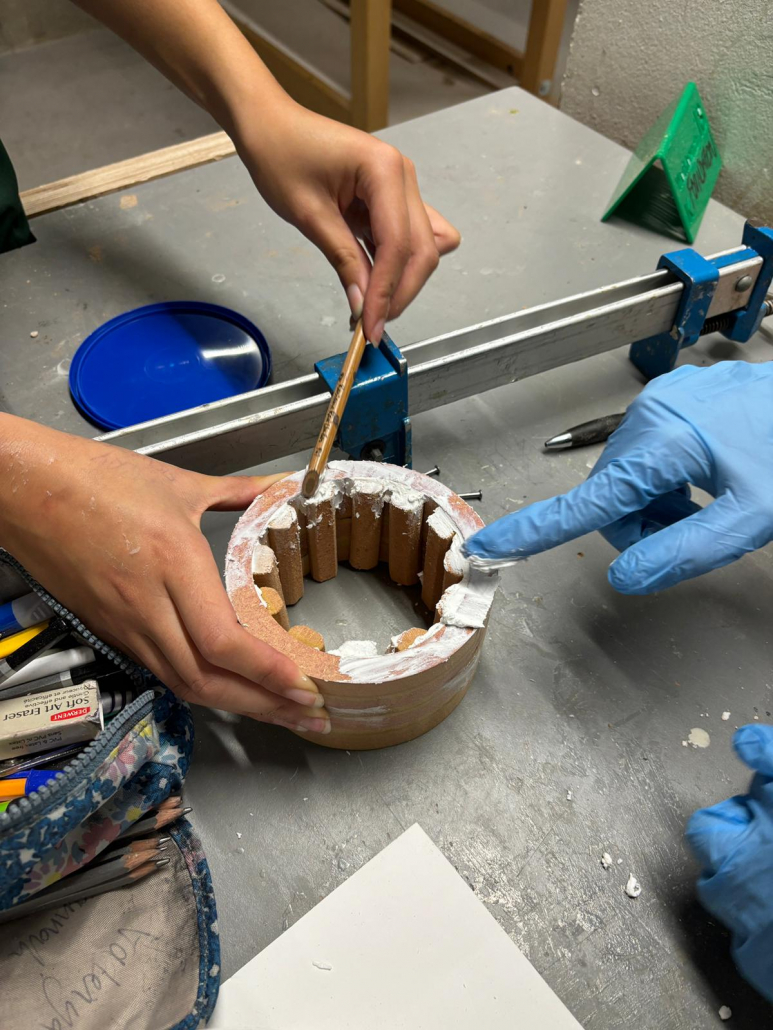
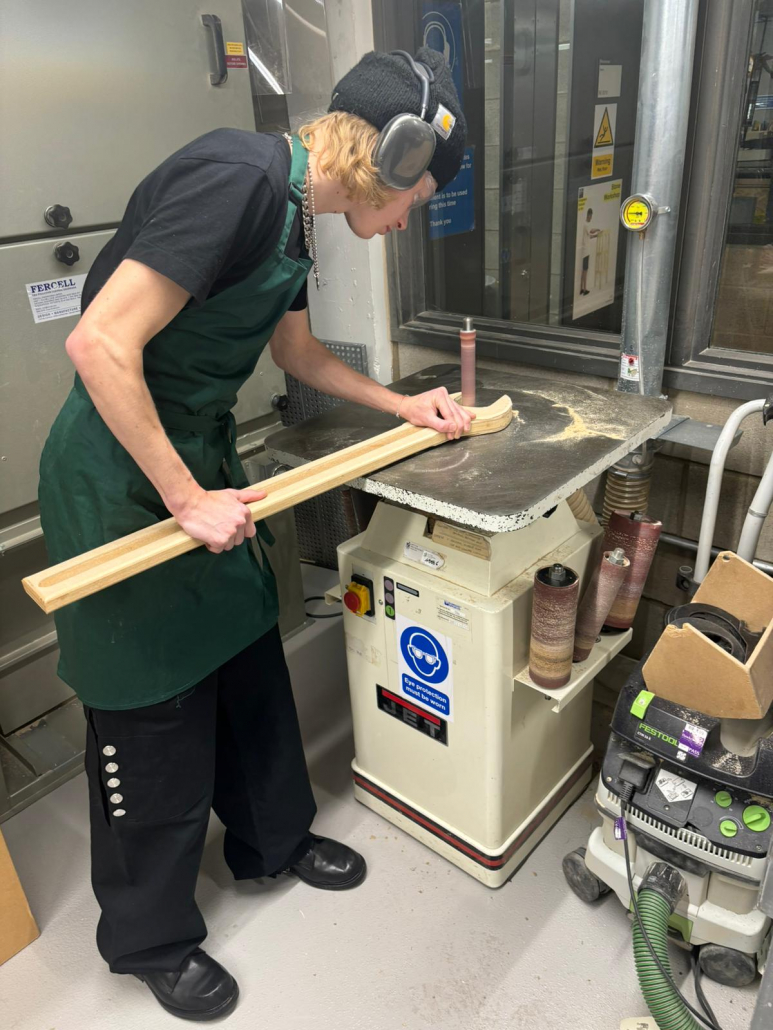
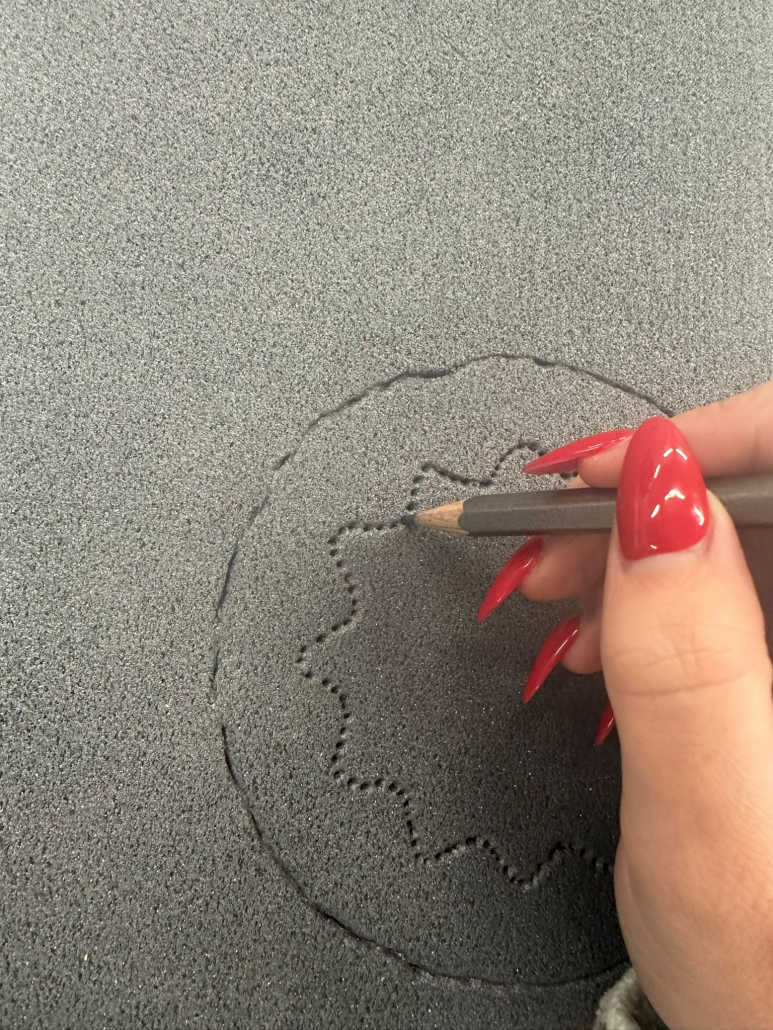
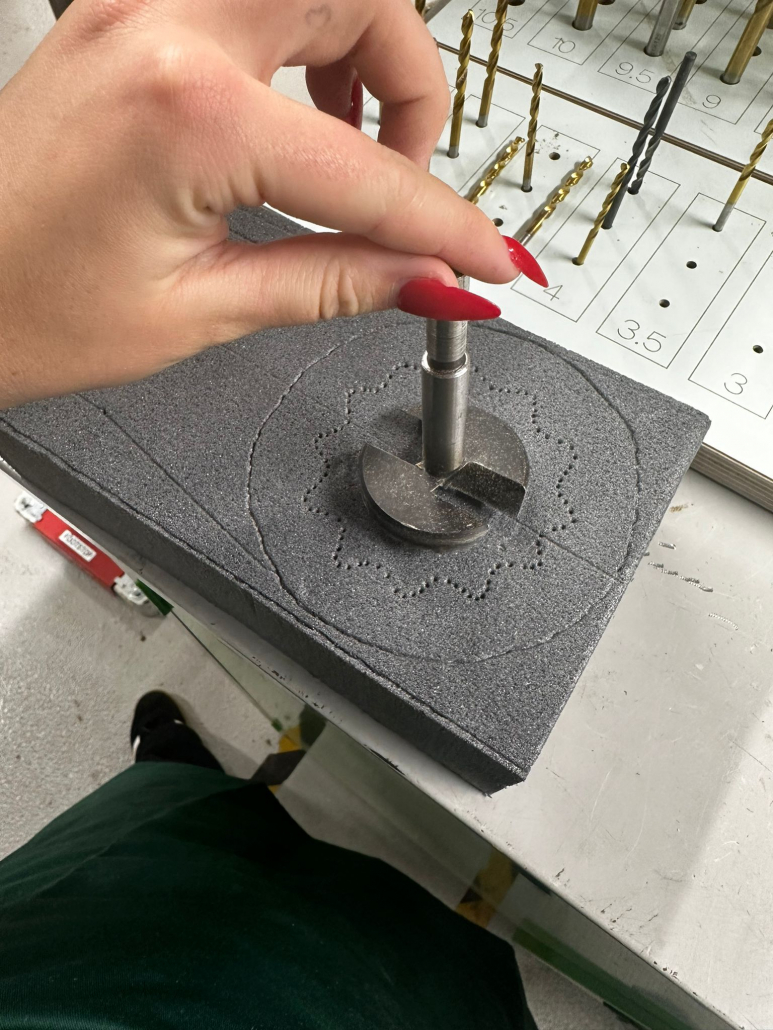
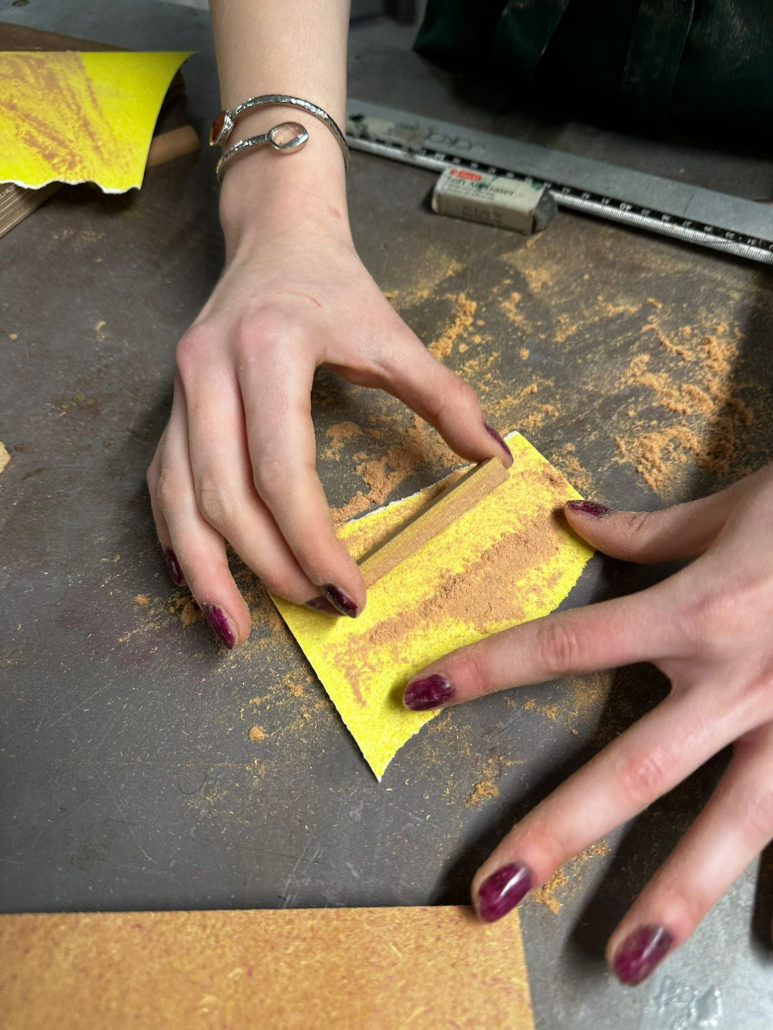
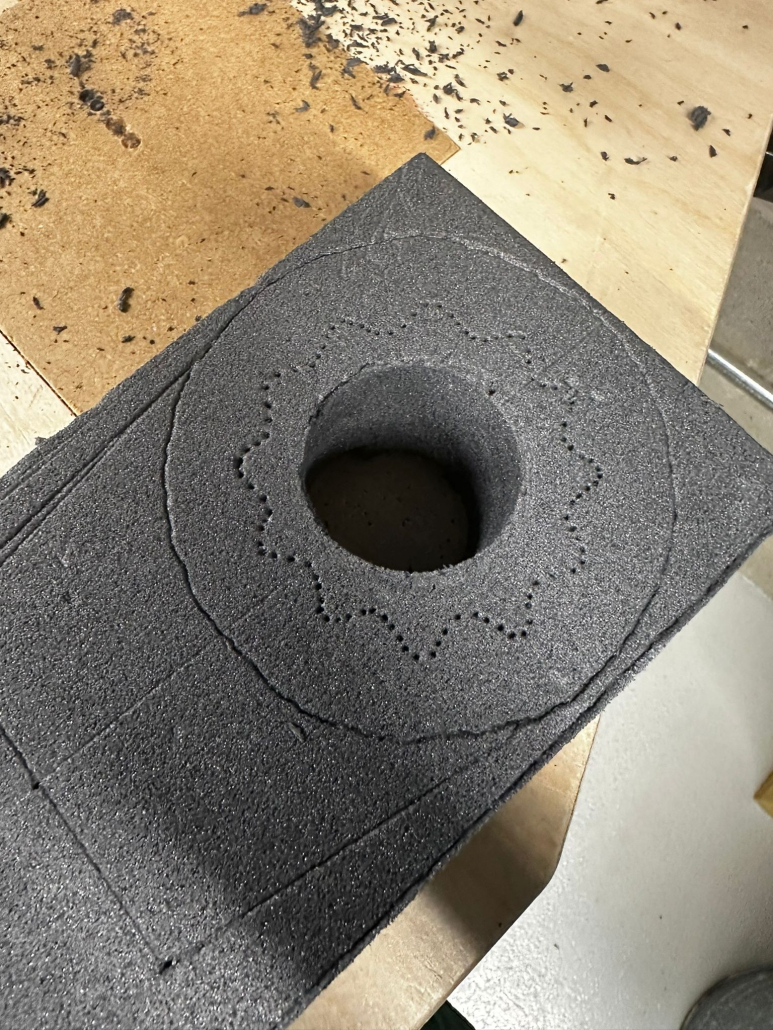
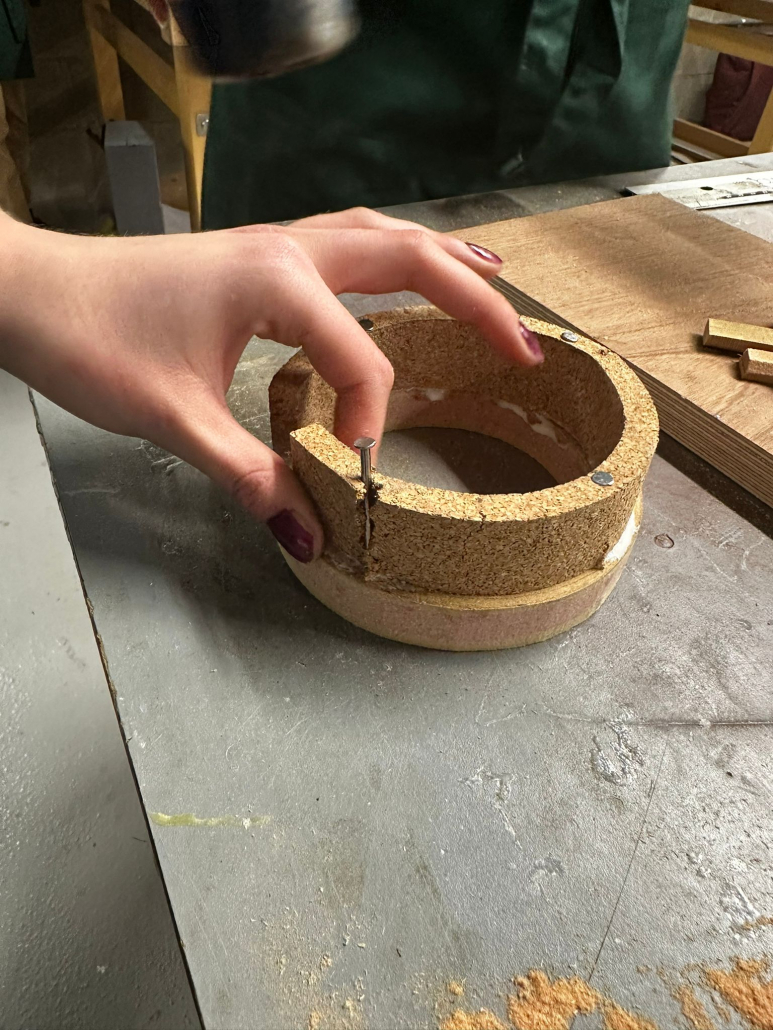
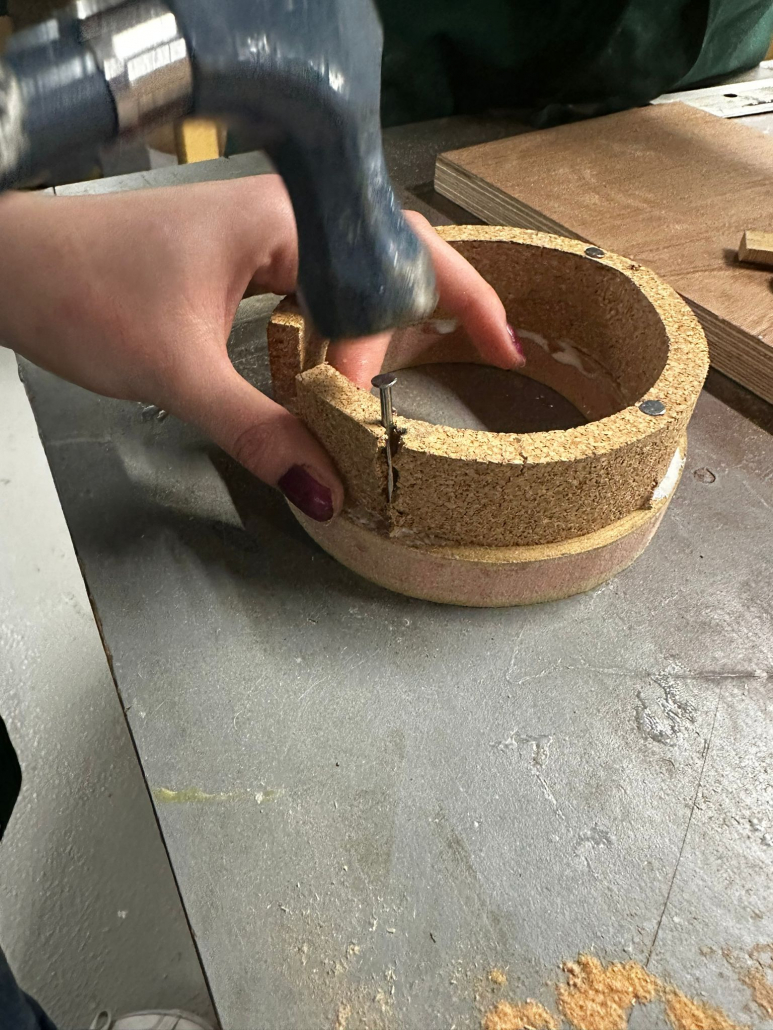
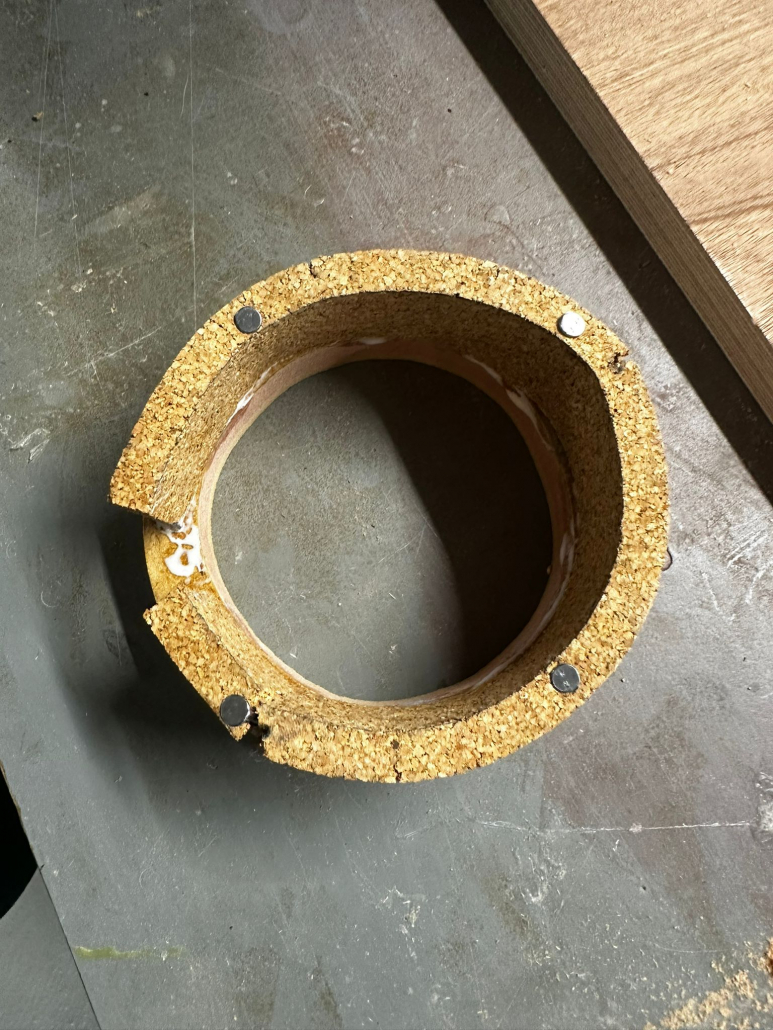
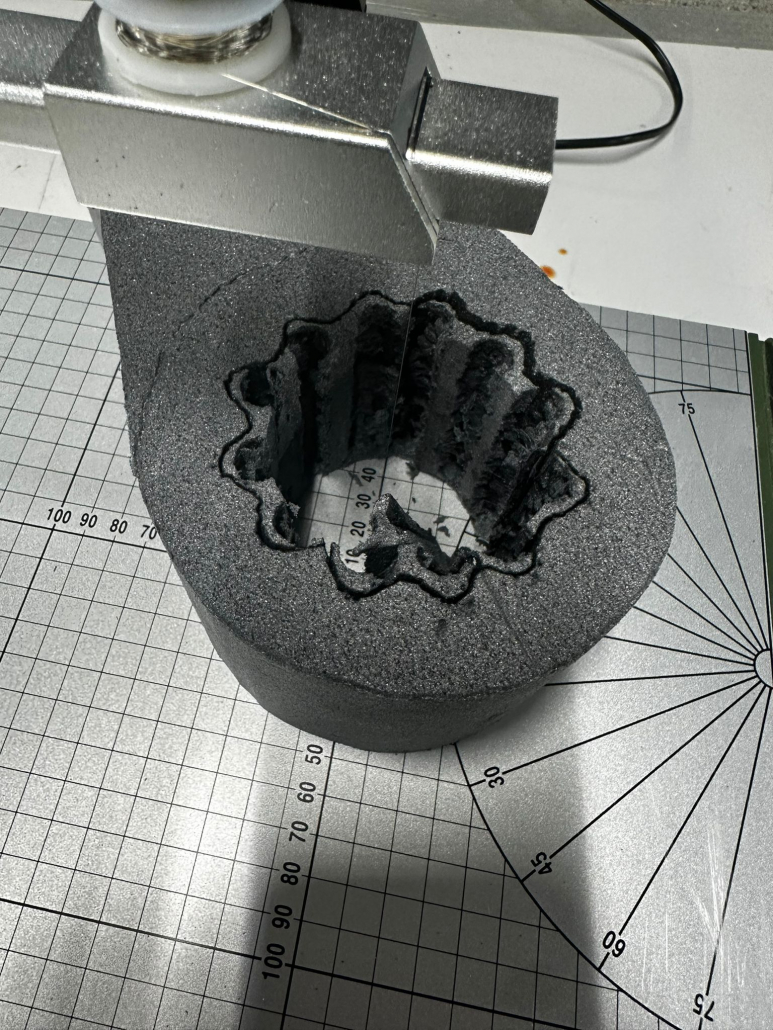
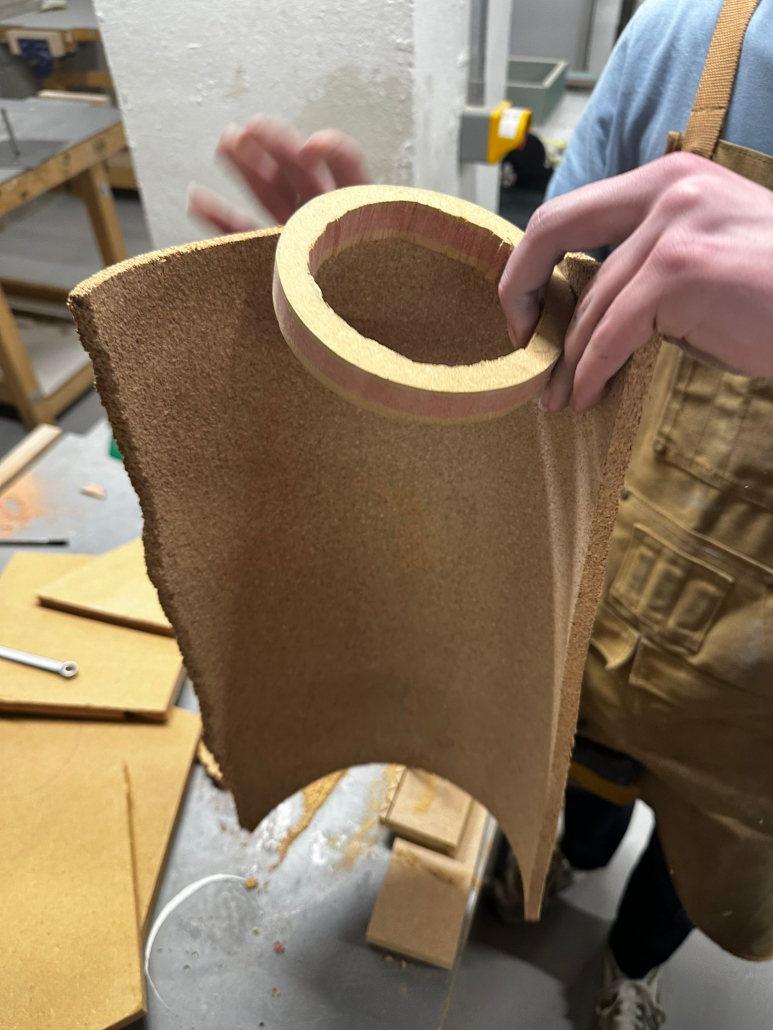
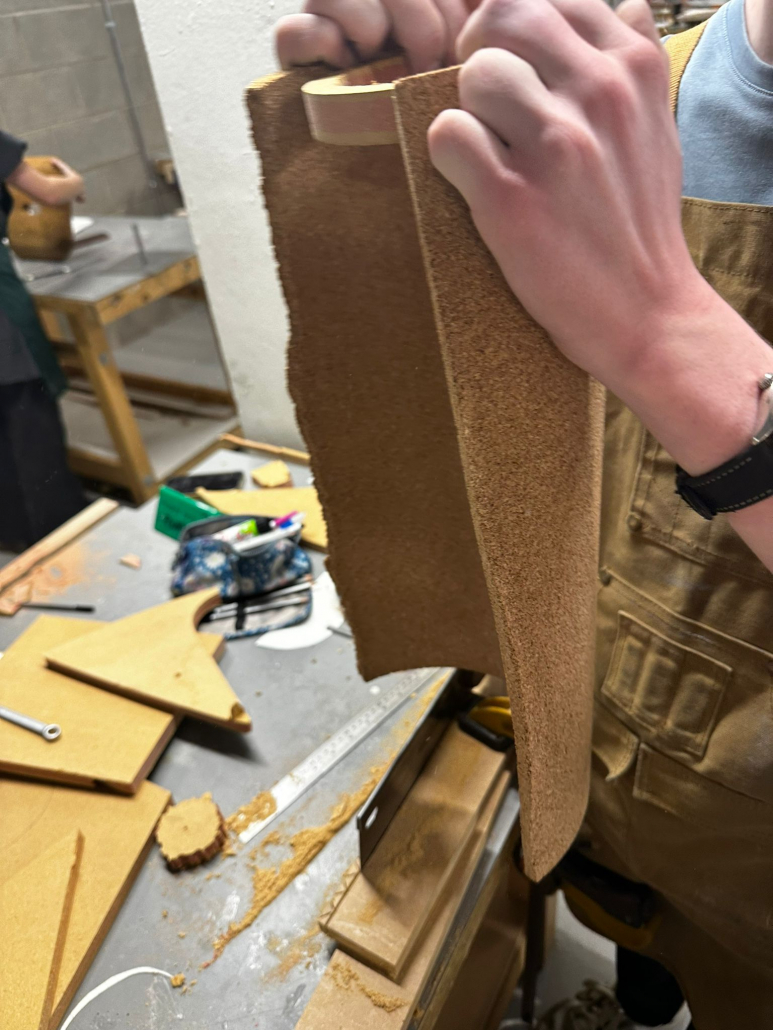
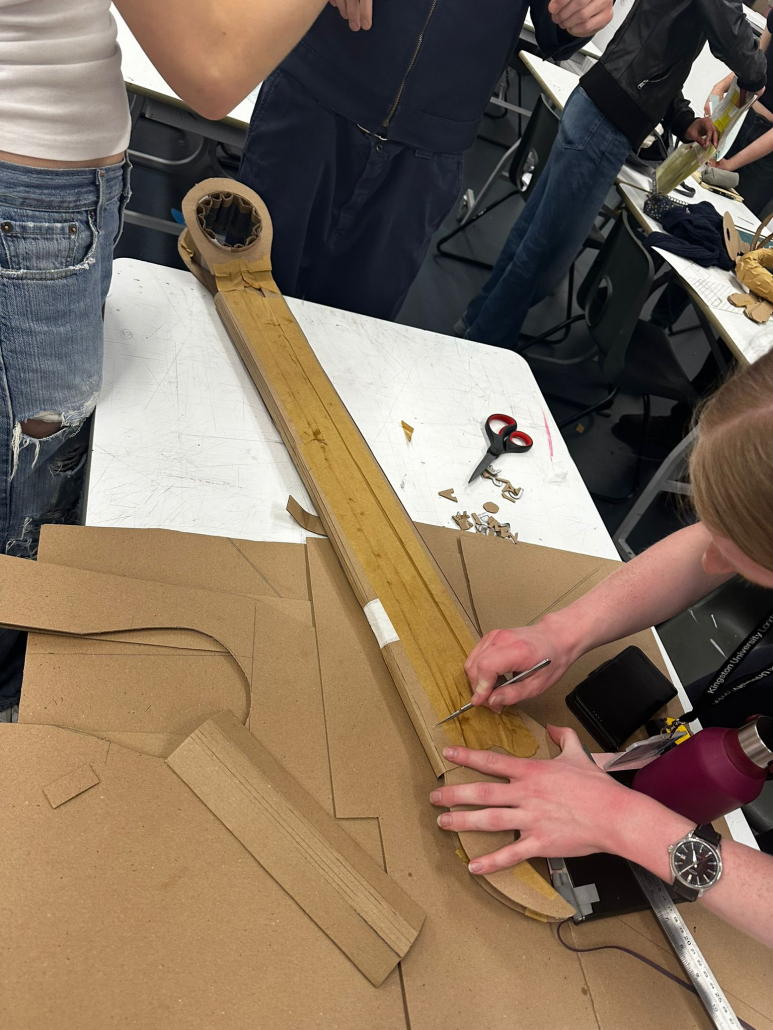
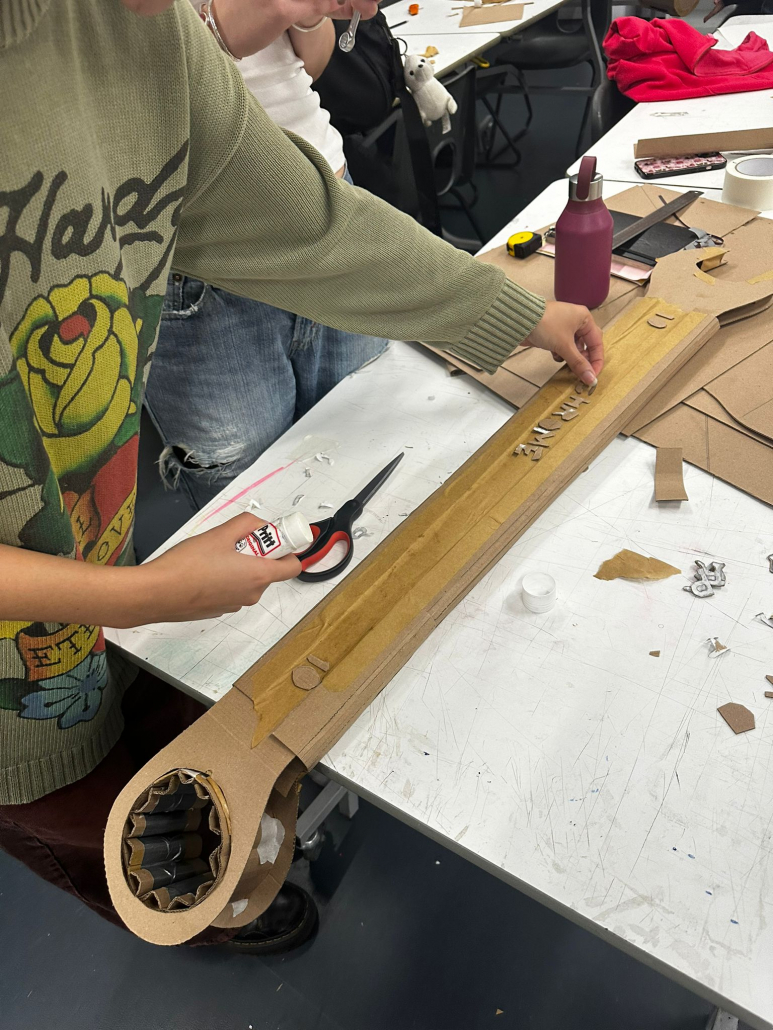
Step 5: Add Fine Details
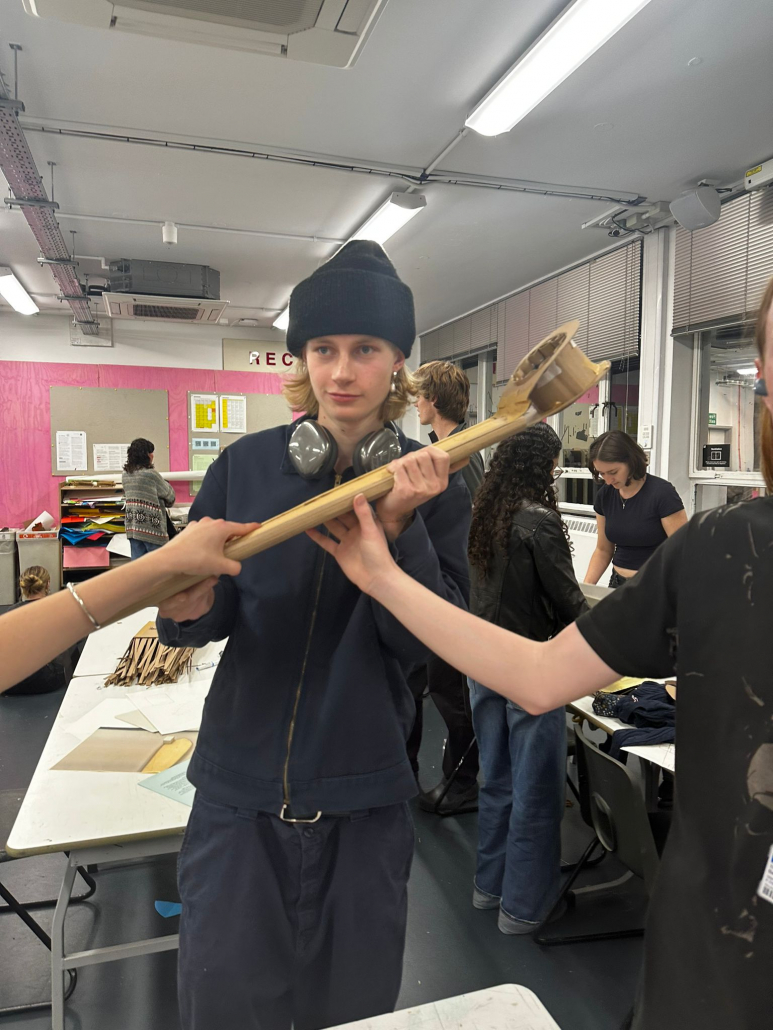
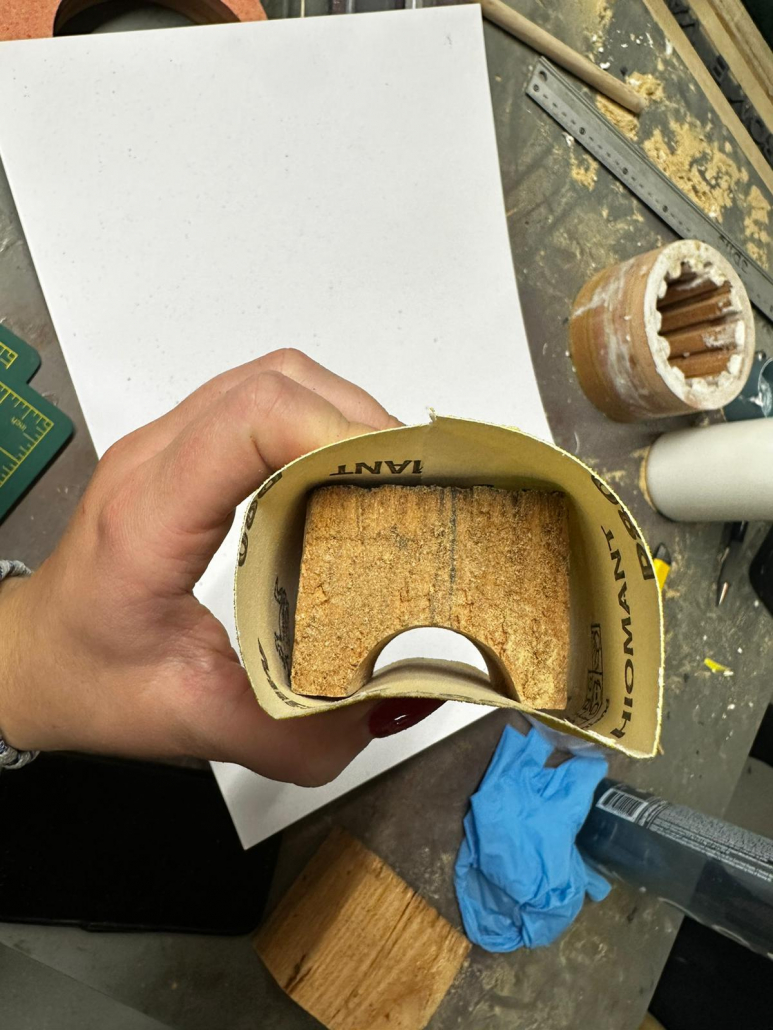
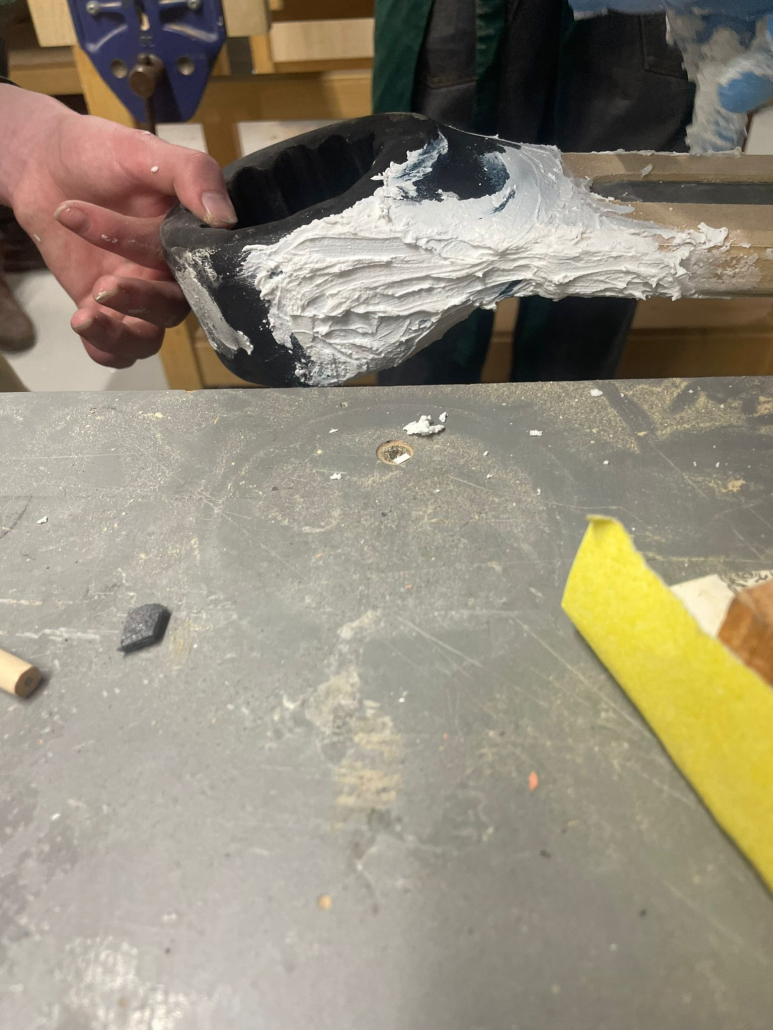
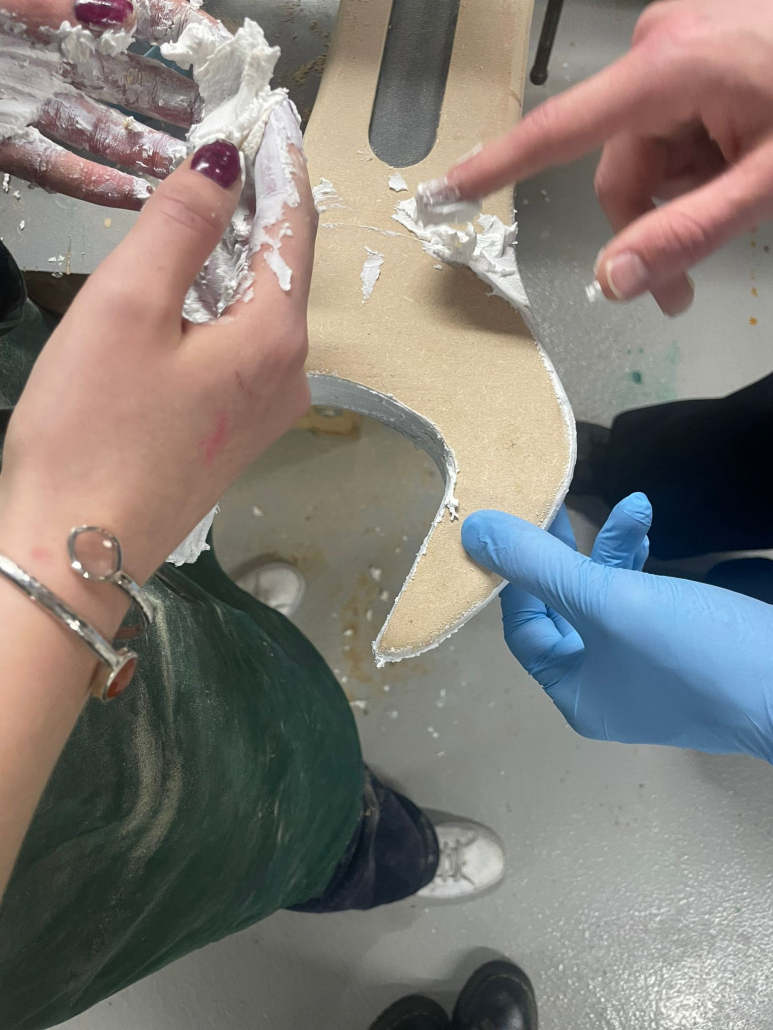
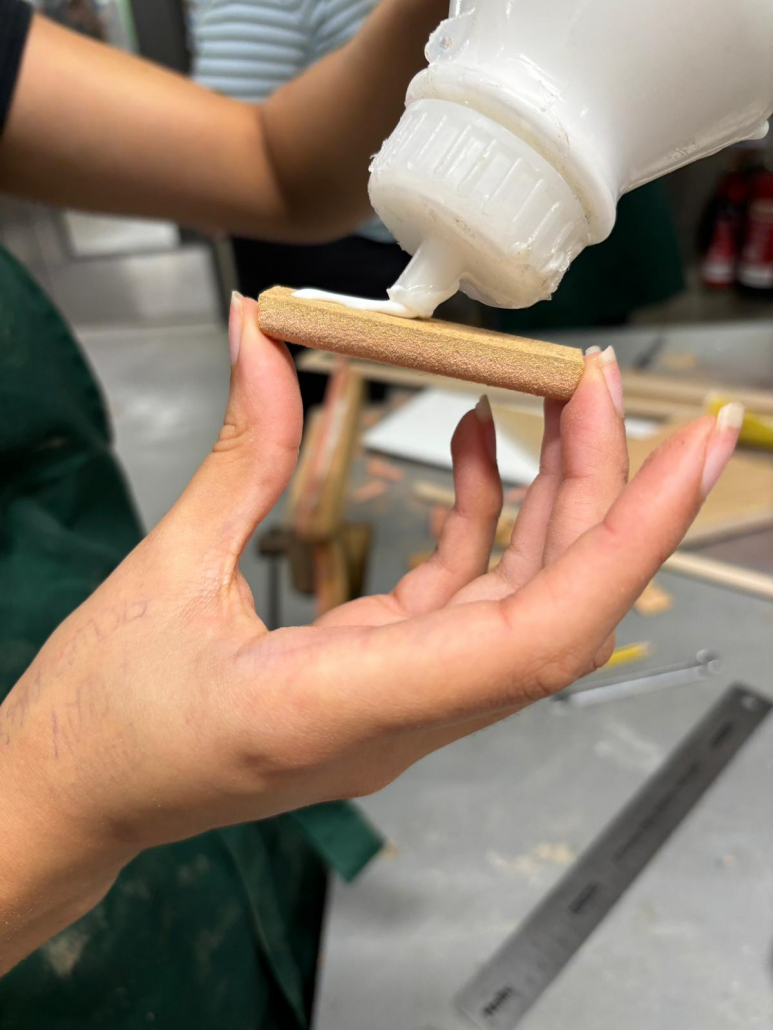
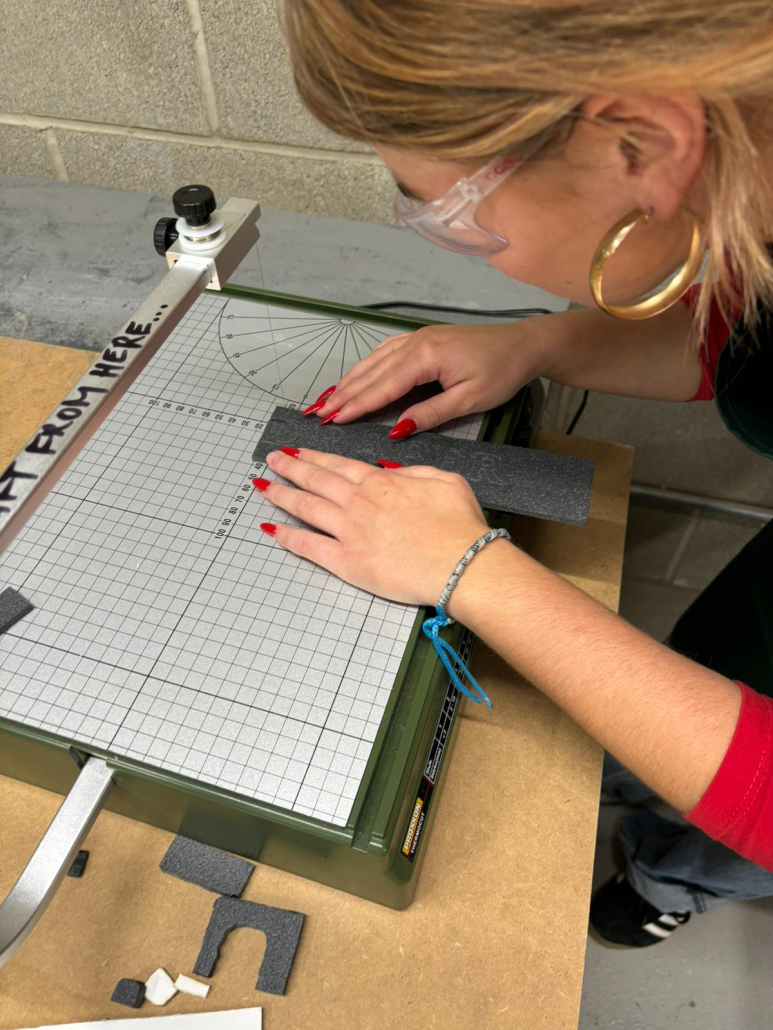
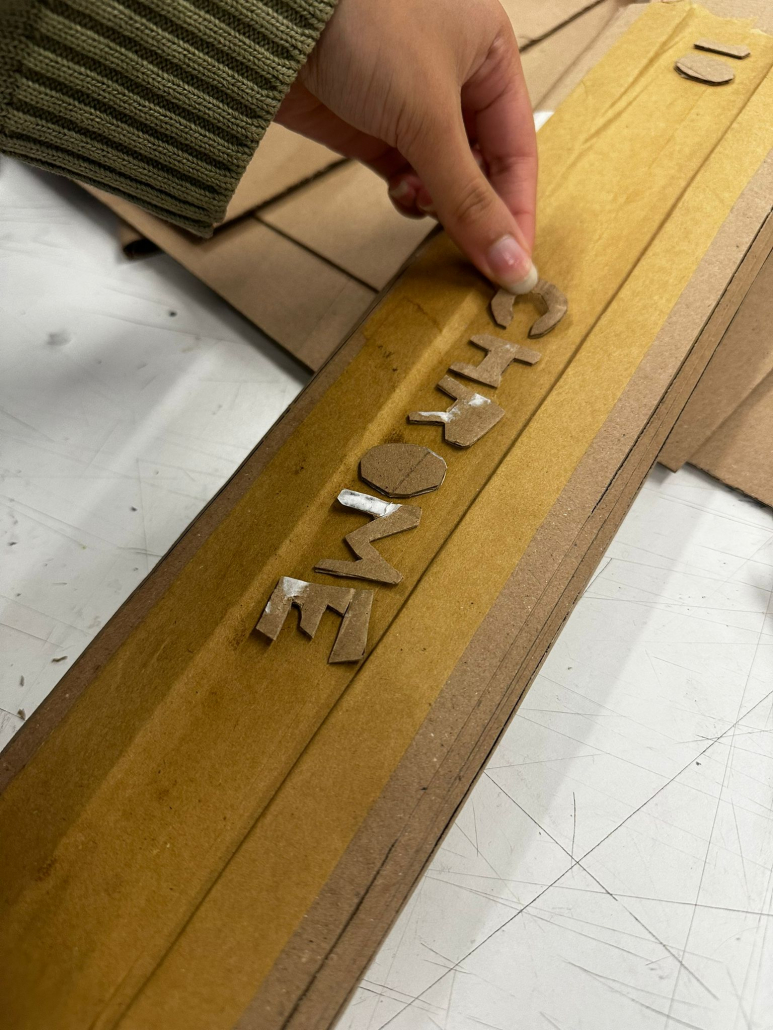
To create a realistic look, I knew I’d need to incorporate the spanner’s smaller features, such as raised edges, grooves, and indentations. Visualizing how to enlarge these details, I carefully translated each onto the model, adding depth and texture. Choosing the right tools—foam cutters for clean lines, files for subtle shaping—was essential in replicating the spanner’s intricate details, making the model look like a scaled-up replica of the original.
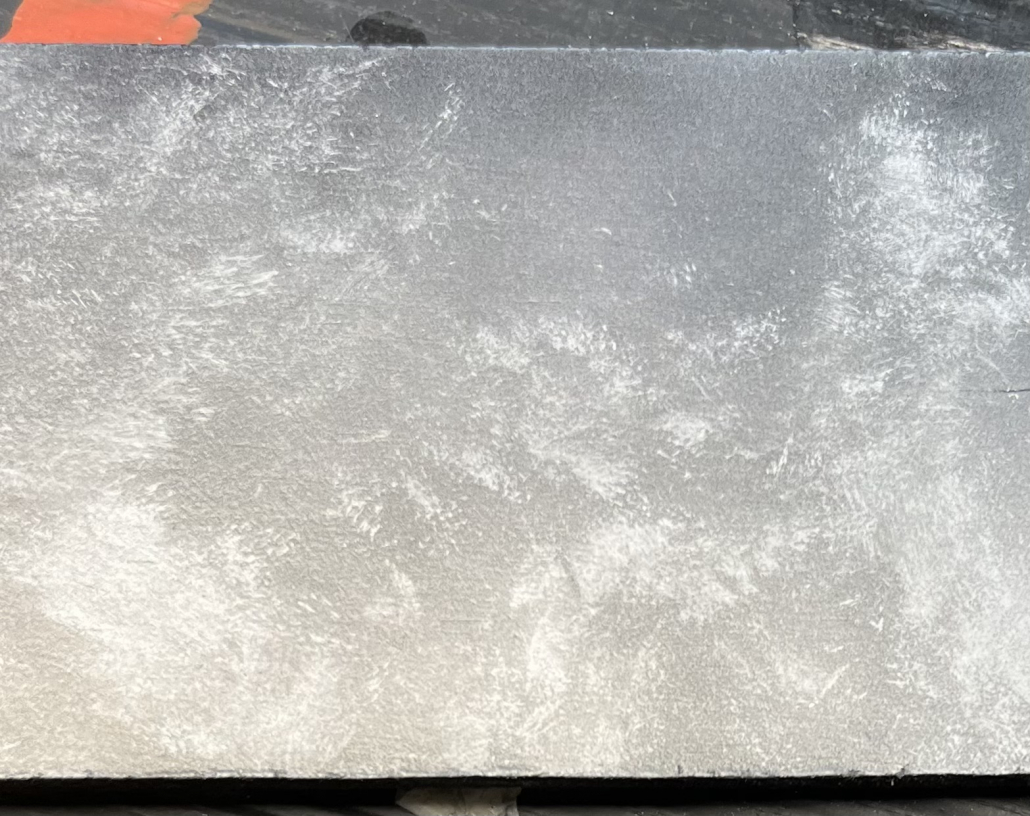
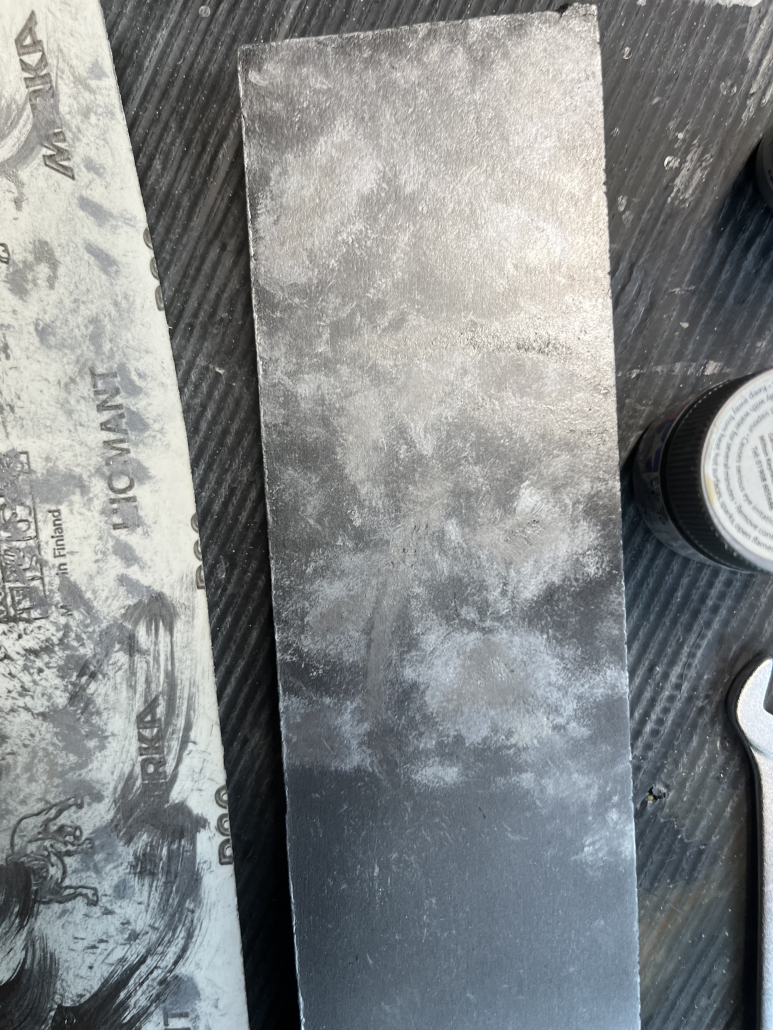
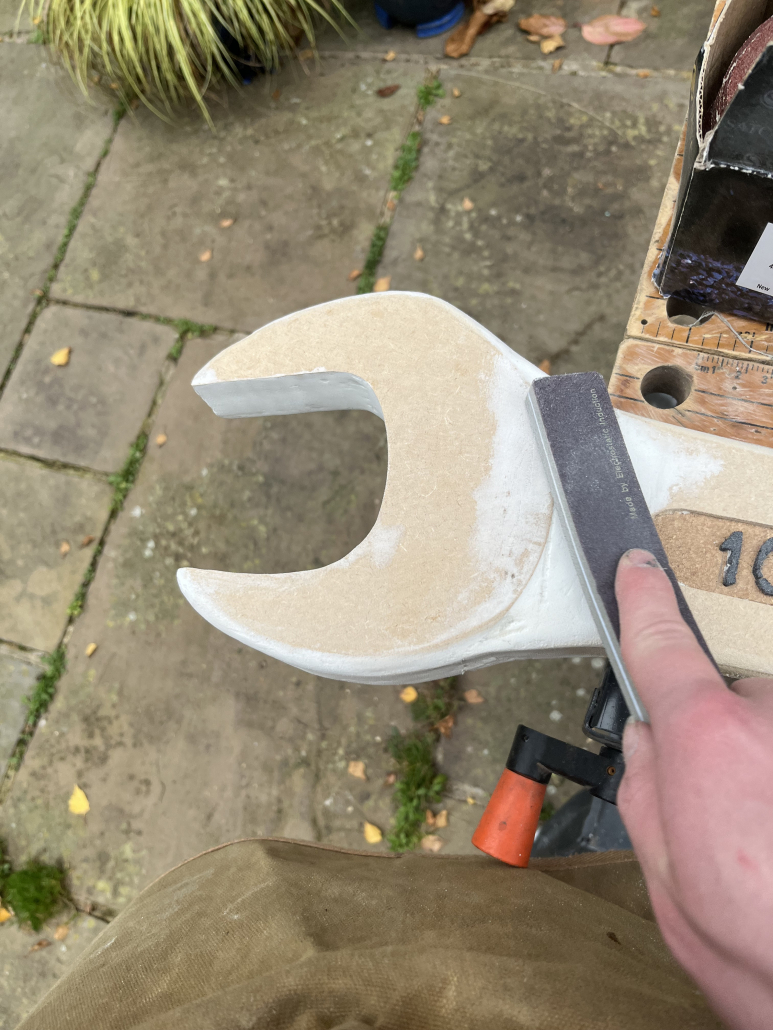
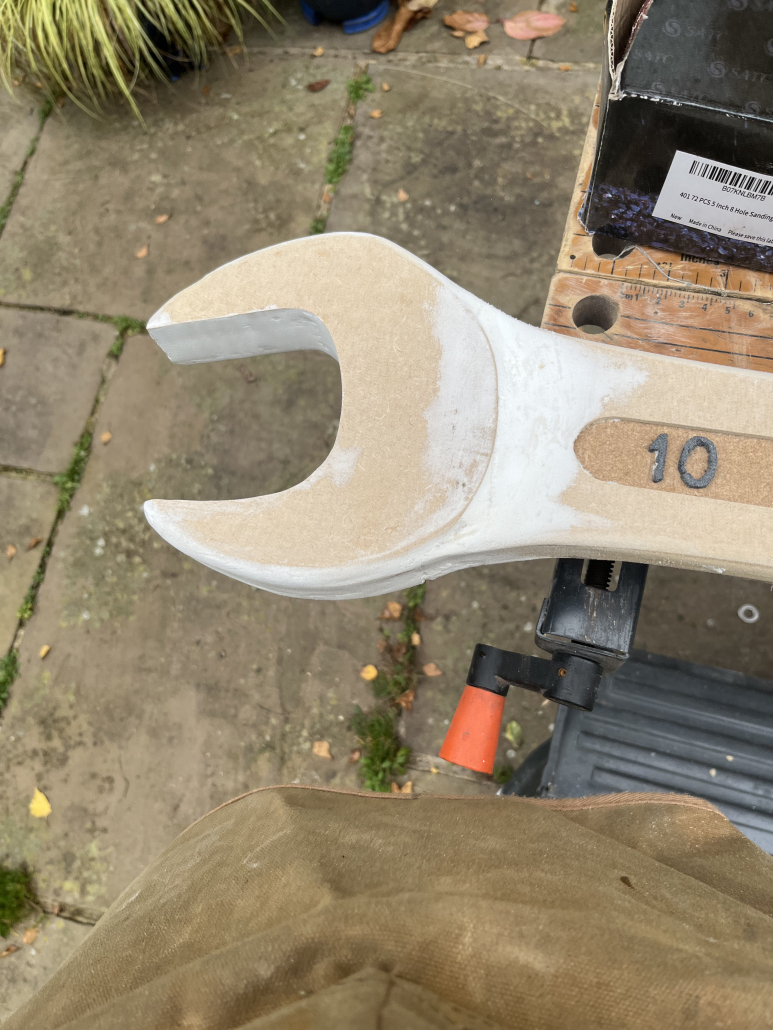
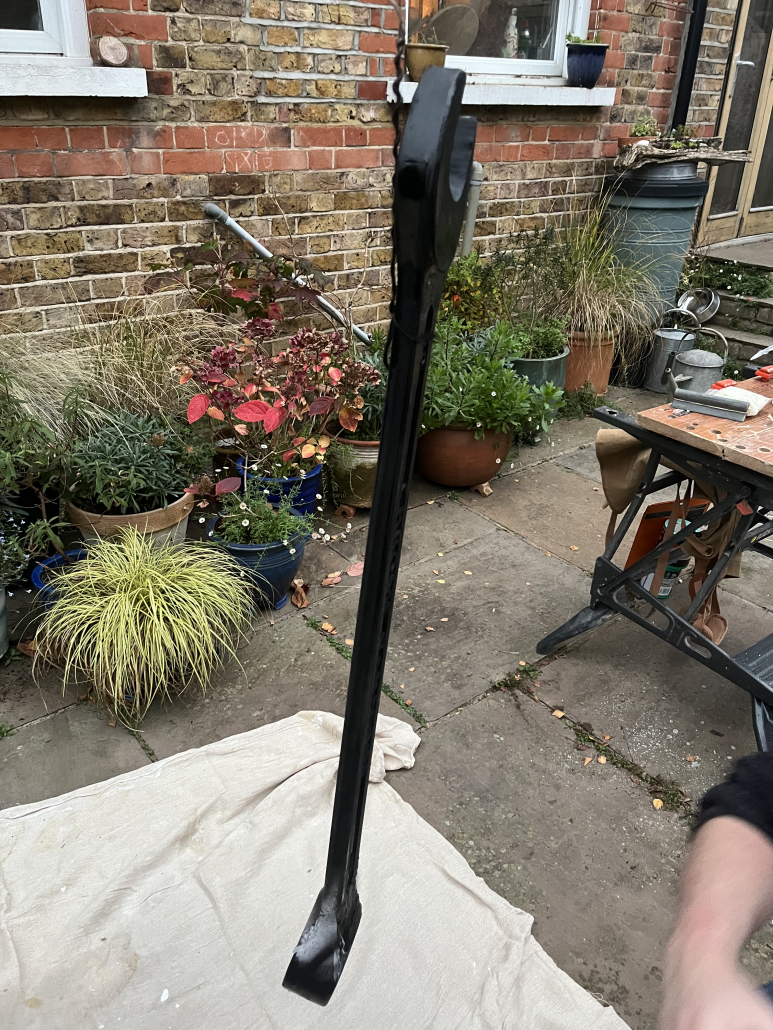
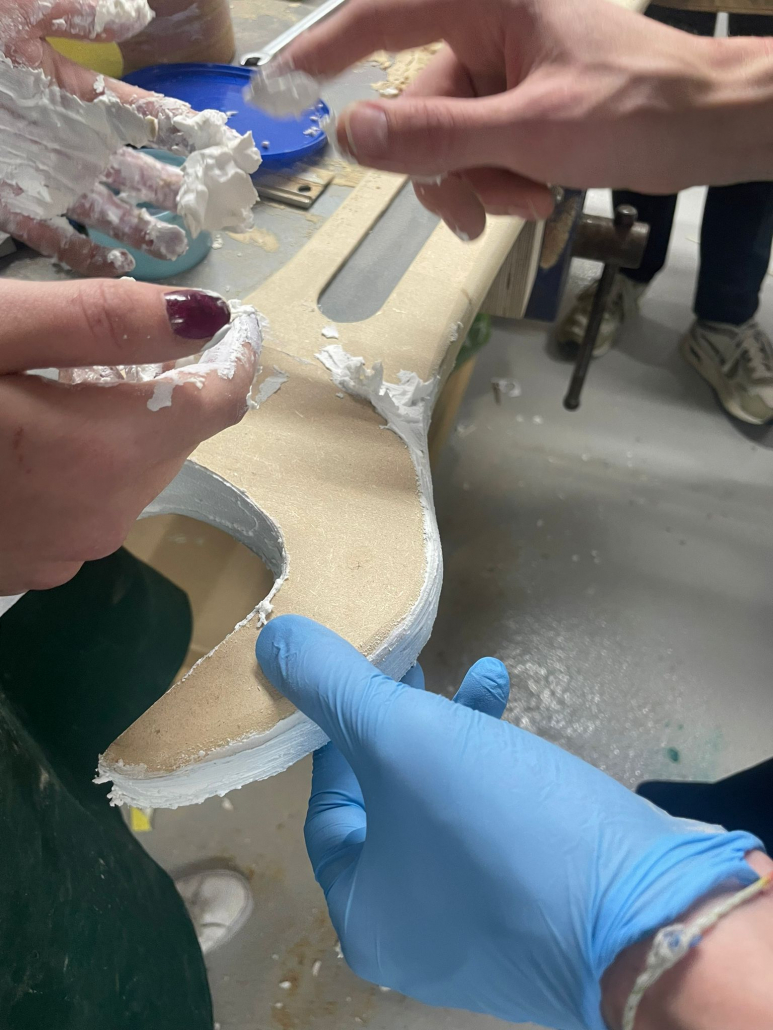
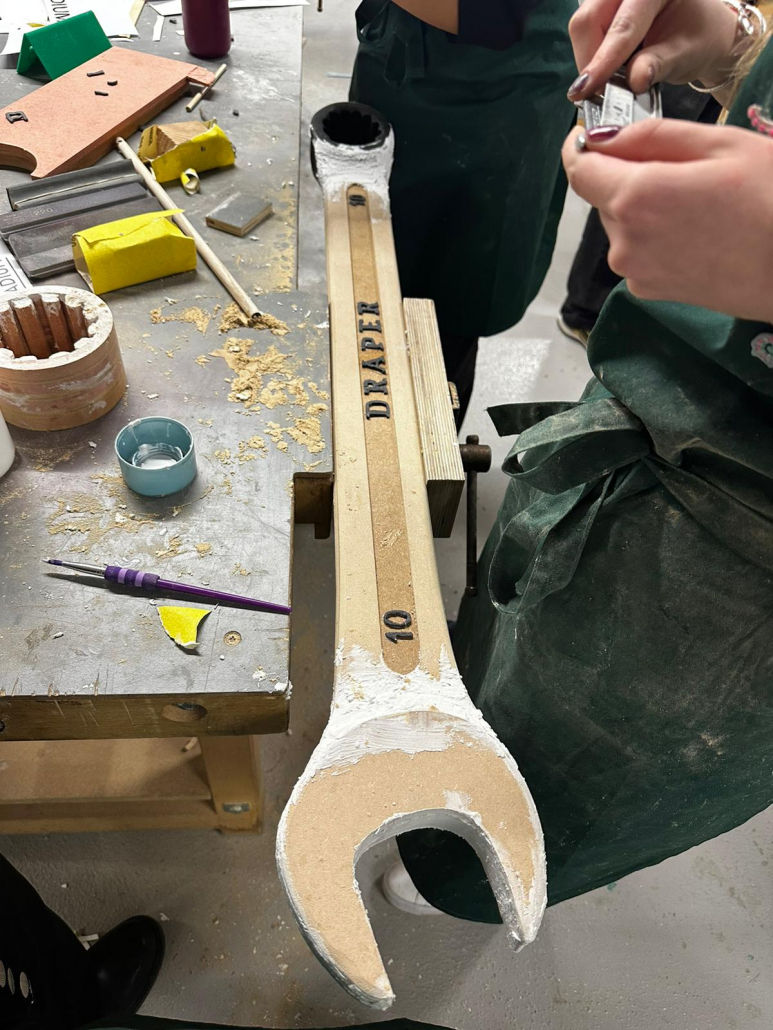
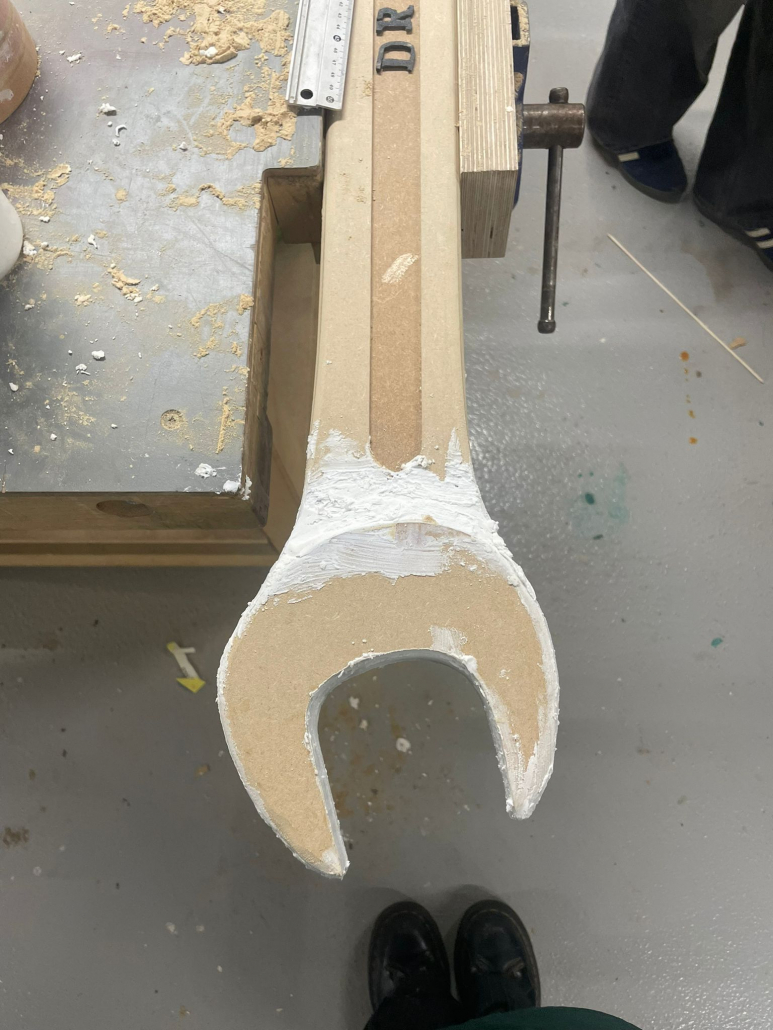
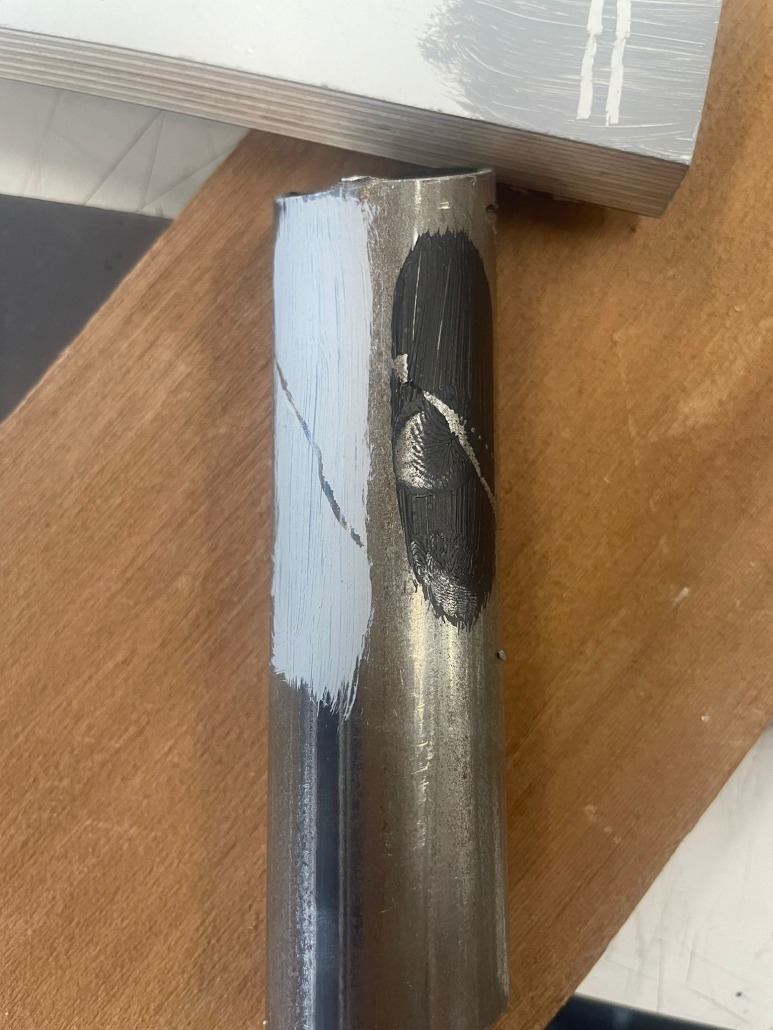
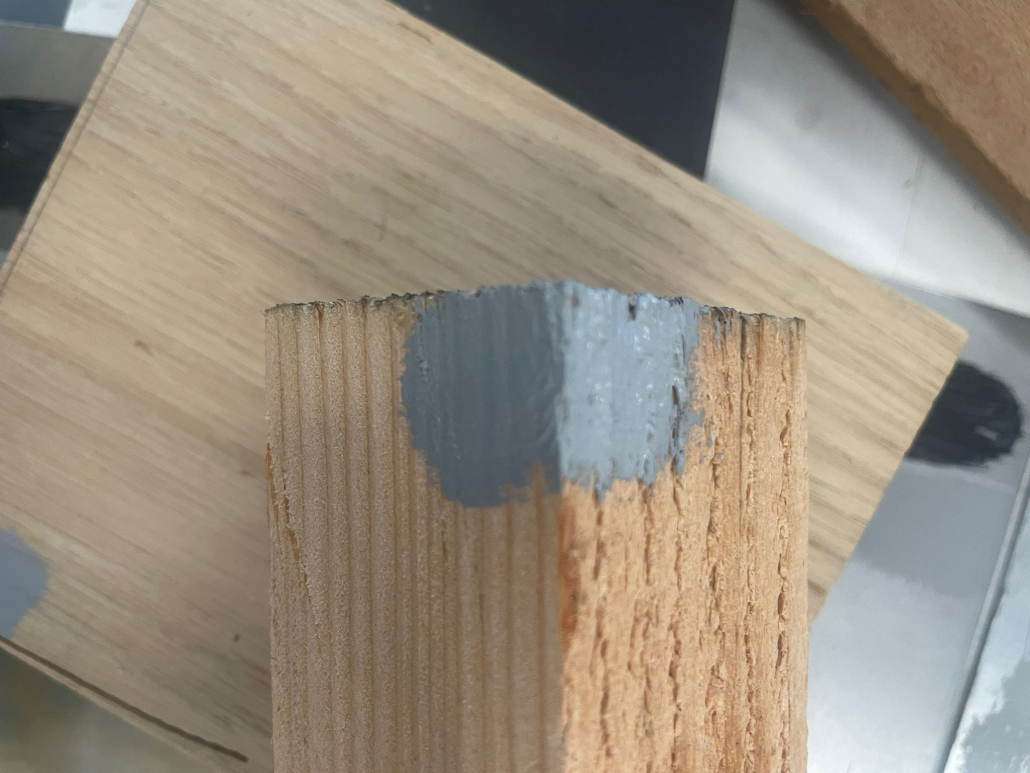
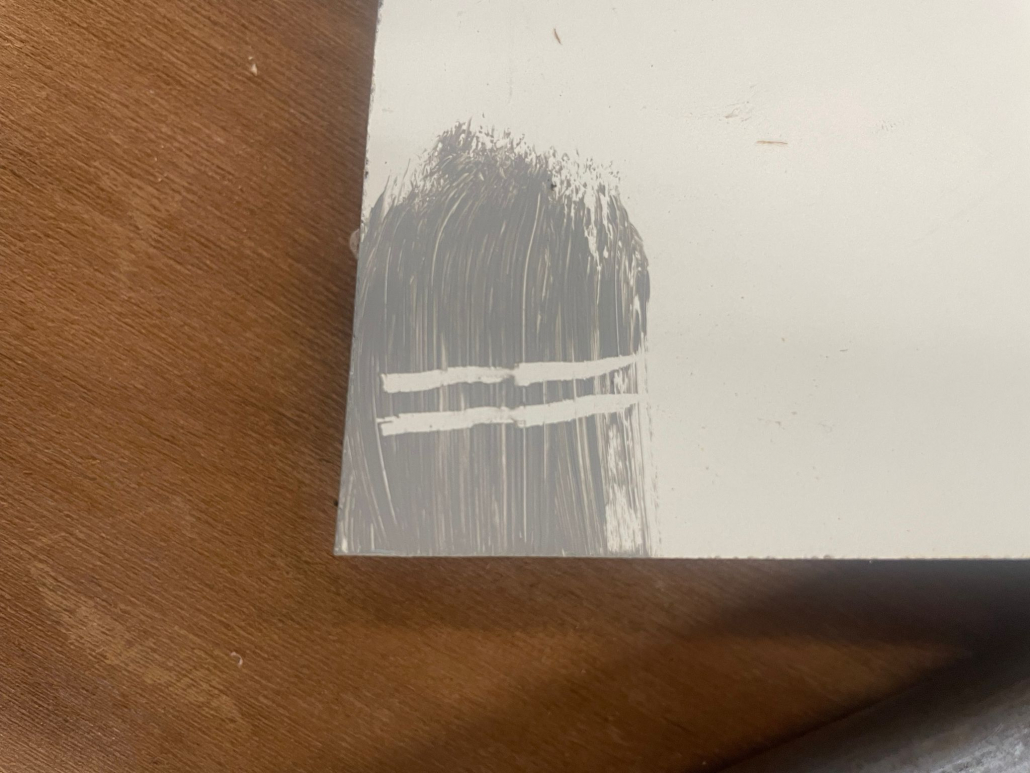
Step 6: Apply Primer
Priming the surface was crucial to achieving a smooth, even paint finish. I applied an even coat of primer, which helped the paint adhere well and enhanced the appearance of details when it was time to add colour. Reflecting on the importance of this step, I realized how much it would contribute to the piece’s durability and final look.
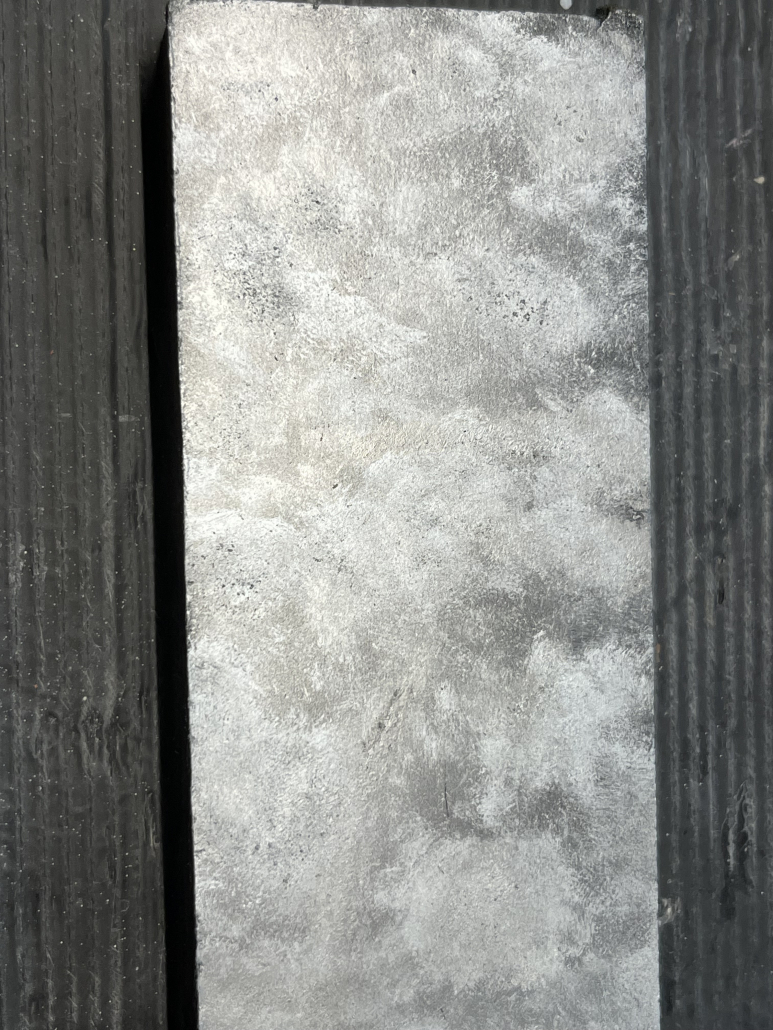
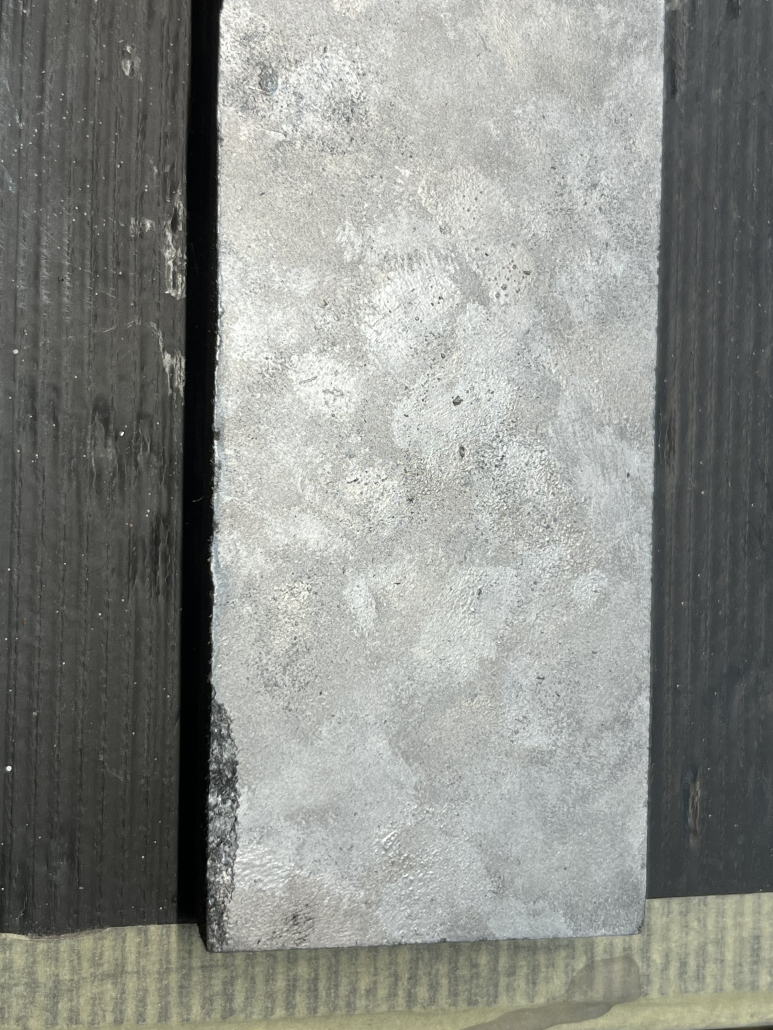
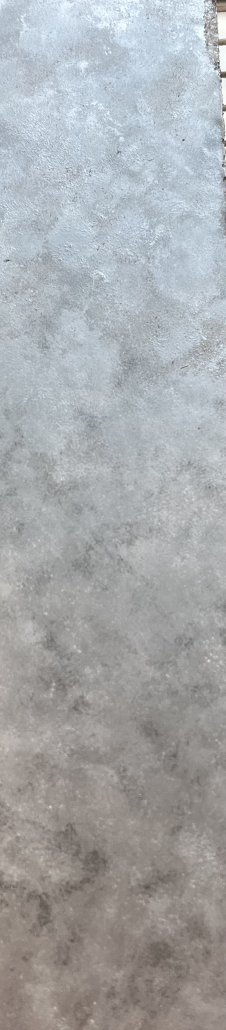
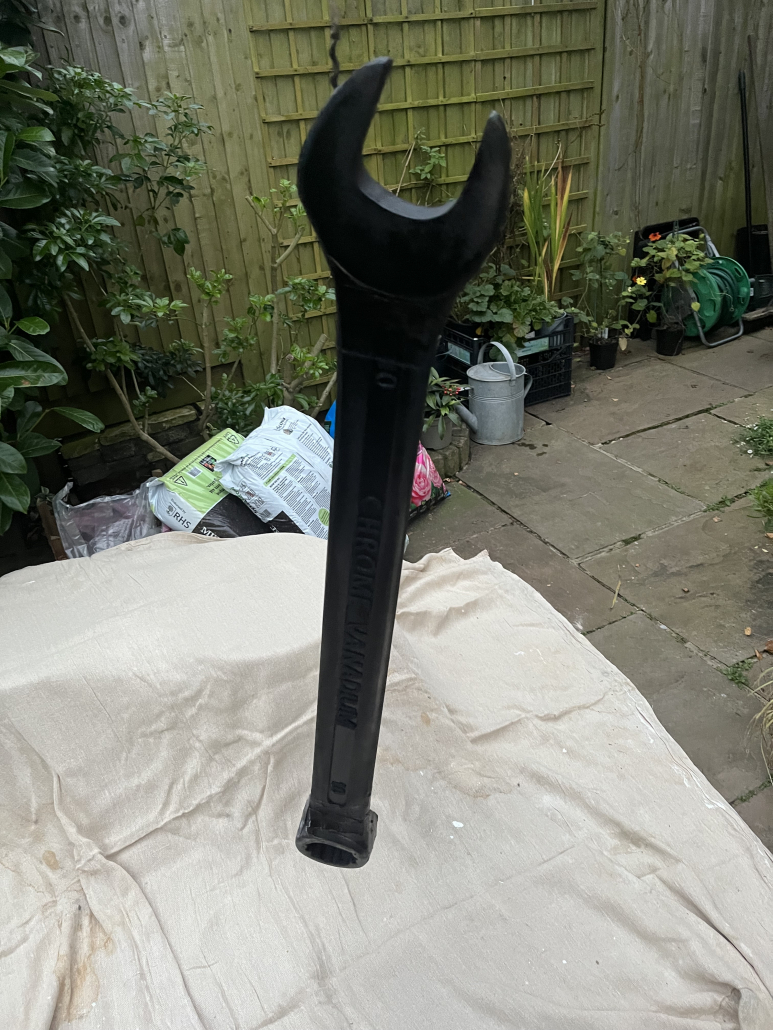
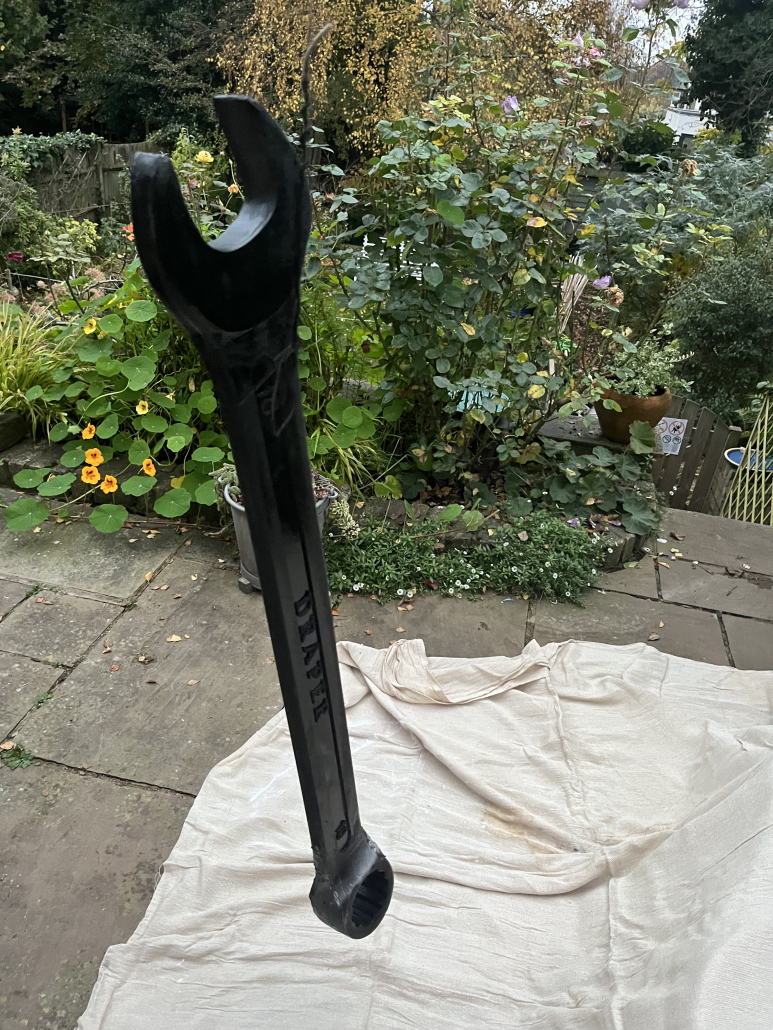
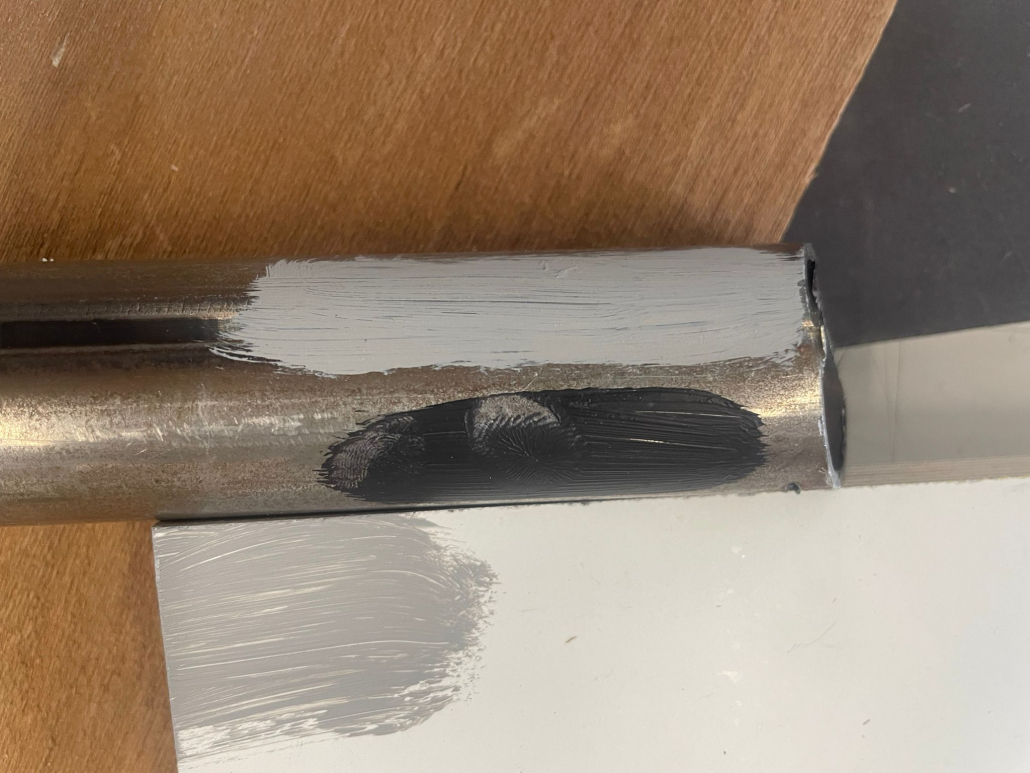
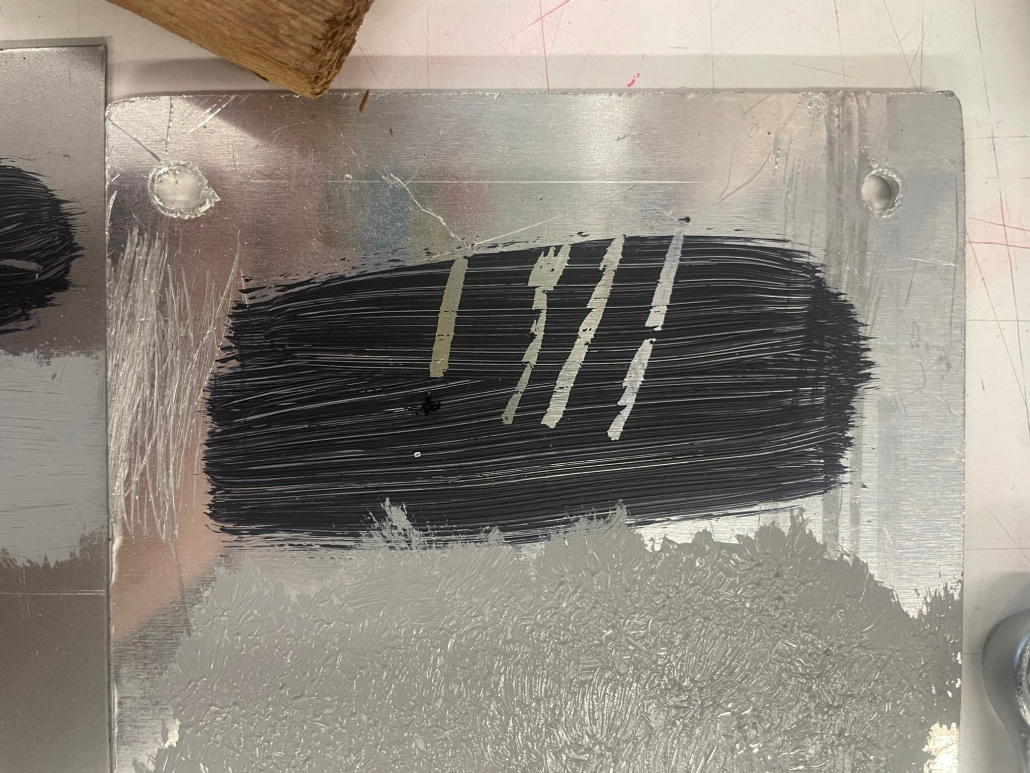
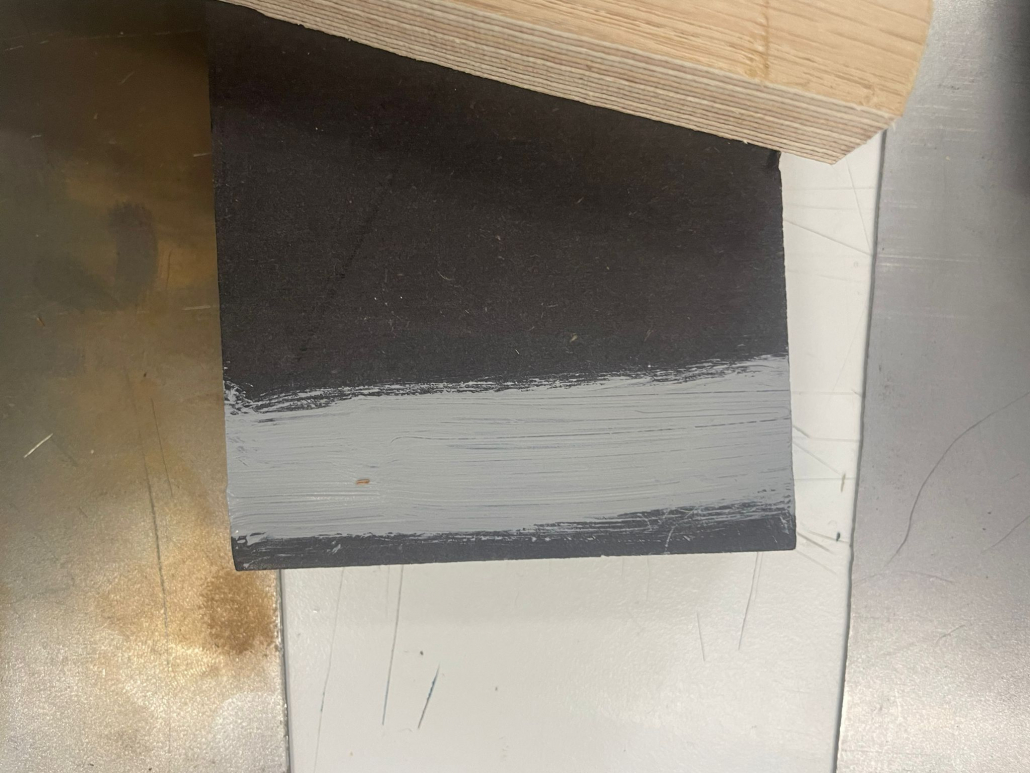
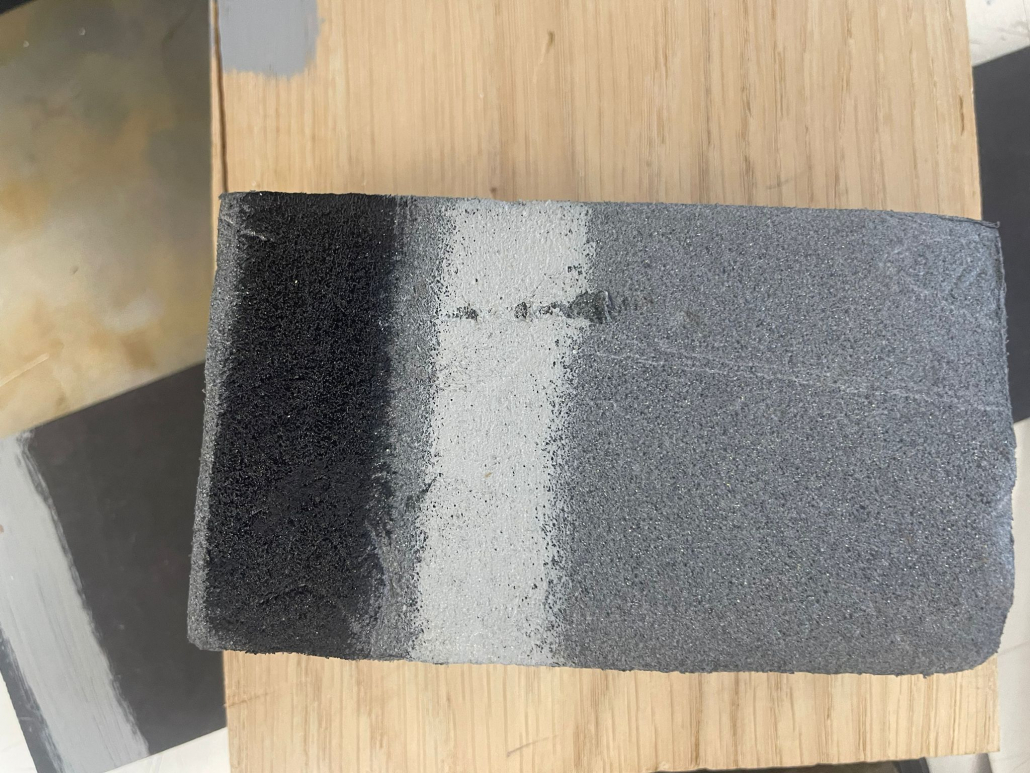
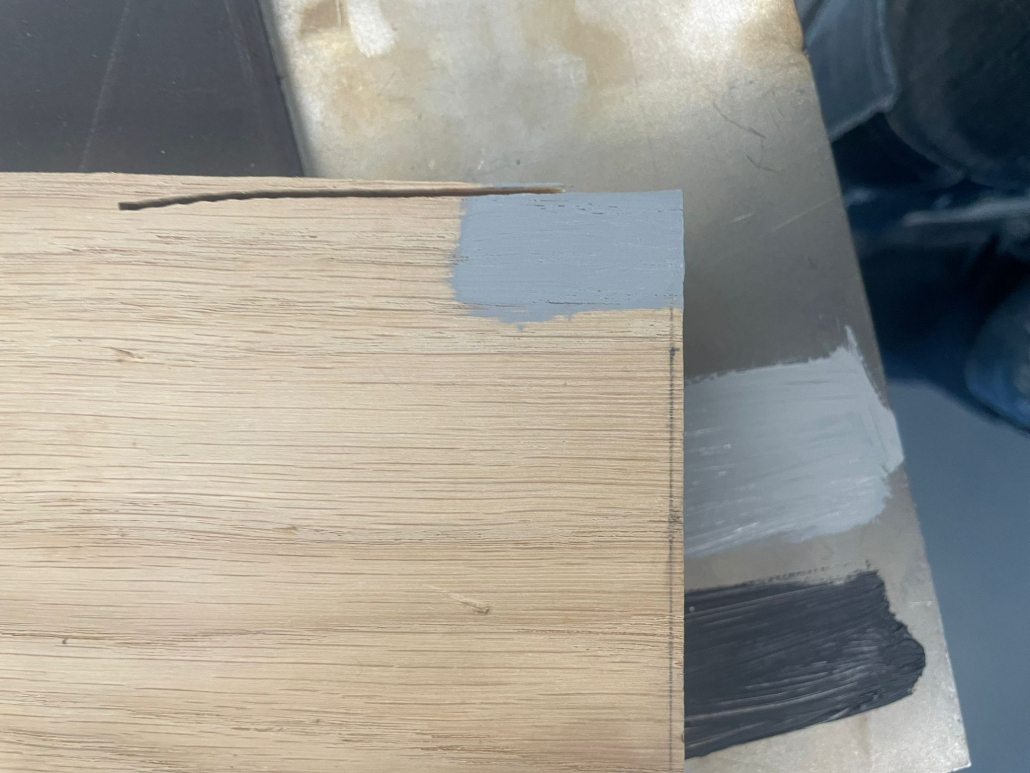
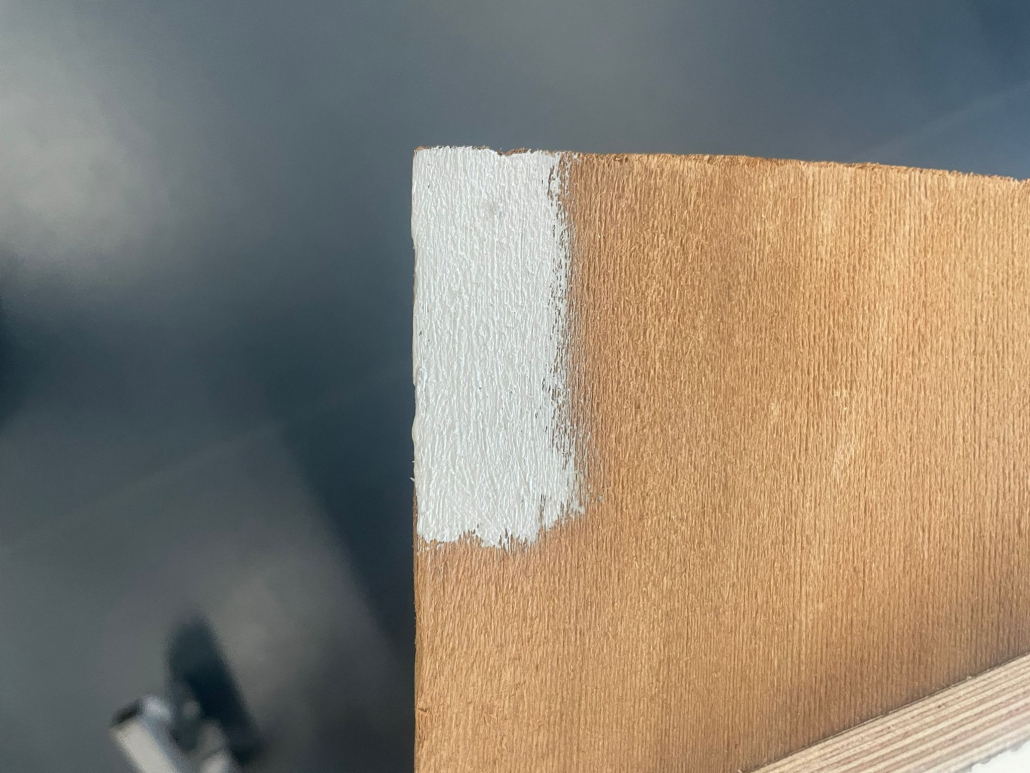
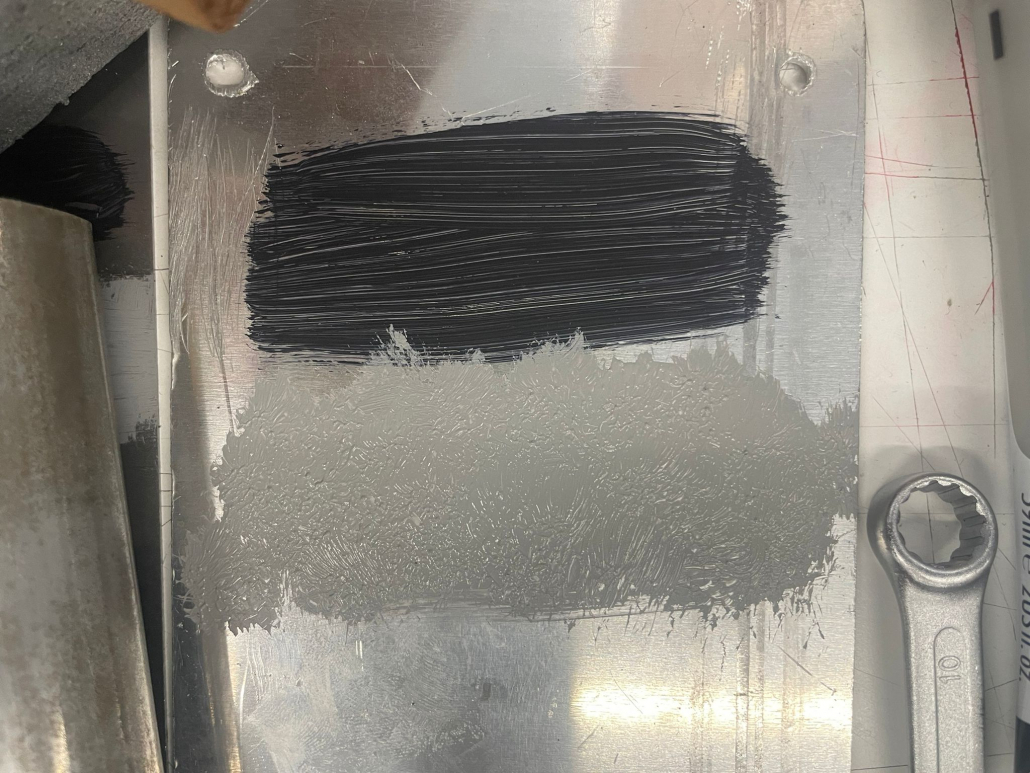
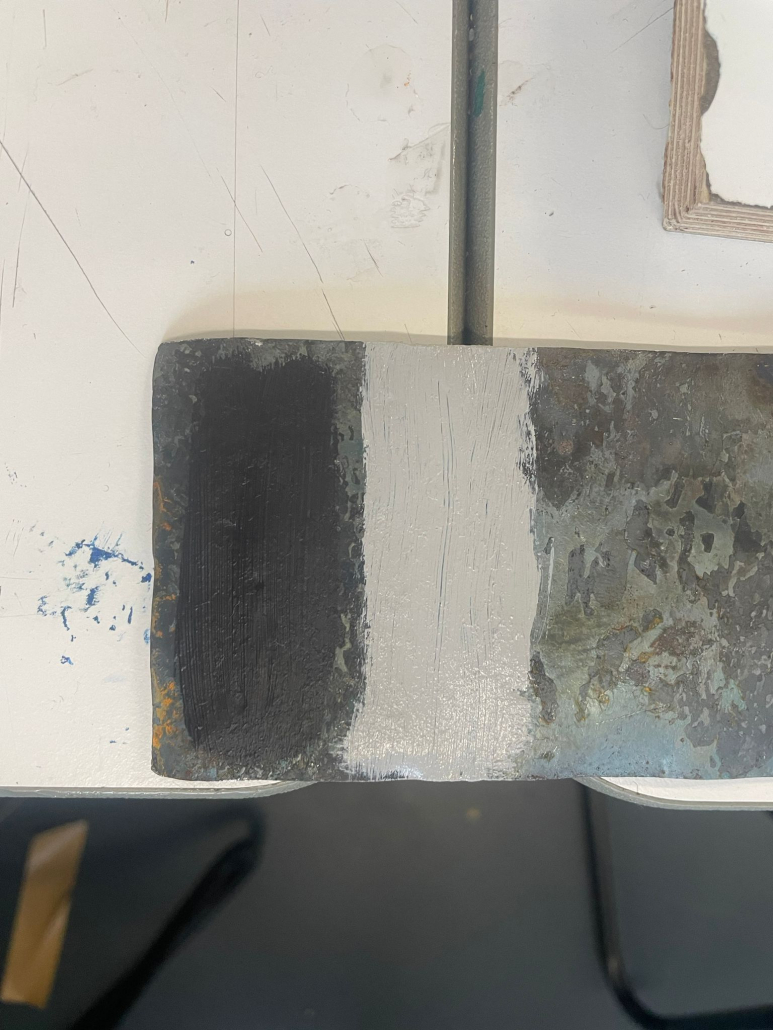
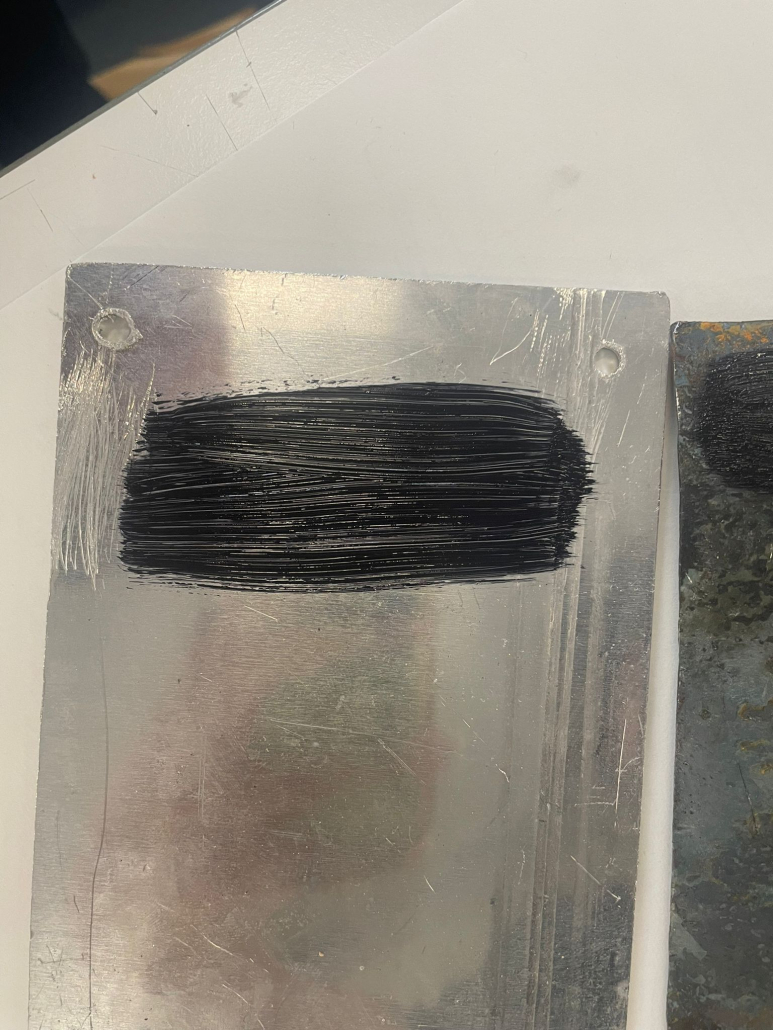
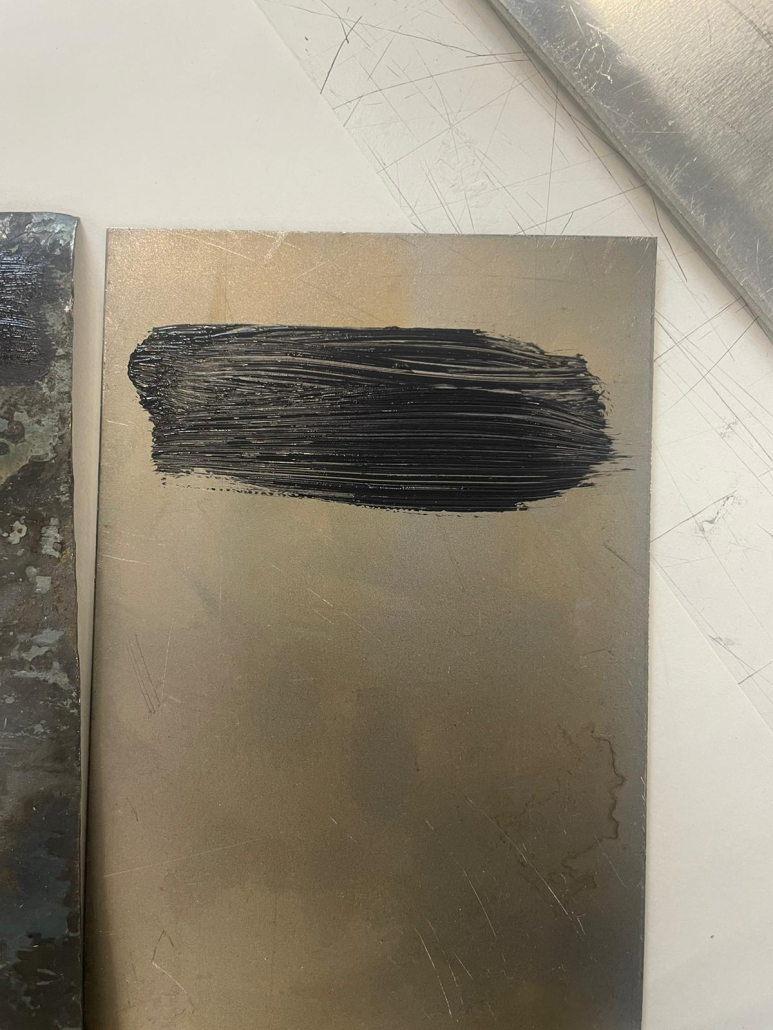
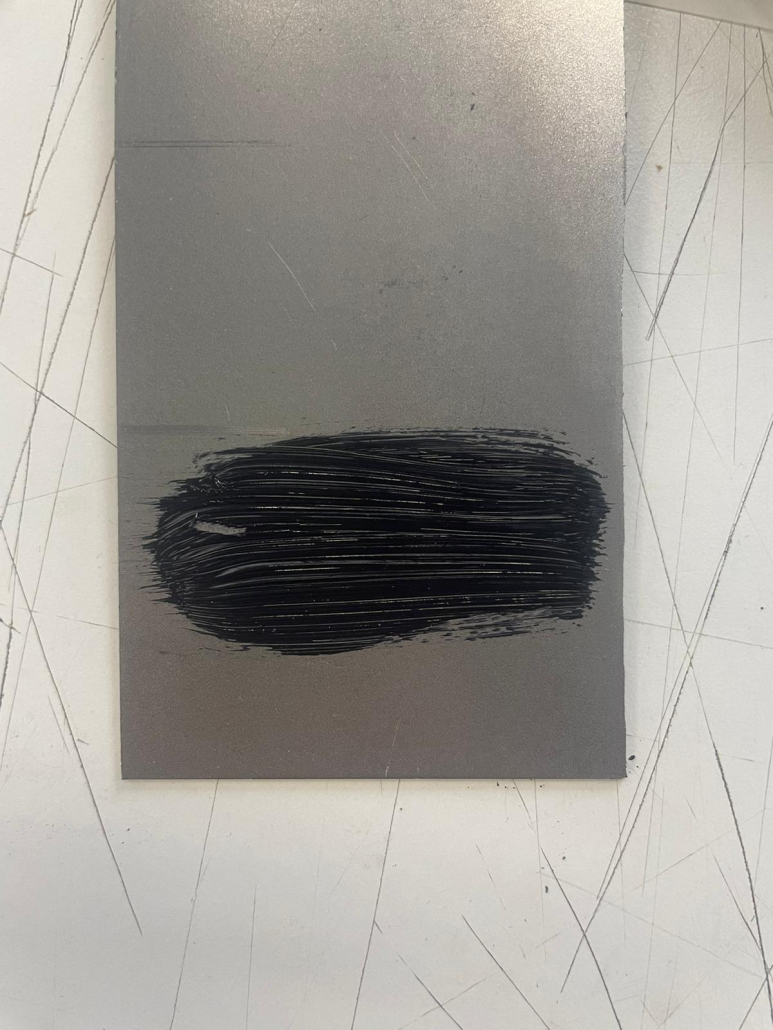
Step 7: Base Color Painting
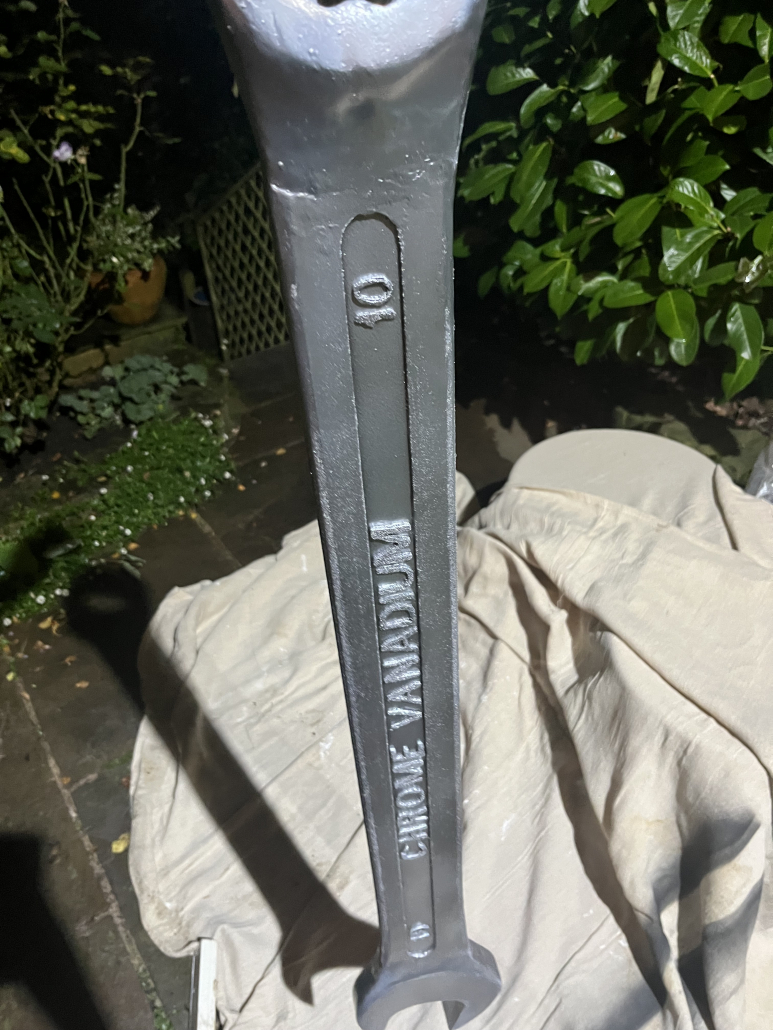
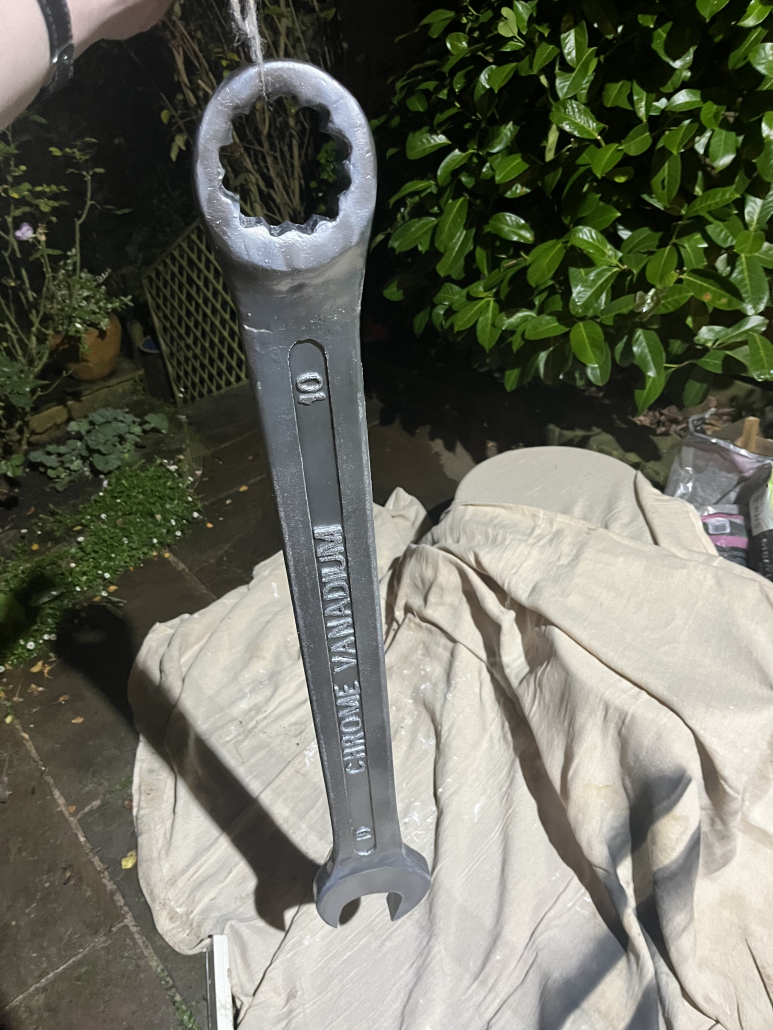
Next, I selected a realistic base colour. I considered using metallic silver or grey spray paint, envisioning how these tones could mimic the look of polished metal and add authenticity. Applying thin, even layers would allow me to build a uniform colour without obscuring the finer details. For the handle, I thought about creating subtle finish variations similar to those on the original spanner.
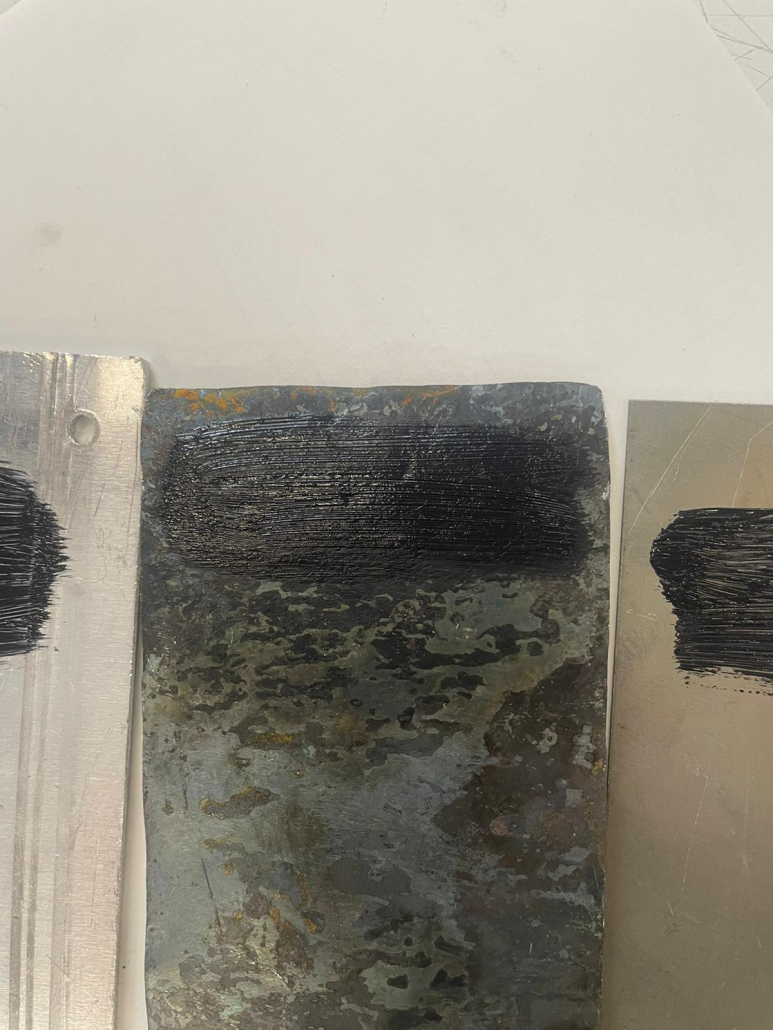
Step 8: Add Shading and Highlights
At this stage, I shifted my focus to depth and realism. I imagined where shadows would naturally fall in the grooves and how light would reflect off the raised areas. By adding darker tones along the edges and highlights on the raised areas, I could create a sense of depth and wear, giving the spanner an aged, authentic look. Using a sponge to dab subtle textures and wear marks would add an extra layer of realism.
Step 9: Optional Paint Sealant
At this point, I considered whether a sealant was needed based on how the spanner would be used. A matte finish would give it a soft, industrial look, while a glossy finish could offer a polished, brand-new appearance. This choice would greatly affect the final impression of the piece, so I chose a finish that best suited its display purpose.
Step 10: Inspect and Finish
Finally, after everything dried, I stepped back to review my work. This final inspection allowed me to appreciate how the details had come together and check for any areas needing touch-ups. I was ready to present a realistic, enlarged spanner, a testament to the time and effort spent creating a visually striking display piece.